How to Connect to Azure OpenAI Models from GitHub Copilot?

If you do not have a GitHub Copilot Pro or Premium license, you can still use GitHub Copilot with Azure OpenAI models. This guide will walk you through the steps to connect GitHub Copilot to Azure OpenAI models, enabling you to leverage powerful AI capabilities in your development workflow.
Check if Azure OpenAI is configured for GitHub Copilot
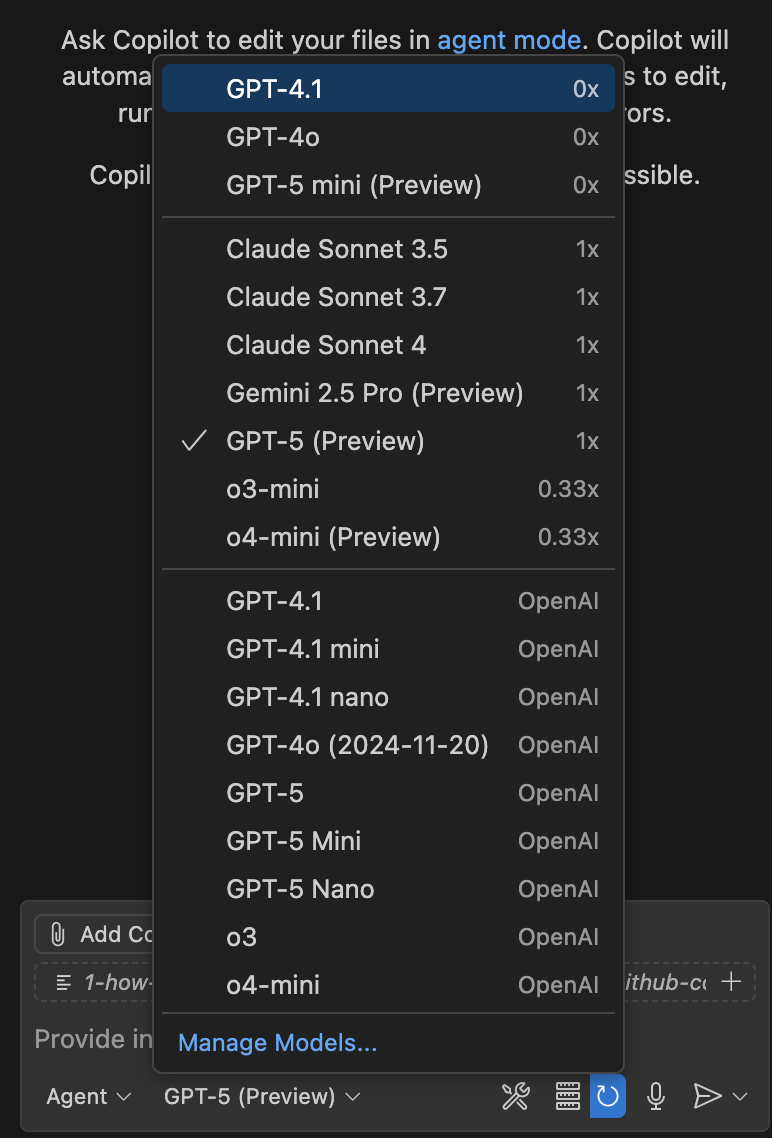
Go to GitHub Copilot Chat, click on Change model, and then select Manage Models....
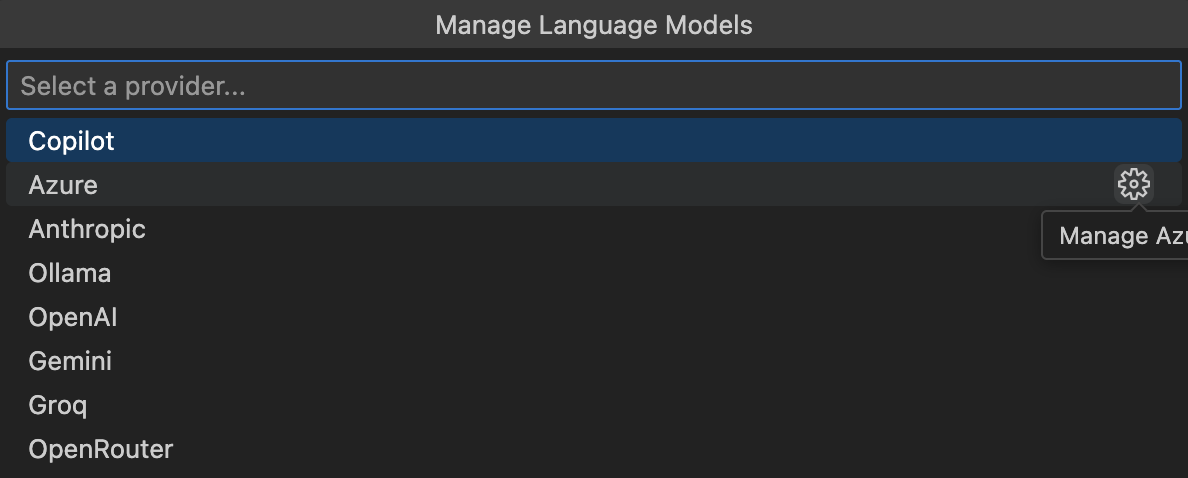
It will show Azure OpenAI. Click on the Manage Azure settings icon.
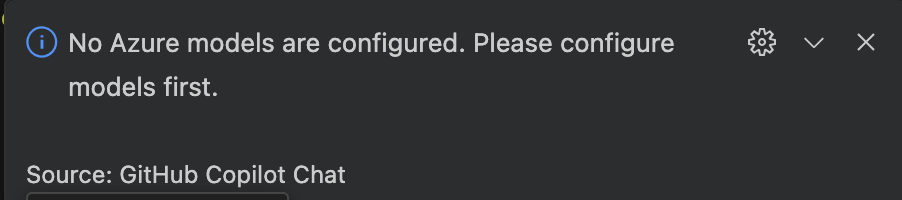
You will see the following error message if Azure OpenAI is not configured for GitHub Copilot:
Message: No Azure models are configured. Please configure models first.
Configure Azure OpenAI for GitHub Copilot
Before configuring Azure OpenAI for GitHub Copilot, create a new Azure AI Foundry resource or Azure OpenAI resource and deploy the desired model.
Create Azure OpenAI Resource
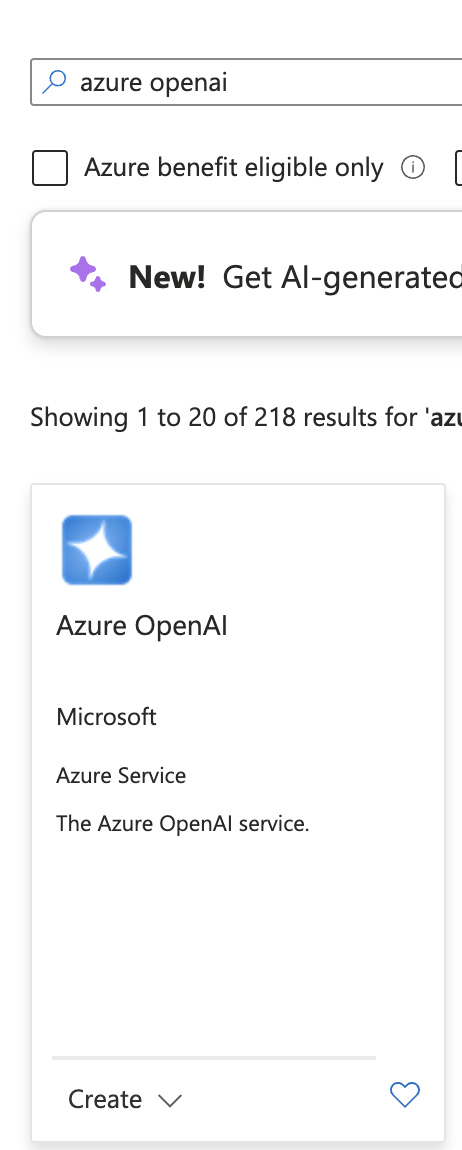
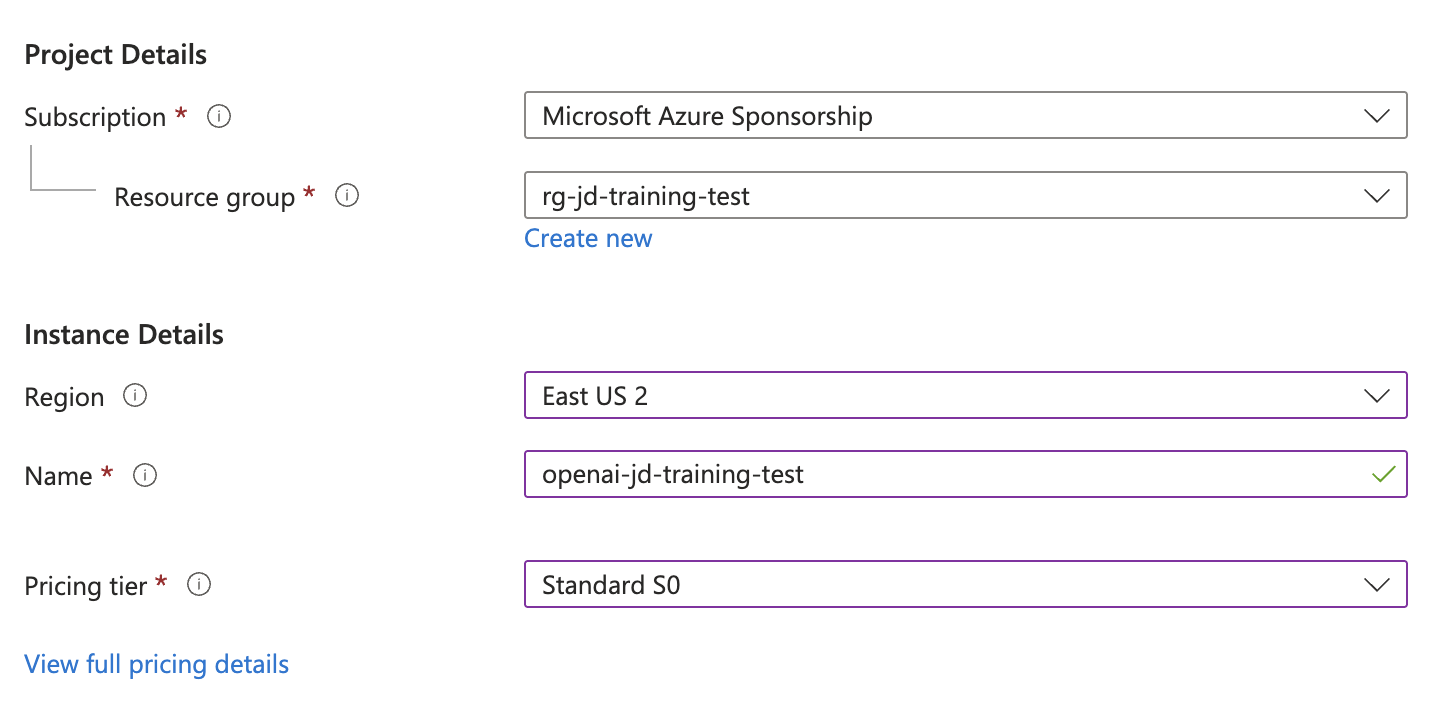
In Azure Marketplace, search for Azure OpenAI and create a new resource.
Fill out the required information, including the resource name, subscription, and region. Then, click Review + create to create the resource.
After the resource is created, open it and navigate to the Azure AI Foundry portal from the Overview section.
Make sure your newly created resource or an existing resource is selected in the Azure AI Foundry portal.

Deploy the Model
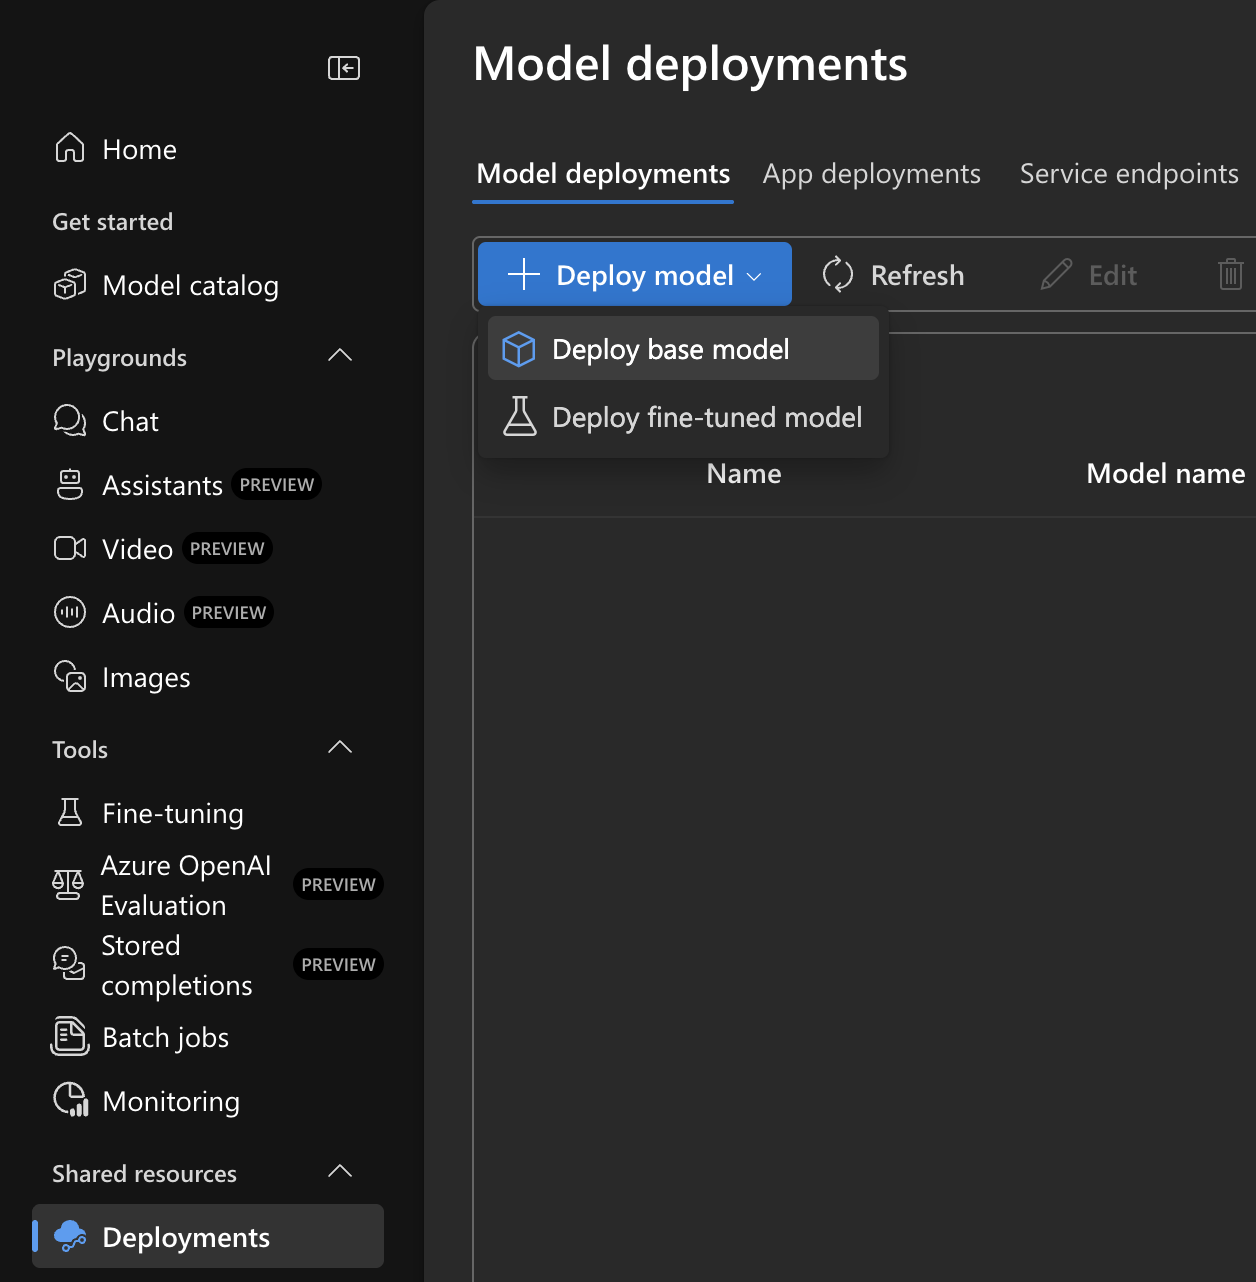
In the Azure AI Foundry portal, click on the Deployments tab and then select Deploy Mode -> Deploy base model.
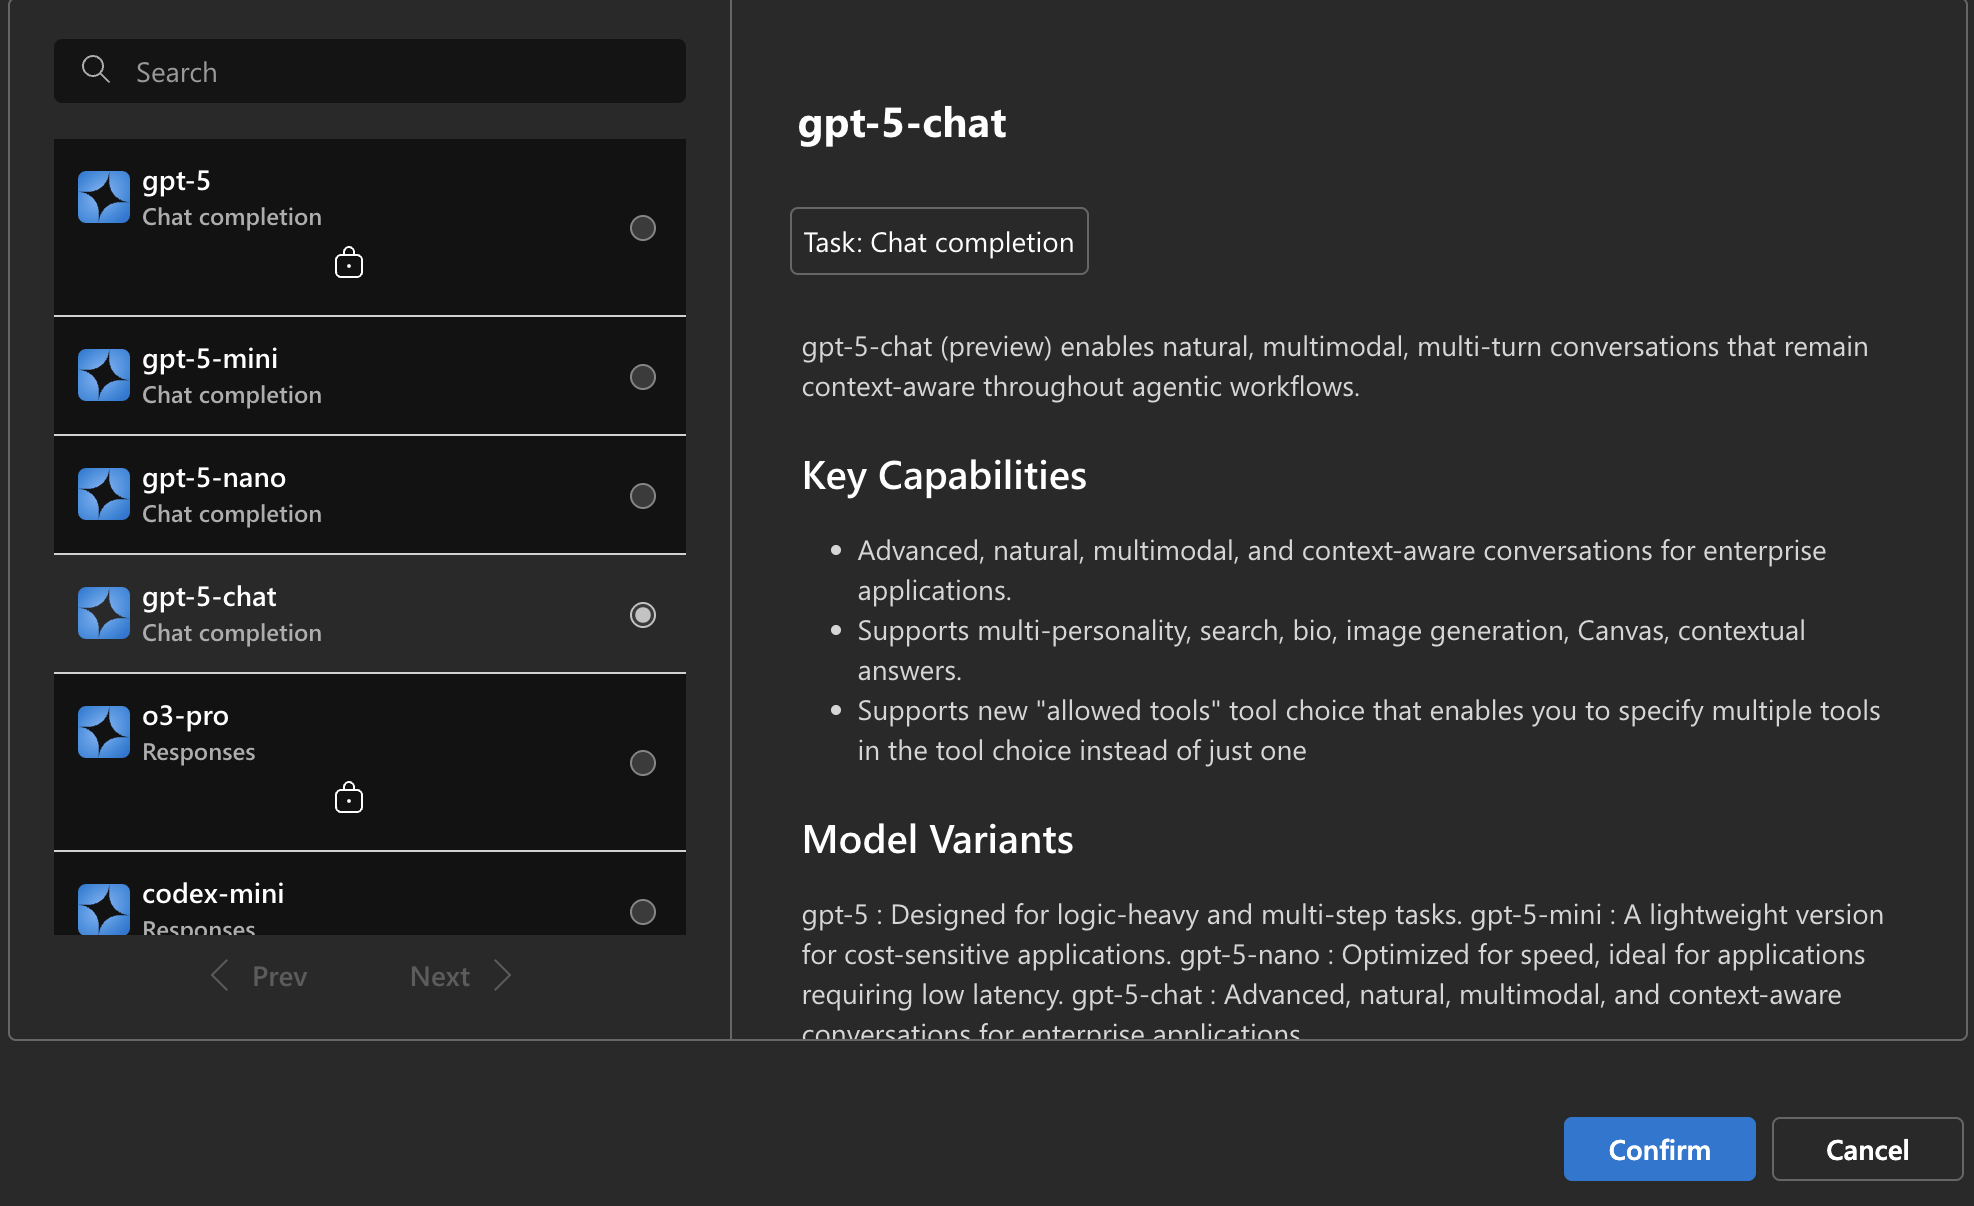
Select your preferred model. In this example, I will use gpt-5-chat.
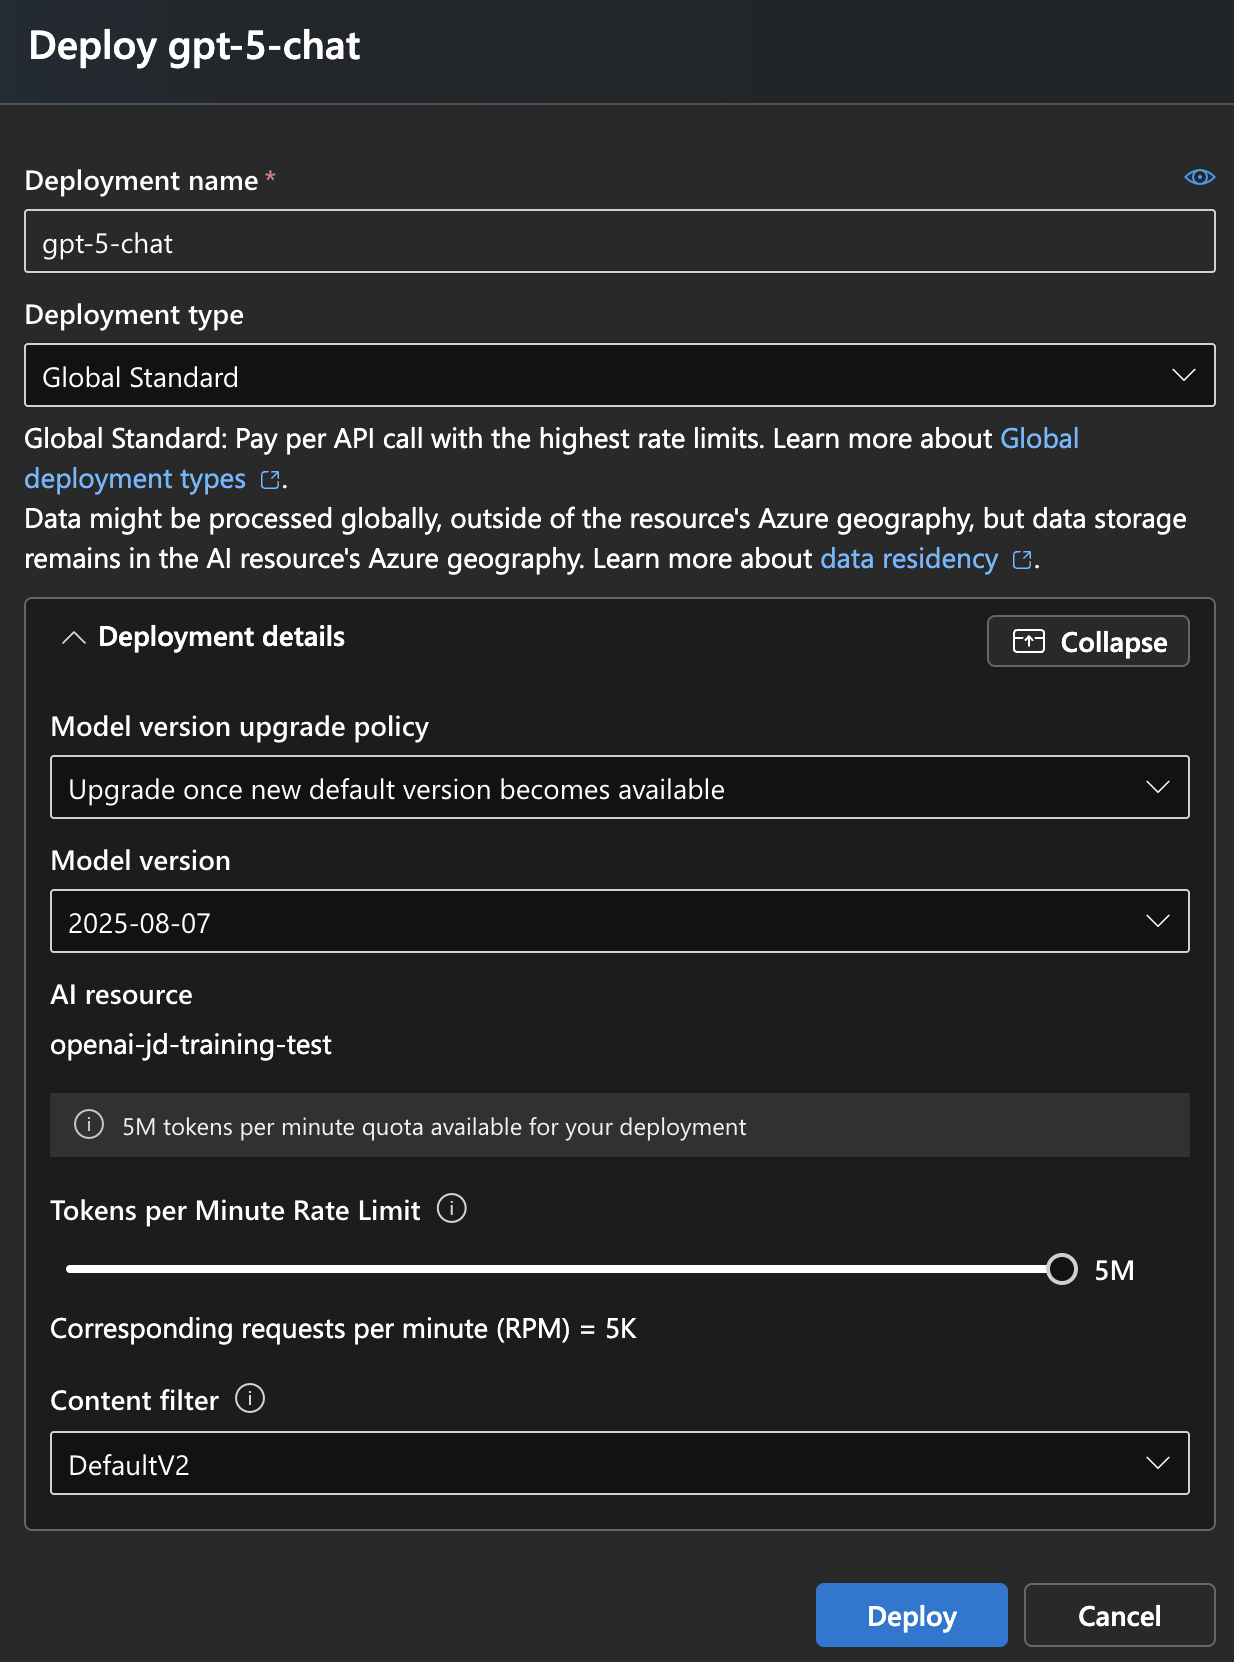
Customize the model and update the rate limit if necessary. I will choose the maximum rate limit because I will be using it for Agent mode in GitHub Copilot.
Get the Endpoint, Key, and Deployment Name
After the deployment is completed, get the deployment name for your new model. Mine is gpt-5-chat. Retrieve the endpoint URL and API key from the Azure AI Foundry home page.
Configure GitHub Copilot with Azure OpenAI
Now that you have the endpoint, key, and deployment name, you can configure GitHub Copilot to use your Azure OpenAI model.
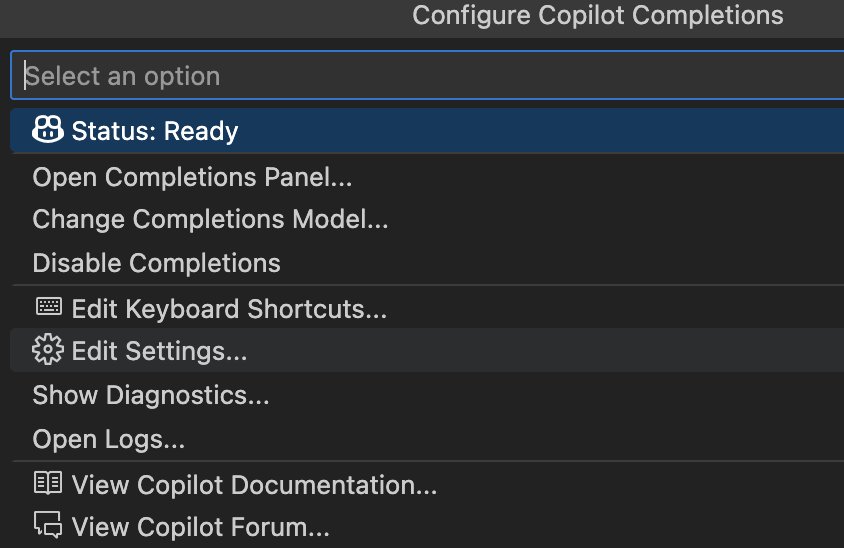
Go to GitHub Copilot settings and click on Edit Settings...
Search for Azure and click on Edit in settings.json.
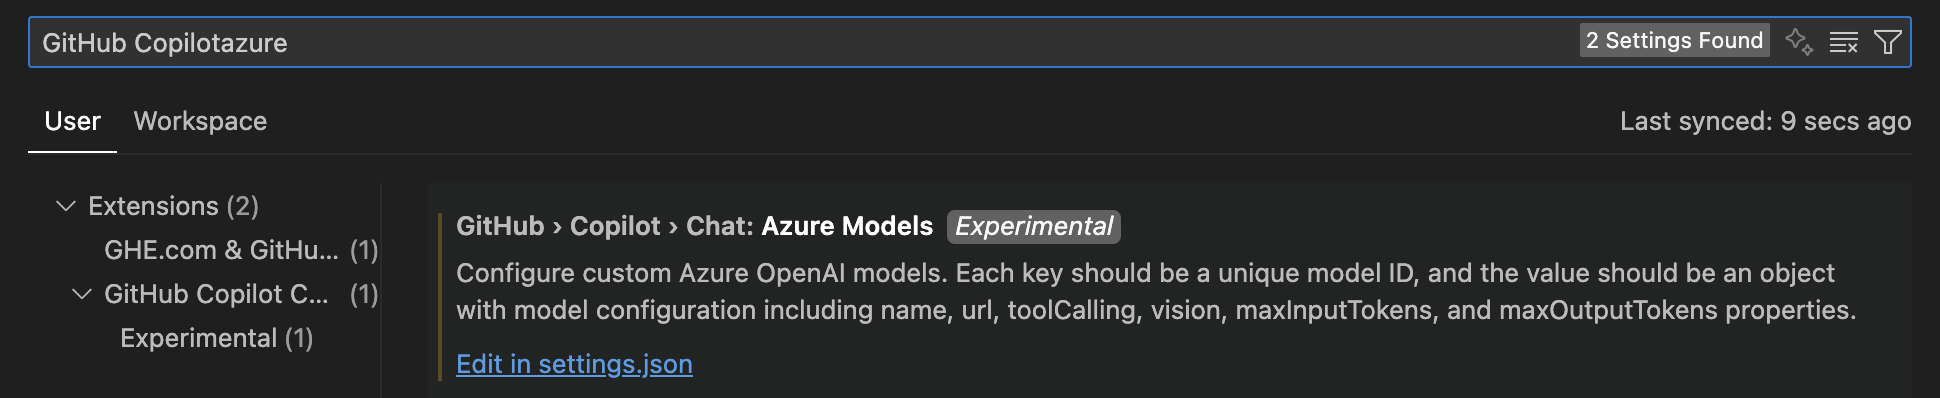
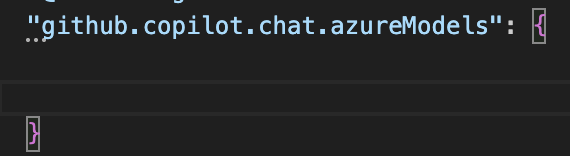
You will find the following section at the bottom requesting some inputs:
    "github.copilot.chat.azureModels": {

    }
Update it with the following information:
  "github.copilot.chat.azureModels": {
    "<modelId>": {
      "name": "Model Name",
      "maxInputTokens": 64000,
      "maxOutputTokens": 16000,
      "toolCalling": true,
      "url": "<Model URL>",
      "vision": true
    }
  },
Here’s an example with filled values:
  "github.copilot.chat.azureModels": {
    "gpt-5-chat": {
      "name": "gpt-5-chat",
      "maxInputTokens": 128000,
      "maxOutputTokens": 16000,
      "toolCalling": true,
      "url": "https://openai-jd-training-test.openai.azure.com/openai/deployments/gpt-5-chat/chat/completions?api-version=2025-01-01-preview",
      "vision": true
    }
  },
Close and restart VS Code to apply the changes. Then, go back to Manage Models and choose Azure OpenAI. This time, it will prompt you to enter the API key.

Select the model and click OK.

Confirm if Azure OpenAI is Configured for GitHub Copilot
Try changing the model in GitHub Copilot Chat. You should now see your new model listed.

Conclusion
In this guide, we walked through the steps to connect GitHub Copilot with Azure OpenAI models. By following these steps, you can leverage the power of Azure's AI capabilities within your development environment.