Deploy .NET App on Ubuntu with Nginx and SSL Certificate

Learn how to deploy a .NET application on a Linux Ubuntu server, configure nginx as a reverse proxy, set up subdomain mapping, and secure your application with SSL certificate using certbot. This comprehensive guide covers everything from server setup to production deployment.
Prerequisites
- Ubuntu server (cloud VM or physical)
- Root or sudo access
- A registered domain with subdomain support (e.g., api.example.com)
- .NET application ready to deploy (local or Git repo)
- Basic knowledge of Linux commands
Step 1: Connect to Your Linux Ubuntu Server
Open your terminal on your local machine. If you are on Windows, you can use Command Prompt or PowerShell, or a terminal emulator like Git Bash. If you are on macOS or Linux, you can use the built-in terminal.

Use SSH to connect to your server. Replace username and server_ip with your actual server username and IP address:
ssh username@server_ip
If you use a custom SSH port, add the -p flag:
ssh -p 3333 username@server_ip
Step 2: Update Your Server
sudo apt update && sudo apt upgrade -y
Step 3: Install .NET SDK or .NET Runtime on Ubuntu
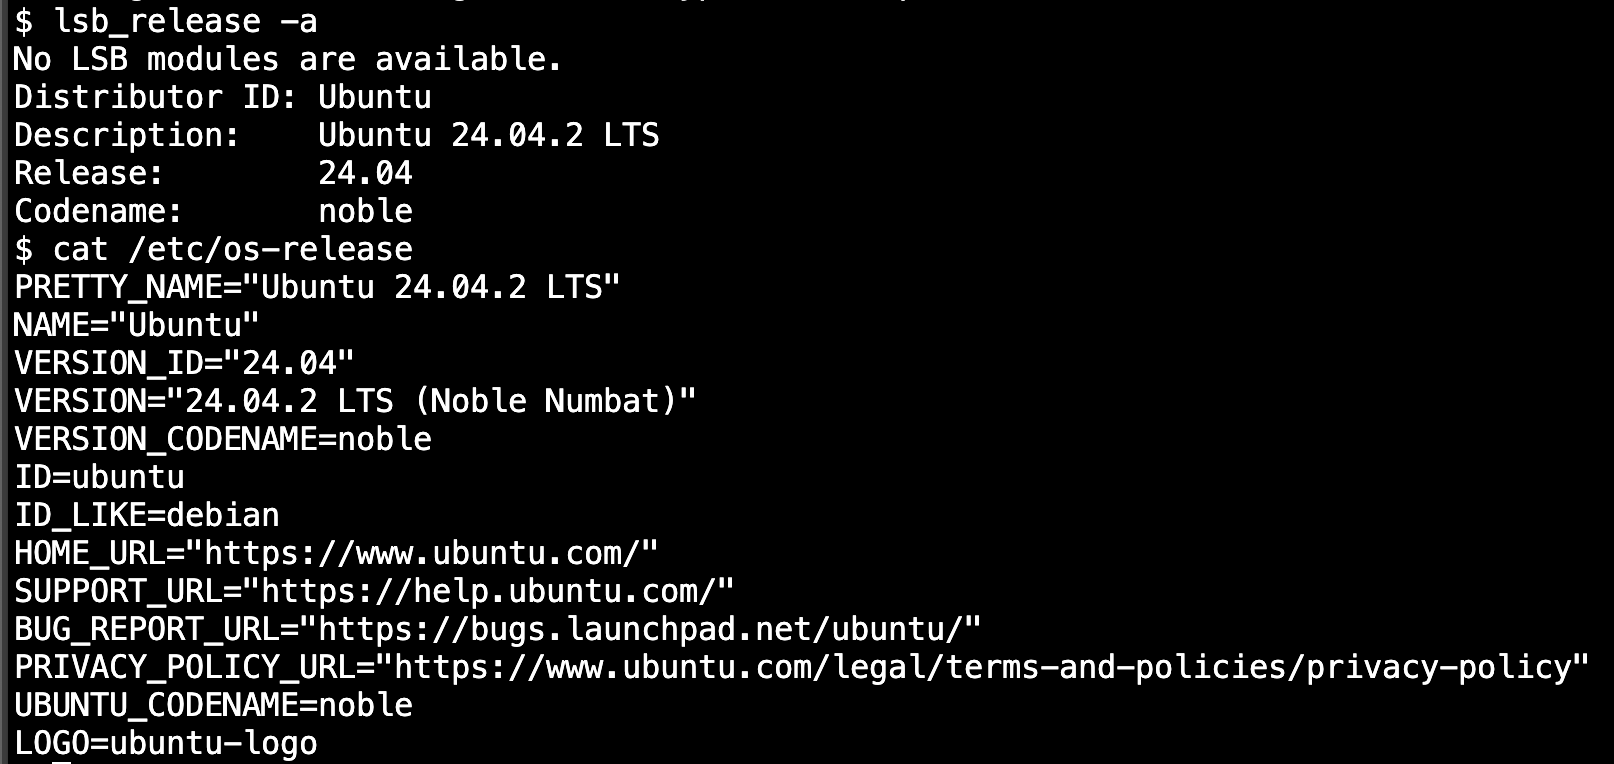
Check your Ubuntu version to choose the correct .NET installation method:
lsb_release -a
Or use this shorter command:
cat /etc/os-release
Install the SDK (which includes the runtime) if you want to develop .NET apps. Or, if you only need to run apps, install the Runtime. If you're installing the Runtime, we suggest you install the ASP.NET Core Runtime as it includes both .NET and ASP.NET Core runtimes.
Choose your Ubuntu version and .NET version:
- Ubuntu 24.10
- Ubuntu 24.04
- Ubuntu 22.04
Ubuntu 24.10 - The following versions of .NET are supported: 9.0, 8.0
- .NET 9
- .NET 8
Install .NET 9 SDK:
sudo apt-get update && \
sudo apt-get install -y dotnet-sdk-9.0
Or install .NET 9 Runtime only:
sudo apt-get update && \
sudo apt-get install -y aspnetcore-runtime-9.0
Install .NET 8 SDK:
sudo apt-get update && \
sudo apt-get install -y dotnet-sdk-8.0
Or install .NET 8 Runtime only:
sudo apt-get update && \
sudo apt-get install -y aspnetcore-runtime-8.0
Ubuntu 24.04 - The following versions of .NET are supported: 9.0, 8.0
- .NET 9
- .NET 8
For .NET 9, you need to register the Ubuntu backports repository:
sudo add-apt-repository ppa:dotnet/backports
sudo apt-get update
Install .NET 9 SDK:
sudo apt-get install -y dotnet-sdk-9.0
Or install .NET 9 Runtime only:
sudo apt-get install -y aspnetcore-runtime-9.0
Install .NET 8 SDK (available in built-in Ubuntu feed):
sudo apt-get update && \
sudo apt-get install -y dotnet-sdk-8.0
Or install .NET 8 Runtime only:
sudo apt-get update && \
sudo apt-get install -y aspnetcore-runtime-8.0
Ubuntu 22.04 - The following versions of .NET are supported: 9.0, 8.0
First, add the Microsoft package repository:
# Download Microsoft signing key:
wget https://packages.microsoft.com/config/ubuntu/22.04/packages-microsoft-prod.deb -O packages-microsoft-prod.deb
sudo dpkg -i packages-microsoft-prod.deb
rm packages-microsoft-prod.deb
- .NET 9
- .NET 8
For .NET 9, you need to register the Ubuntu backports repository:
sudo add-apt-repository ppa:dotnet/backports
sudo apt-get update
Install .NET 9 SDK:
sudo apt-get install -y dotnet-sdk-9.0
Or install .NET 9 Runtime only:
sudo apt-get install -y aspnetcore-runtime-9.0
Install .NET 8 SDK:
sudo apt update
sudo apt install -y dotnet-sdk-8.0
Or install .NET 8 Runtime only:
sudo apt update
sudo apt install -y aspnetcore-runtime-8.0
Install the SDK (which includes the runtime) if you want to develop .NET apps. Or, if you only need to run apps, install the Runtime. We suggest you install the ASP.NET Core Runtime as it includes both .NET and ASP.NET Core runtimes.
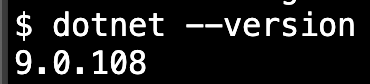
Verify the installation:
dotnet --version
Step 4: Clone or Upload Your .NET Application
Clone from GitHub (replace with your repo):
git clone https://github.com/yourusername/your-dotnet-app.git
cd your-dotnet-app
Alternatively, you can upload your application files using SCP or SFTP.
Step 5: Build and Publish Your .NET Application
Navigate to your application directory and publish the application:
dotnet restore
dotnet build --configuration Release
dotnet publish --configuration Release --output /var/www/dotnetapp
dotnet publish dotnetapp.csproj --configuration Release --output /var/www/dotnetapp
Step 6: Create a Systemd Service for Your .NET App
Create a service file to manage your .NET application:
sudo nano /etc/systemd/system/dotnetapp.service
Add the following content (replace paths and user as needed):
[Unit]
Description=YourApp .NET Web API
After=network.target

[Service]
WorkingDirectory=/var/www/dotnetapp
ExecStart=/usr/bin/dotnet /var/www/dotnetapp/YourApp.dll
Restart=always
# Optional: log output
StandardOutput=file:/var/log/dotnetapp.log
StandardError=file:/var/log/dotnetapp.err

# Environment if needed
Environment=ASPNETCORE_ENVIRONMENT=Production

[Install]
WantedBy=multi-user.target
Enable and start the service:
sudo systemctl daemon-reexec
sudo systemctl daemon-reload
sudo systemctl enable dotnetapp.service
sudo systemctl start dotnetapp.service
sudo systemctl status dotnetapp.service
Step 7: Install and Configure Nginx as a Reverse Proxy
Install Nginx:
sudo apt install nginx -y
Configure Nginx for your subdomain (replace api.yourdomain.com):
sudo nano /etc/nginx/sites-available/dotnetapp
Paste the following configuration:
server {
    listen 80;
    server_name api.yourdomain.com;

    location / {
        proxy_pass http://localhost:5000;
        proxy_http_version 1.1;
        proxy_set_header Upgrade $http_upgrade;
        proxy_set_header Connection keep-alive;
        proxy_set_header Host $host;
        proxy_set_header X-Real-IP $remote_addr;
        proxy_set_header X-Forwarded-For $proxy_add_x_forwarded_for;
        proxy_set_header X-Forwarded-Proto $scheme;
        proxy_cache_bypass $http_upgrade;
    }
}
Enable the configuration and test Nginx:
sudo ln -s /etc/nginx/sites-available/dotnetapp /etc/nginx/sites-enabled/
sudo nginx -t
sudo systemctl restart nginx
Step 8: Configure Your Subdomain's DNS
- Go to your domain registrar's DNS settings.
- Create an A record pointing your subdomain (e.g.,
api) to your server's public IP address. - Example DNS record:
- Type: A
- Name: api
- Value: Your server's IP address
- TTL: 300 (or default)
Wait for DNS propagation (can take up to 24 hours, usually much faster).
Step 9: Configure Firewall
Allow HTTP and HTTPS traffic through the firewall:
sudo ufw allow 'Nginx Full'
sudo ufw enable
sudo ufw status
Step 10: Secure with SSL (HTTPS) Using Let's Encrypt
Install Certbot:
sudo apt install certbot python3-certbot-nginx -y
Obtain and install SSL certificate for your subdomain:
sudo certbot --nginx -d api.yourdomain.com
Follow the prompts to complete SSL setup. Certbot will automatically:
- Generate SSL certificates
- Update your Nginx configuration
- Set up automatic renewal
Check the updated Nginx configuration:
sudo nano /etc/nginx/sites-available/dotnetapp
You should see the SSL configuration has been automatically added by Certbot.
Step 11: Test Your Deployment
Visit your subdomain in a browser:
https://api.yourdomain.com
Your .NET application should load securely with HTTPS.
Check the status of all services:
# Check .NET app service
sudo systemctl status dotnetapp.service

# Check Nginx
sudo systemctl status nginx

# Check SSL certificate
sudo certbot certificates
Step 12: Configure Application Settings for Production
Update your appsettings.Production.json to include proper production settings:
{
  "Logging": {
    "LogLevel": {
      "Default": "Information",
      "Microsoft.AspNetCore": "Warning"
    }
  },
  "AllowedHosts": "api.yourdomain.com",
  "Kestrel": {
    "Endpoints": {
      "Http": {
        "Url": "http://localhost:5000"
      }
    }
  }
}
Restart the service after configuration changes:
sudo systemctl restart dotnetapp.service
Troubleshooting
- App not loading? Check service status:
sudo systemctl status dotnetapp.service - Nginx errors? Test configuration:
sudo nginx -t - SSL issues? Ensure DNS is pointed correctly and ports 80/443 are open
- Port conflicts? Make sure your .NET app is configured to use the correct port (usually 5000)
- Permission issues? Check file ownership and permissions in your app directory
Check application logs:
# View .NET app logs
sudo journalctl -u dotnetapp.service --lines=50

# View Nginx logs
sudo tail -f /var/log/nginx/error.log
sudo tail -f /var/log/nginx/access.log
Monitoring and Maintenance
Set up log rotation and monitoring:
# Enable log rotation for your app
sudo nano /etc/logrotate.d/dotnetapp
Add the following content:
/var/log/dotnetapp/*.log {
    daily
    rotate 7
    compress
    delaycompress
    missingok
    notifempty
    create 644 yourusername yourusername
}
Check SSL certificate auto-renewal:
sudo certbot renew --dry-run
Conclusion
You have successfully deployed a .NET application on a Linux Ubuntu server and connected it to a subdomain with HTTPS. Your application is now running in production with:
- Automatic service management via systemd
- Reverse proxy configuration with Nginx
- SSL certificate for secure HTTPS communication
- Subdomain routing for clean URL structure
For production environments, consider implementing additional monitoring, logging, and backup strategies to ensure high availability and security.
Video Tutorial
Coming soon!