How to Create a Resource Group in Microsoft Azure using Azure CLI

Learn how to create a resource group in Microsoft Azure using the Azure Command-Line Interface (CLI) for efficient resource management.
Introduction
In this guide, we will walk you through the steps to create a resource group in Microsoft Azure using the Azure Command-Line Interface (CLI). Resource groups are essential for managing and organizing your Azure resources effectively. By the end of this tutorial, you will have a clear understanding of how to create and manage resource groups using the Azure CLI.
Prerequisites
Before you begin, ensure you have the following:
- An active Azure subscription. If you don't have one, you can create a free account here.
- The Azure CLI installed on your local machine. You can download and install it from the official Azure CLI documentation.
- Basic knowledge of command-line operations.
Step 1: Open Your Terminal
To get started, open your terminal (Command Prompt, PowerShell, or any terminal emulator of your choice) and log in to your Azure account using the following command:
az login
This command will open a web page where you can enter your Azure credentials. Once logged in, you can start managing your Azure resources using the CLI.
If you have multiple subscriptions, after login, CLI will prompt you to select the subscription you want to use.
Step 2: Create a Resource Group
To create a resource group, use the following command:
az group create --name <resource-group-name> --location <location>
Replace <resource-group-name> with your desired name for the resource group and <location> with the Azure region where you want to create the resource group (e.g., eastus, westus, southeastasia).
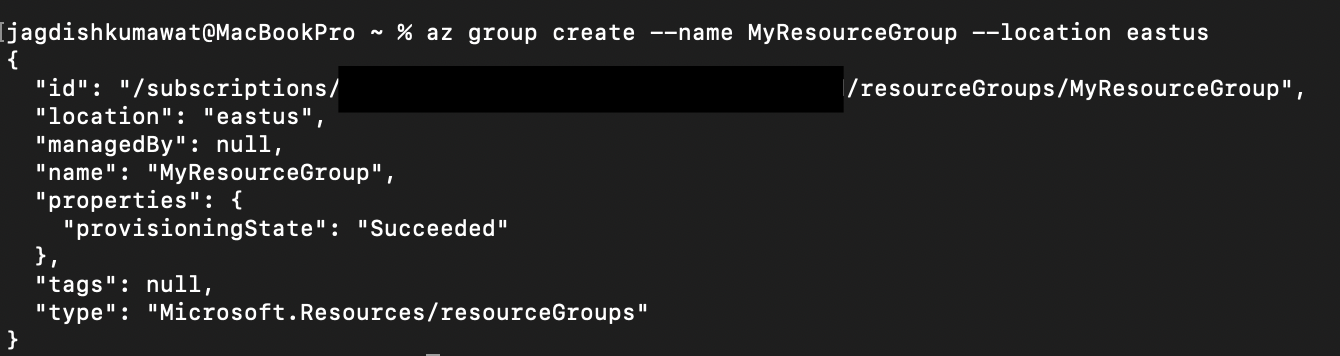
For example, to create a resource group named MyResourceGroup in the eastus region, you would run:
az group create --name MyResourceGroup --location eastus
If the command is successful, you will see a JSON output confirming the creation of the resource group, including its name and location.
A resource group is associated with a single location. To see all the locations supported in your current subscription, run the az account list-locations command:
az account list-locations
Step 3: Verify Resource Group Creation
To verify that your resource group has been created successfully, you can list all resource groups in your Azure subscription using the following command:
az group list --output table
This command will display a table of all resource groups, including the one you just created. You should see MyResourceGroup listed along with its location and other details.
Step 4: Additional Resource Group Management Commands
You can perform various operations on resource groups using the Azure CLI. Here are some common commands:
# Update a resource group
az group update --name MyResourceGroup --set tags.Environment=Production

# Show details of a resource group
az group show --name MyResourceGroup

# Delete a resource group
az group delete --name MyResourceGroup --yes --no-wait
These commands allow you to manage your resource groups effectively, including deleting, updating, and viewing details about them.
Conclusion
In this tutorial, you learned how to create a resource group in Microsoft Azure using the Azure CLI. Resource groups are essential for organizing and managing your Azure resources efficiently. By mastering the Azure CLI, you can automate and streamline your cloud operations, making it easier to manage your Azure environment.