How to Sign Users In to a Next.js App with MSAL React

A Next.js app can sign people in with their work account in Microsoft Entra ID without a server-side session or a single secret: the browser does it, with MSAL React, Microsoft's sign-in library for React. This guide adds a Sign in button to a Next.js App Router app and shows every screen of a real first sign-in.
How the Sign-In Works
MSAL (Microsoft Authentication Library) comes in two packages for a React app: @azure/msal-browser does the work, and @azure/msal-react connects it to React. With a redirect sign-in, the whole page goes to Microsoft and comes back:
The response comes back to a small page of its own, /redirect, which MSAL Browser 5 needs. MSAL then keeps the account and its tokens in the browser's sessionStorage by default, which lasts until the tab is closed.
The example is a fresh Next.js 16 app, made with create-next-app (App Router, TypeScript), whose home page is replaced with a sign-in card. It runs on http://localhost:3000.
Prerequisites
- A single-page application registration in Microsoft Entra ID with the redirect URI
http://localhost:3000/redirect, and its Application (client) ID and Directory (tenant) ID.
Step 1: Install MSAL
In the app's folder:
npm install --save-exact @azure/msal-browser@5.30.0 @azure/msal-react@5.8.3
The command works unchanged in bash, zsh and PowerShell. npm added three packages: the two you named, and @azure/msal-common, which both use. --save-exact writes the exact versions into package.json, so every install gets the same library.
Step 2: Add the Settings
MSAL needs the registration's two IDs. Put them in .env.local in the app's folder:
NEXT_PUBLIC_ENTRA_CLIENT_ID=33333333-3333-3333-3333-333333333333
NEXT_PUBLIC_ENTRA_TENANT_ID=11111111-1111-1111-1111-111111111111
Use your own values from the registration's Overview page (How to Register a Single-Page Application in Microsoft Entra ID). Neither is a secret: the browser needs both to sign anyone in. The NEXT_PUBLIC_ prefix tells Next.js to copy the values into the JavaScript it sends to the browser; variables without it never reach the browser.
Step 3: Create the MSAL Instance
Sign-in happens in the browser, so MSAL lives in a client component. Create app/auth-provider.tsx:
"use client";

import { PublicClientApplication } from "@azure/msal-browser";
import { MsalProvider } from "@azure/msal-react";
import { type ReactNode, useState } from "react";

// One MSAL instance for the whole page. MsalProvider initializes it in the
// browser and finishes a sign-in that comes back from Microsoft.
export function AuthProvider({ children }: { children: ReactNode }) {
  const [msal] = useState(
    () =>
      new PublicClientApplication({
        auth: {
          clientId: process.env.NEXT_PUBLIC_ENTRA_CLIENT_ID ?? "",
          authority: `https://login.microsoftonline.com/${process.env.NEXT_PUBLIC_ENTRA_TENANT_ID}`,
          redirectUri: "/redirect",
          postLogoutRedirectUri: "/redirect",
        },
      }),
  );

  return <MsalProvider instance={msal}>{children}</MsalProvider>;
}
| Setting | What it does |
|---|---|
clientId | Which app is signing people in: the registration's client ID |
authority | Where they sign in: your organization's tenant, so only its accounts are accepted |
redirectUri | Where Microsoft sends the sign-in response. It must match a redirect URI of the registration exactly |
postLogoutRedirectUri | Where Microsoft sends people after signing out |
useState with a function creates the instance once and keeps it for the life of the page. MSAL's own advice is to instantiate one PublicClientApplication per application and use the same instance throughout your app. MsalProvider makes it available to every component inside, and does two jobs you'd otherwise write yourself: it calls the instance's initialize() and then handleRedirectPromise(), which finishes a sign-in coming back from Microsoft. MSAL React's FAQ says it plainly: this is done under the hood and you do not need to call handleRedirectPromise on your own.
Step 4: Add the Sign In Button
Create app/account.tsx, the part of the page that changes with the sign-in:
"use client";

import { InteractionStatus } from "@azure/msal-browser";
import {
  AuthenticatedTemplate,
  UnauthenticatedTemplate,
  useMsal,
} from "@azure/msal-react";

// Shows a Sign in button to visitors, and the account to signed-in users.
export function Account() {
  const { instance, accounts, inProgress } = useMsal();
  const account = accounts[0];

  return (
    <>
      <UnauthenticatedTemplate>
        <p>You aren't signed in.</p>
        <button
          type="button"
          disabled={inProgress !== InteractionStatus.None}
          onClick={() => void instance.loginRedirect()}
        >
          Sign in
        </button>
      </UnauthenticatedTemplate>
      <AuthenticatedTemplate>
        <p>
          Signed in as <strong>{account?.name}</strong> ({account?.username})
        </p>
      </AuthenticatedTemplate>
    </>
  );
}
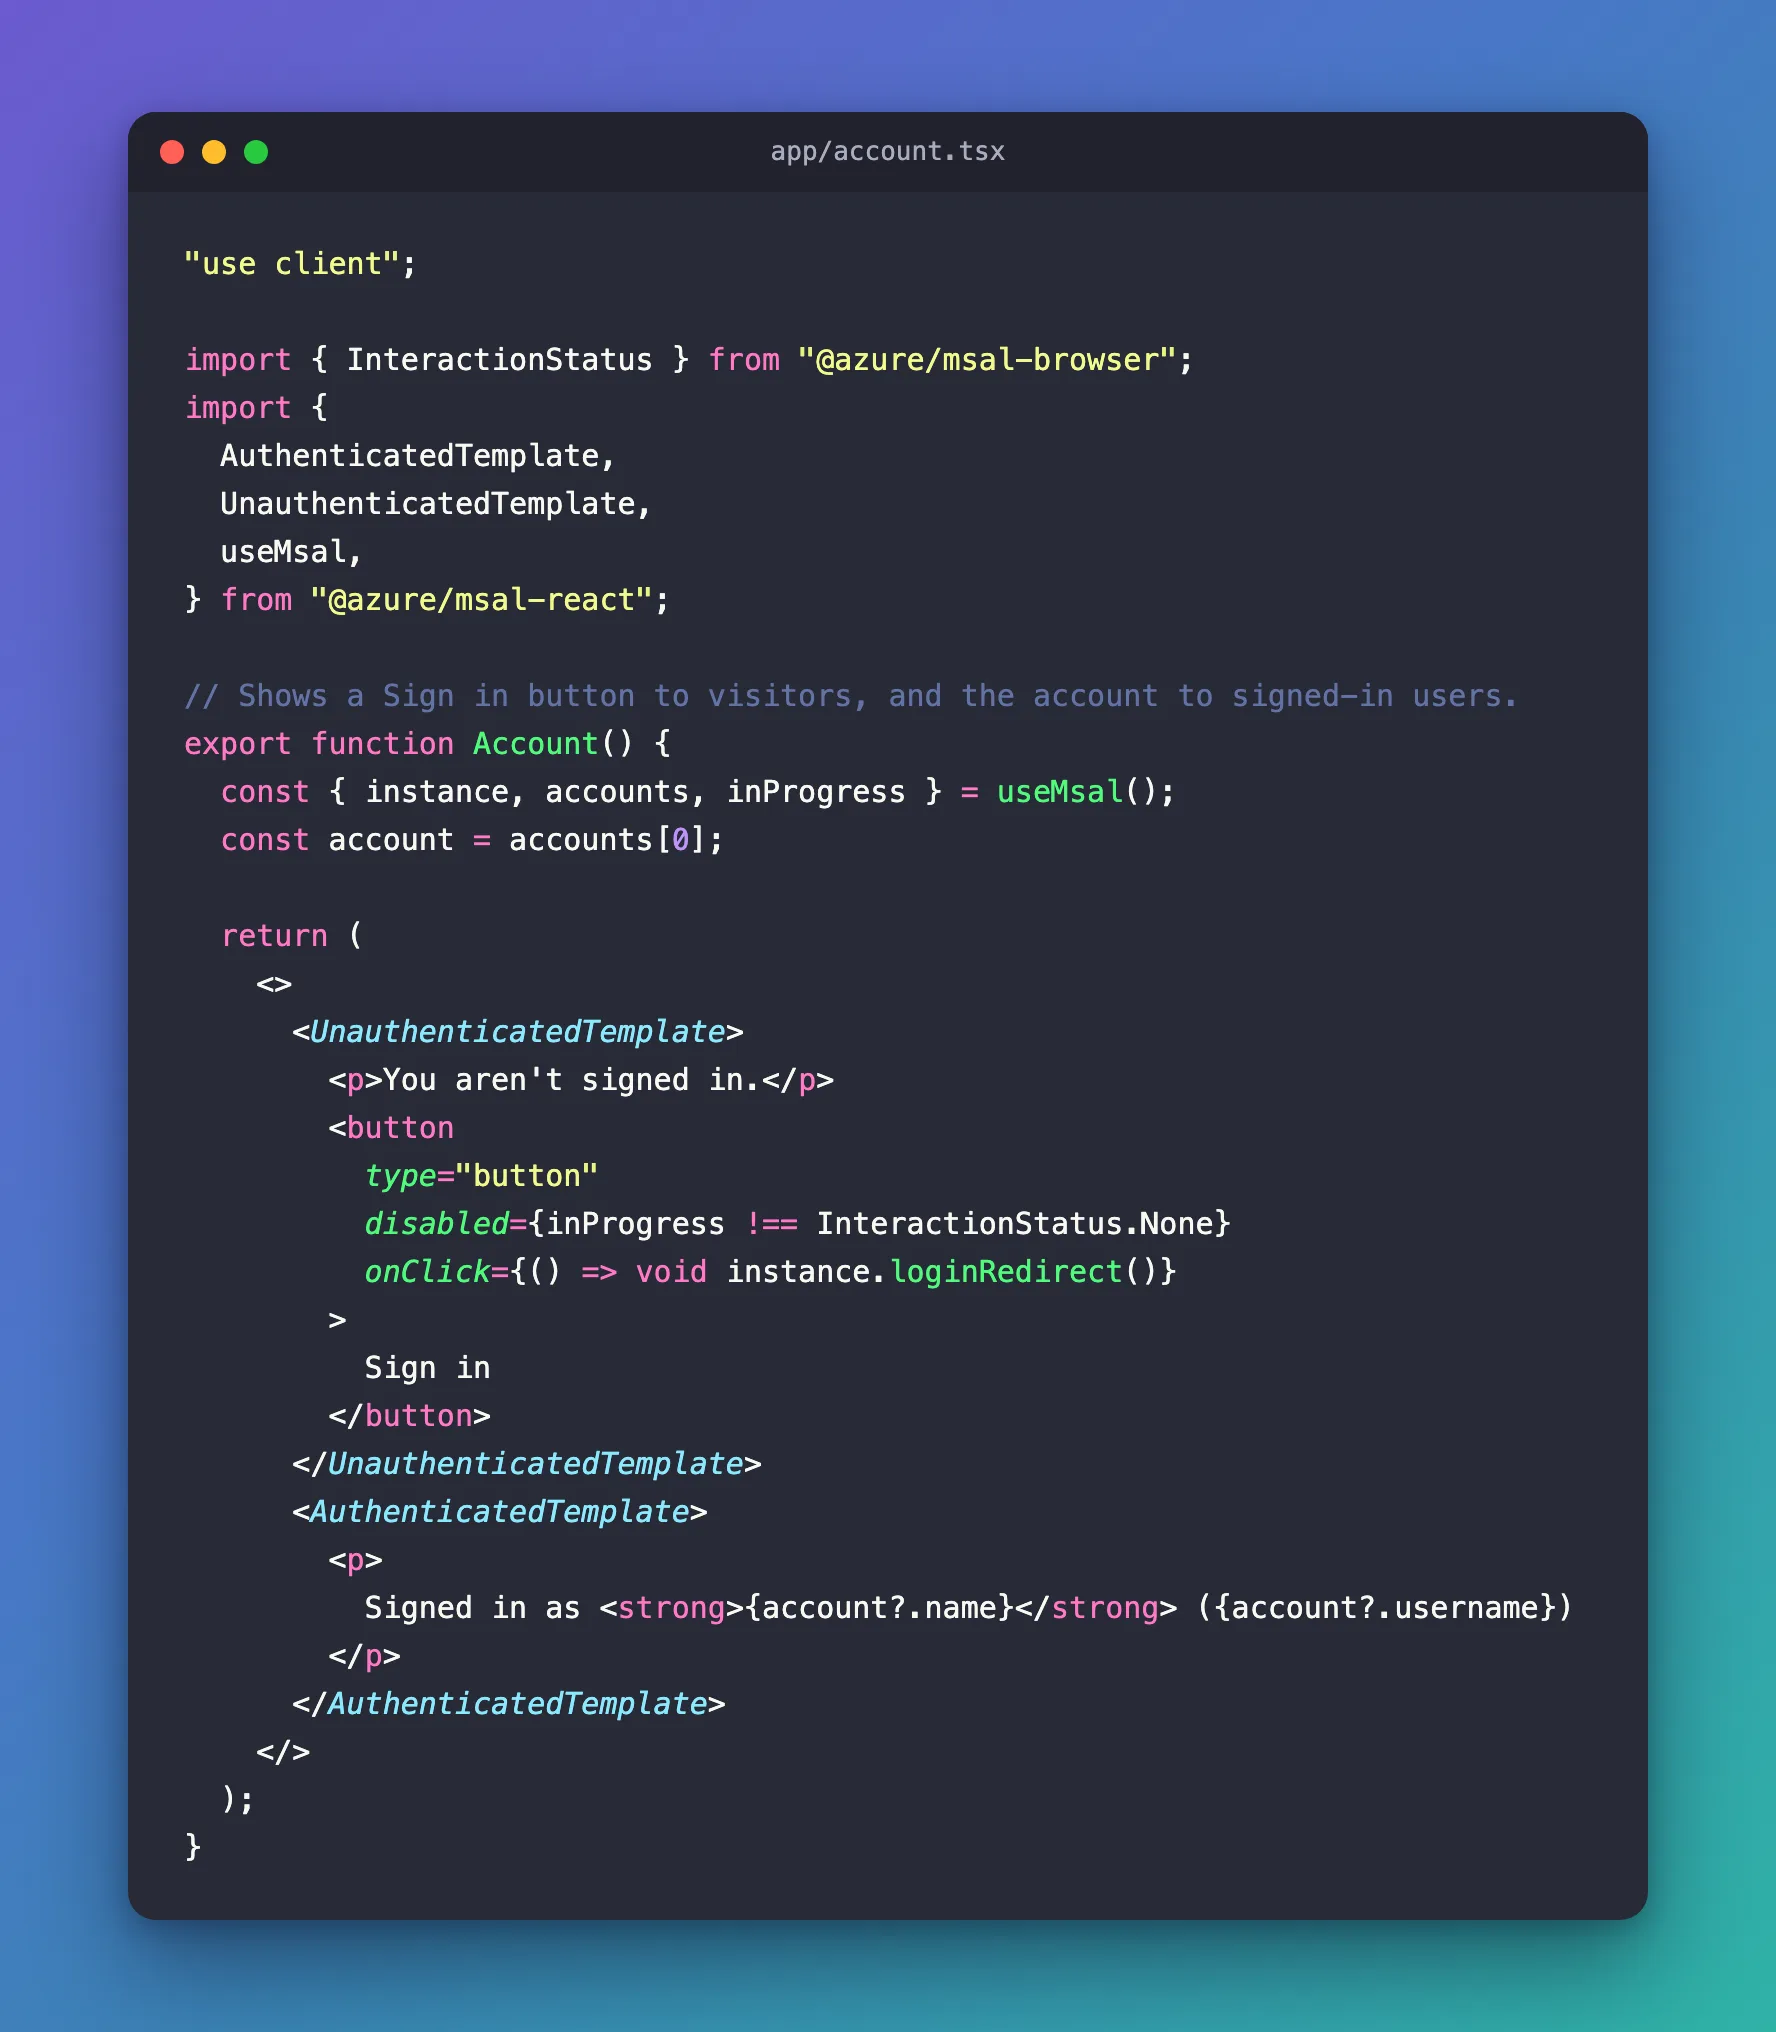
| Piece | What it does |
|---|---|
useMsal() | Gives the MSAL instance, the signed-in accounts and inProgress, what MSAL is busy with |
UnauthenticatedTemplate | Shows its content only to visitors who aren't signed in |
AuthenticatedTemplate | Shows its content only to someone signed in |
instance.loginRedirect() | Sends the page to Microsoft to sign in. Without arguments it asks only for the sign-in permissions |
disabled={inProgress !== InteractionStatus.None} | Keeps the button from starting a second sign-in while MSAL is busy, for example while it finishes the first |
account.name, account.username | The person's display name and sign-in name, from their ID token |
void in front of loginRedirect() says on purpose that nothing waits for it: the page is leaving for Microsoft anyway.
Step 5: Put It on the Page
Replace app/page.tsx with a page that places the account inside the provider:
import { Account } from "./account";
import { AuthProvider } from "./auth-provider";
import styles from "./page.module.css";

export default function Home() {
  return (
    <main className={styles.page}>
      <div className={styles.card}>
        <h1>Sign-in demo</h1>
        <AuthProvider>
          <Account />
        </AuthProvider>
      </div>
    </main>
  );
}
The page itself stays a server component; only AuthProvider and Account run in the browser. The provider wraps this page, not the root layout, for a reason the next step needs: the /redirect page must stay outside MsalProvider. The styles in page.module.css only center a card and color the button, and any styles work.
Step 6: Add the Redirect Page
MSAL Browser 5 sends the sign-in response to a redirect bridge page that hands it back to the page that started the sign-in. Create app/redirect/page.tsx:
"use client";

import { broadcastResponseToMainFrame } from "@azure/msal-browser/redirect-bridge";
import { useEffect } from "react";

// Microsoft sends the sign-in response here. This page passes it back to the
// page that started the sign-in. It must stay outside MsalProvider.
export default function Redirect() {
  useEffect(() => {
    broadcastResponseToMainFrame().catch((error: unknown) => {
      console.error("Couldn't pass the sign-in response on.", error);
    });
  }, []);

  return <p>Signing in…</p>;
}
That's enough for the sign-in to work. The page deserves two more settings, a fixed title and a Cache-Control header, explained with the rest of the bridge in How to Add the MSAL Redirect Bridge Page to a Next.js App.
Step 7: Sign In
Start the app with npm run dev and open http://localhost:3000:
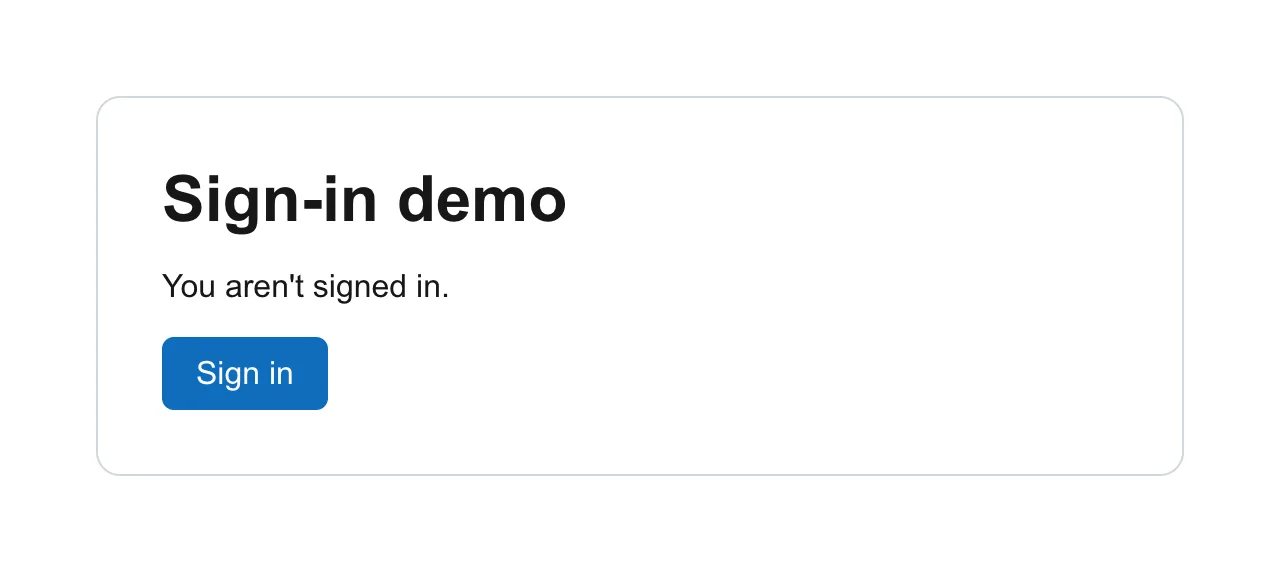
Select Sign in. The page goes to Microsoft. The first time someone signs in to the app, Microsoft asks them to agree to the sign-in permissions:
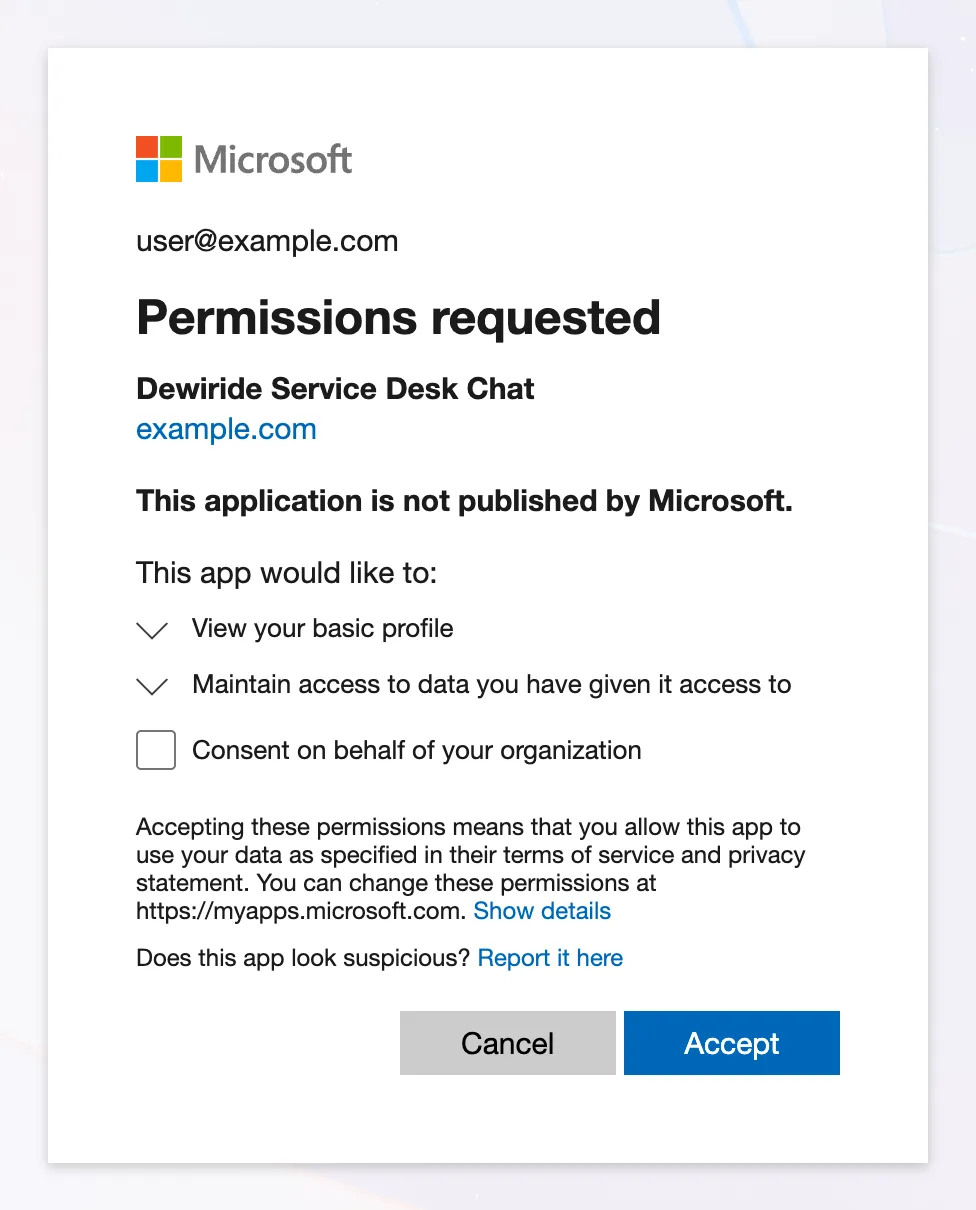
These are the permissions loginRedirect() asks for when you give it none: reading the basic profile, for the name you're about to see, and maintaining access, which lets MSAL renew tokens without sending the person to Microsoft again. People see this screen once; after Accept, the app has their consent. Leave Consent on behalf of your organization unticked to agree only for yourself: ticked, it consents for everyone in the organization.
After Accept, Microsoft sends the response to /redirect, the bridge hands it back, and the home page shows the account:
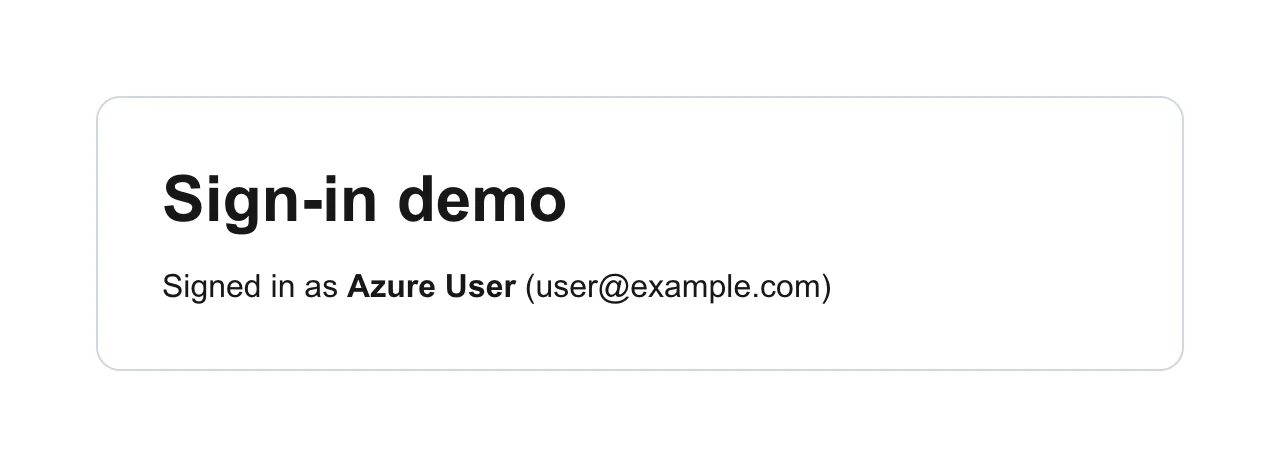
The app's terminal shows the way back: the bridge, then the home page again:
 GET /redirect 200 in 57ms (next.js: 11ms, application-code: 46ms)
 GET / 200 in 27ms (next.js: 0.8ms, application-code: 26ms)
Reload the page and you stay signed in: the account is in sessionStorage. Close the tab, and it's gone.
Common Mistakes
| Mistake | What happens | Do this instead |
|---|---|---|
Wrapping the root layout in MsalProvider | The /redirect page is inside it too, which MSAL's documentation says it must not be | Wrap the pages that need sign-in, or give /redirect its own layout without the provider |
Creating new PublicClientApplication(...) in the component body | A new instance on every render | Create it once, with useState(() => …) or outside the component |
Forgetting "use client" | The component runs as a server component, which can't use React hooks or the browser's storage | Mark the files that use MSAL as client components |
A redirectUri that isn't registered exactly | Microsoft refuses to send the response to it | Register http://localhost:3000/redirect, path and port included |
Expecting a secret in .env.local | A browser app can't keep one, and needs none | Only the client ID and the tenant ID |
Troubleshooting
| Symptom | Likely cause | Fix |
|---|---|---|
| Permissions requested at the first sign-in | The person hasn't agreed to the sign-in permissions yet | Expected once per person; an administrator can consent for everyone |
/redirect stays on Signing in… | The page was opened directly, with no response in its address: the console shows BrowserAuthError: empty_response | Start from the home page's Sign in button |
The values are undefined in the browser | A variable lacks the NEXT_PUBLIC_ prefix, or is misspelled | Check the names in .env.local against the code |
| Signed out after closing the tab | MSAL keeps the cache in sessionStorage by default | Expected; MSAL's cacheLocation setting can use localStorage instead |
FAQ
Can I use a popup instead of a redirect?
Yes: loginPopup() opens Microsoft in a popup window. It needs the same /redirect bridge page, which hands the response from the popup back to the page.
Does the app need a server to sign people in?
No. The browser signs in with Microsoft directly, using the authorization code flow with PKCE, which needs no secret. Next.js only serves the pages.
How do I ask for my own API's permission at sign-in?
Pass it: instance.loginRedirect({ scopes: ["api://<API client ID>/access_as_user"] }) asks for it up front, together with the sign-in permissions. Getting tokens for an API is covered in How to Get an Access Token with MSAL React.
Conclusion
MSAL React signs people in to a Next.js app in the browser: one PublicClientApplication created with useState, MsalProvider around the pages that need it, UnauthenticatedTemplate with a Sign in button calling loginRedirect(), and AuthenticatedTemplate for the signed-in view. MSAL Browser 5 needs one more page, /redirect, outside the provider. The first sign-in asks once for the basic sign-in permissions.
Additional Resources
- MSAL React: getting started —
MsalProviderand the templates. - MSAL Browser: redirect bridge — the
/redirectpage for Next.js. - MSAL Browser: caching —
sessionStorageand the alternatives.
