How to Set Up and Run the Inventory and Orders API for .NET C# and MySQL

You've downloaded the Inventory and Orders API source code, and you want to see it working. This post takes you from the zip file to a running API with its own MySQL database, one step at a time, with what each step should print.
You don't need to have read the tutorial series first. By the end, you'll have:
- MySQL 9.7 running in Docker on your own computer, with its data kept in a volume;
- every table created, with one MySQL account for the API and another for migrations;
- the API answering on
http://localhost:5190, with interactive documentation; - your first order placed, and the stock taken for it.
Everything on this page is real output, from a fresh copy of the archive on macOS, in zsh and in PowerShell 7.
Get the Source Code
Get the complete source code of Inventory and Orders API for .NET C# and MySQL on Dewiride Store →
The archive holds everything this post sets up and runs. After you buy it, you'll find it in your library on the store, as one zip file.
What You Need
- The .NET 10 SDK. This is what builds and runs the code.
- Docker Desktop, installed and running, or another way to run Docker Compose. This is what runs MySQL, so you don't have to install it.
- A terminal. On macOS or Linux, that's zsh or bash. On Windows, it's PowerShell.
- An editor, if you'd like one. VS Code or Visual Studio both work, but none of the steps below need them.
Check the first two in your terminal:
dotnet --version
docker compose version
10.0.403
Docker Compose version v5.6.1
The project asks for SDK 10.0.403 or a newer 10.0 version. Your numbers can be higher than these.
What it costs: .NET and MySQL Community Server are free. Docker Desktop is free for personal use, education, non-commercial open source and "small businesses (fewer than 250 employees AND less than $10 million in annual revenue)". Larger organizations need a paid subscription.
Step 1: Unzip the Archive
Open a terminal in the folder where you saved the zip file.
- bash / zsh
- PowerShell
unzip inventory-orders-api-dotnet-csharp-mysql-1.0.0.zip
cd inventory-orders-api-dotnet-csharp-mysql
Expand-Archive -Path inventory-orders-api-dotnet-csharp-mysql-1.0.0.zip -DestinationPath .
Set-Location inventory-orders-api-dotnet-csharp-mysql
This is what you've got:
├── README.md                     These same steps, plus every setting
├── compose.yaml                  Starts MySQL 9.7 in Docker
├── .env.example                  Lists the passwords MySQL needs
├── Dewiride.Inventory.slnx       The solution
├── global.json                   Which .NET SDK to use
├── dotnet-tools.json             The dotnet-ef tool, for migrations
├── Directory.Build.props         Build settings for every project
├── Directory.Packages.props      Every package version, in one place
├── .editorconfig
├── .gitattributes
├── .gitignore
└── src/
    ├── Dewiride.Inventory.Api/   Endpoints, request limits, error responses and start-up
    └── Dewiride.Inventory.Data/  The DbContext, entities, migrations, retries and session limits
Run every command below from this folder.
Step 2: Create the Passwords
MySQL needs a password for its administrator account, one for the API's account, and one for the account that runs migrations. These commands make three long random ones and write them to a file called .env. You never type them yourself, and they don't appear in your terminal.
- bash / zsh
- PowerShell
{
  echo "MYSQL_ROOT_PASSWORD=$(openssl rand -hex 24)"
  echo "MYSQL_PASSWORD=$(openssl rand -hex 24)"
  echo "MYSQL_MIGRATOR_PASSWORD=$(openssl rand -hex 24)"
} > .env
To see that it worked, print the names without the values:
cut -d= -f1 .env
function New-Password { $bytes = [byte[]]::new(24); [System.Security.Cryptography.RandomNumberGenerator]::Create().GetBytes($bytes); -join ($bytes | ForEach-Object { $_.ToString('x2') }) }
"MYSQL_ROOT_PASSWORD=$(New-Password)", "MYSQL_PASSWORD=$(New-Password)", "MYSQL_MIGRATOR_PASSWORD=$(New-Password)" | Set-Content .env
To see that it worked, print the names without the values:
Get-Content .env | ForEach-Object { ($_ -split '=')[0] }
MYSQL_ROOT_PASSWORD
MYSQL_PASSWORD
MYSQL_MIGRATOR_PASSWORD
MySQL only reads these passwords the first time it starts. If you change .env after that, MySQL keeps the old ones and you'll get ERROR 1045.
Step 3: Start MySQL
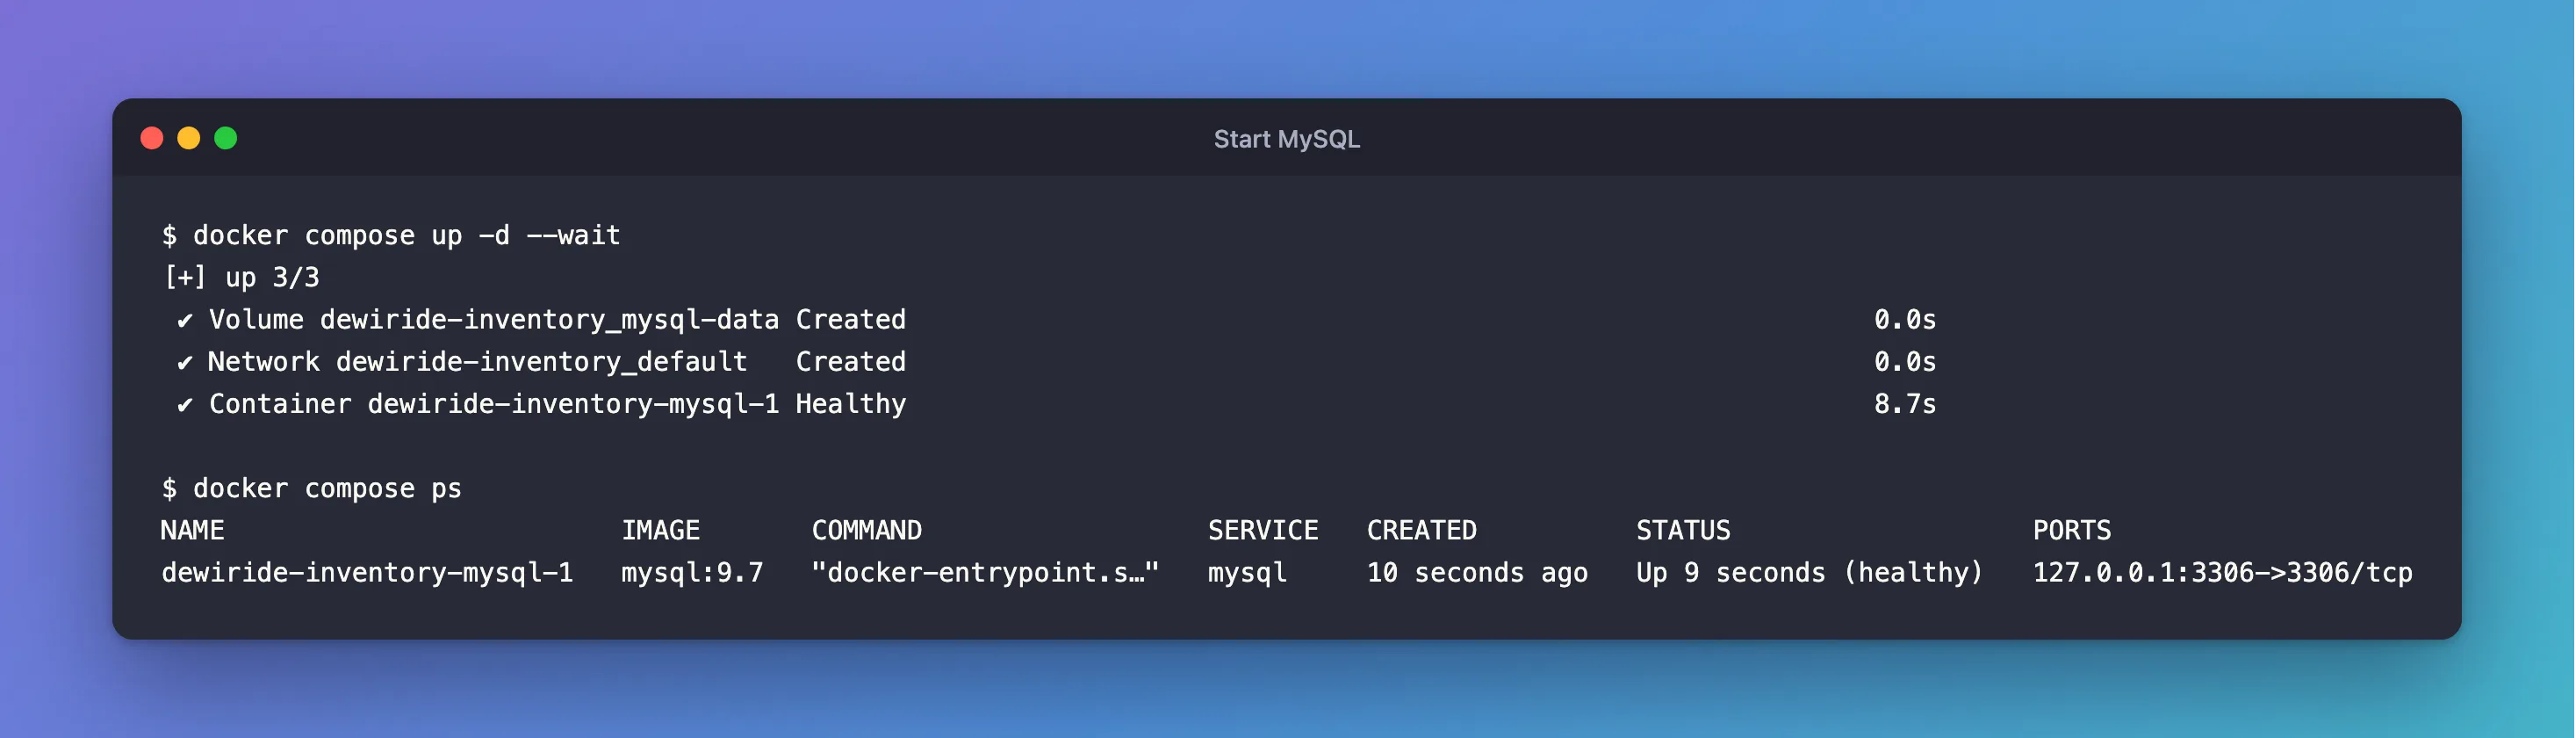
docker compose up -d --wait
up starts what's in compose.yaml, -d keeps it running in the background, and --wait holds your terminal until MySQL is ready. The first time, Docker also downloads the MySQL image, which took about a minute for me.
[+] up 3/3
 ✔ Volume dewiride-inventory_mysql-data Created
 ✔ Network dewiride-inventory_default   Created
 ✔ Container dewiride-inventory-mysql-1 Healthy
To look at it again at any time:
docker compose ps
NAME                         IMAGE       COMMAND                  SERVICE   CREATED          STATUS                   PORTS
dewiride-inventory-mysql-1   mysql:9.7   "docker-entrypoint.s…"   mysql     10 seconds ago   Up 9 seconds (healthy)   127.0.0.1:3306->3306/tcp
Look for (healthy), and for 127.0.0.1 in the port: only your own computer can reach this MySQL. How to Run MySQL in Docker with Docker Compose explains the file behind this.
Step 4: Give Each Job Its Own Account
Compose has created the inventory database and an account called inventory_app, with every right on that database. The API only needs to read and change rows. So these commands create a second account, inventory_migrator, for changing tables, and take the extra rights away from the first.
- bash / zsh
- PowerShell
password=$(grep '^MYSQL_MIGRATOR_PASSWORD=' .env | cut -d= -f2-)
docker compose exec -T mysql sh -c 'exec mysql --user=root --password="$MYSQL_ROOT_PASSWORD" inventory' <<SQL
CREATE USER 'inventory_migrator'@'%' IDENTIFIED BY '$password';
GRANT CREATE, ALTER, DROP, INDEX, REFERENCES, SELECT, INSERT, DELETE ON inventory.* TO 'inventory_migrator'@'%';
REVOKE ALL PRIVILEGES ON inventory.* FROM 'inventory_app'@'%';
GRANT SELECT, INSERT, UPDATE, DELETE ON inventory.* TO 'inventory_app'@'%';
SQL
$password = (Get-Content .env | Where-Object { $_ -like 'MYSQL_MIGRATOR_PASSWORD=*' }).Substring('MYSQL_MIGRATOR_PASSWORD='.Length)
@"
CREATE USER 'inventory_migrator'@'%' IDENTIFIED BY '$password';
GRANT CREATE, ALTER, DROP, INDEX, REFERENCES, SELECT, INSERT, DELETE ON inventory.* TO 'inventory_migrator'@'%';
REVOKE ALL PRIVILEGES ON inventory.* FROM 'inventory_app'@'%';
GRANT SELECT, INSERT, UPDATE, DELETE ON inventory.* TO 'inventory_app'@'%';
"@ | docker compose exec -T mysql sh -c 'exec mysql --user=root --password="$MYSQL_ROOT_PASSWORD" inventory'
mysql: [Warning] Using a password on the command line interface can be insecure.
That warning comes from inside the container, and it's harmless here. It's the only line you should see. Part 5 of the series explains why each right is on the list.
Step 5: Create the Tables
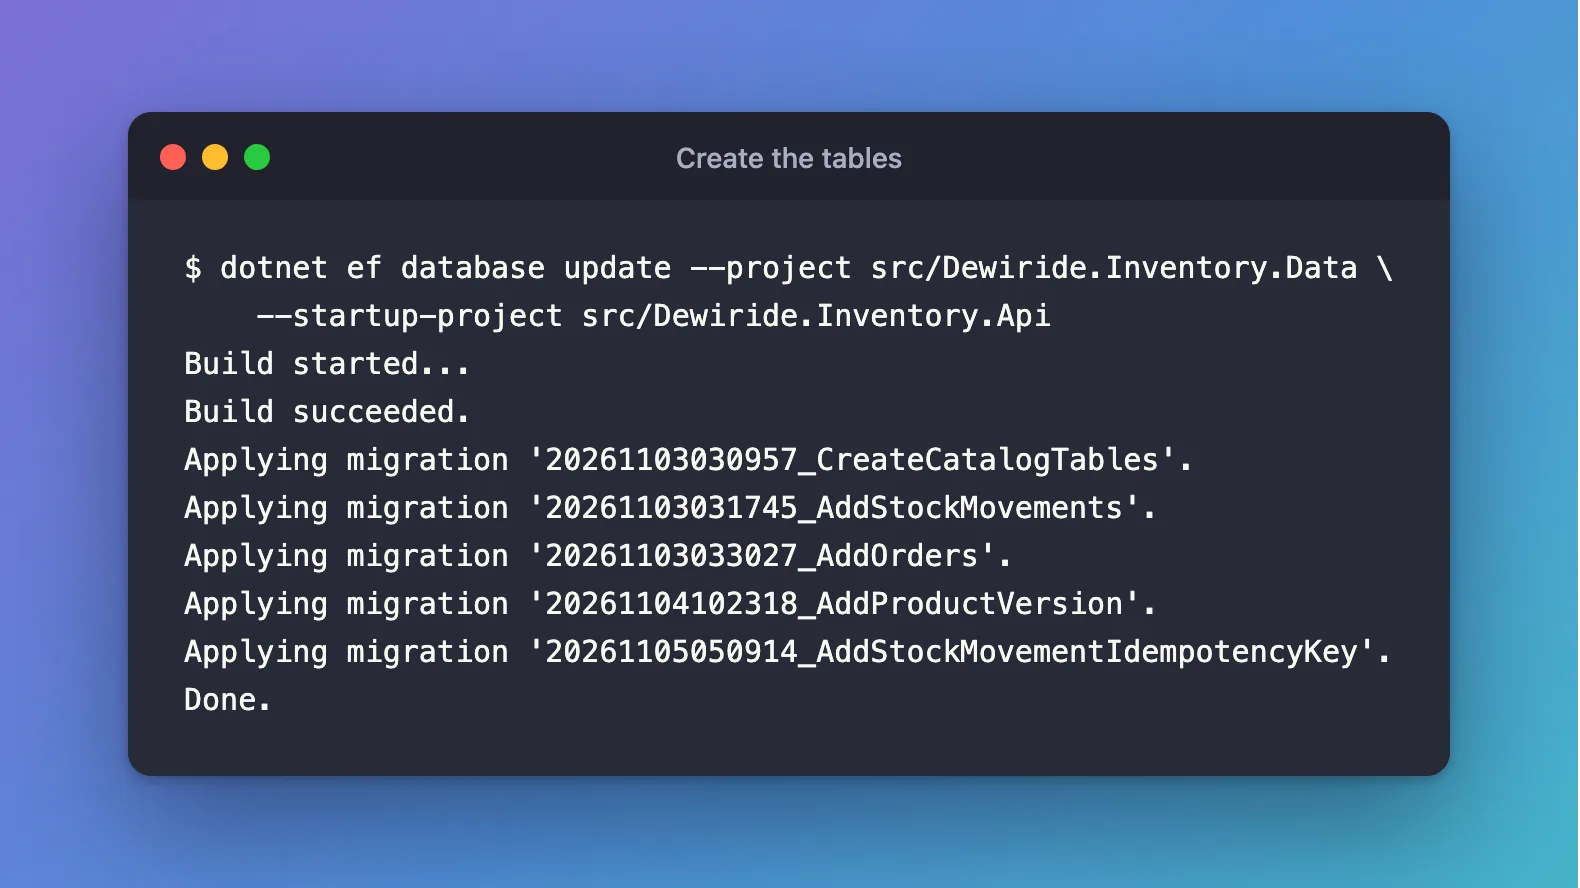
Three commands do this. dotnet tool restore installs dotnet-ef, the tool that runs migrations, at the version the project names. dotnet restore downloads the project's packages. The last one applies the migrations as inventory_migrator, with its password handed over for that one command.
- bash / zsh
- PowerShell
dotnet tool restore
dotnet restore
ConnectionStrings__Inventory="Server=127.0.0.1;Port=3306;Database=inventory;User ID=inventory_migrator;Password=$(grep '^MYSQL_MIGRATOR_PASSWORD=' .env | cut -d= -f2-);SslMode=Required" dotnet ef database update --project src/Dewiride.Inventory.Data --startup-project src/Dewiride.Inventory.Api
dotnet tool restore
dotnet restore
$password = (Get-Content .env | Where-Object { $_ -like 'MYSQL_MIGRATOR_PASSWORD=*' }).Substring('MYSQL_MIGRATOR_PASSWORD='.Length)
$env:ConnectionStrings__Inventory = "Server=127.0.0.1;Port=3306;Database=inventory;User ID=inventory_migrator;Password=$password;SslMode=Required"
dotnet ef database update --project src/Dewiride.Inventory.Data --startup-project src/Dewiride.Inventory.Api
Remove-Item Env:ConnectionStrings__Inventory
The last command also prints every SQL statement it runs, about 190 lines in all. These are the lines to look for:
Tool 'dotnet-ef' (version '10.0.14') was restored. Available commands: dotnet-ef

Restore was successful.
Build started...
Build succeeded.
Applying migration '20261103030957_CreateCatalogTables'.
Applying migration '20261103031745_AddStockMovements'.
Applying migration '20261103033027_AddOrders'.
Applying migration '20261104102318_AddProductVersion'.
Applying migration '20261105050914_AddStockMovementIdempotencyKey'.
Done.
Done. means the five tables exist: categories, products, stock_movements, orders and order_lines.
Step 6: Store the API's Connection String
The API connects as inventory_app. In development, its connection string lives in .NET user-secrets, a file in your home folder, so the password never sits in the project.
- bash / zsh
- PowerShell
dotnet user-secrets set "ConnectionStrings:Inventory" "Server=127.0.0.1;Port=3306;Database=inventory;User ID=inventory_app;Password=$(grep '^MYSQL_PASSWORD=' .env | cut -d= -f2-);SslMode=Required" --project src/Dewiride.Inventory.Api
$password = (Get-Content .env | Where-Object { $_ -like 'MYSQL_PASSWORD=*' }).Substring('MYSQL_PASSWORD='.Length)
dotnet user-secrets set "ConnectionStrings:Inventory" "Server=127.0.0.1;Port=3306;Database=inventory;User ID=inventory_app;Password=$password;SslMode=Required" --project src/Dewiride.Inventory.Api
Successfully saved ConnectionStrings:Inventory to the secret store.
SslMode=Required encrypts the connection. It doesn't check who answers, which is fine while MySQL is on your own computer.
Step 7: Start the API
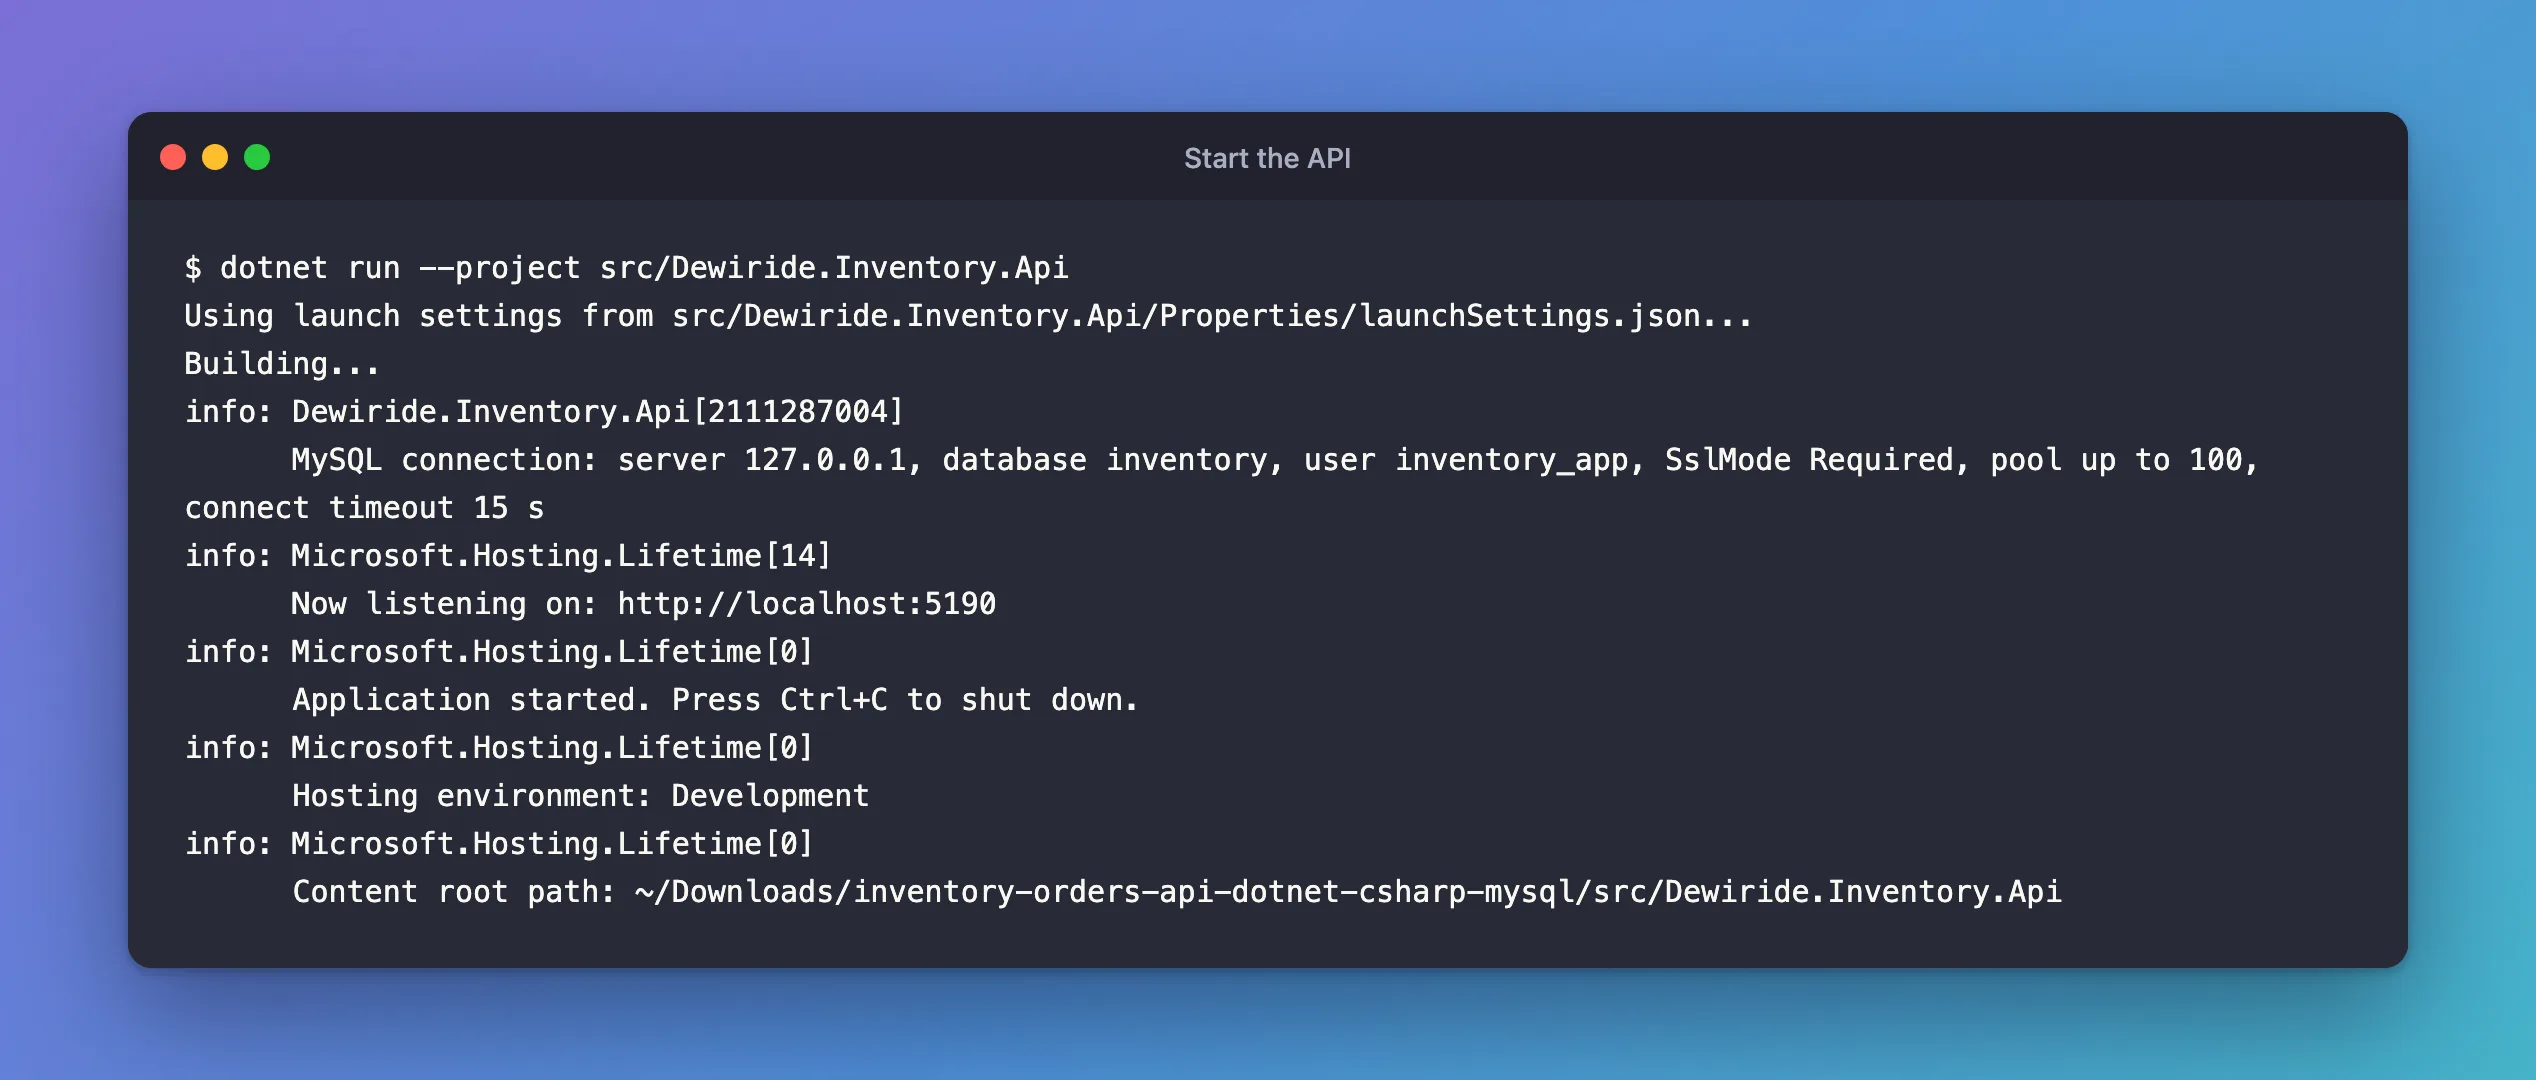
dotnet run --project src/Dewiride.Inventory.Api
Using launch settings from src/Dewiride.Inventory.Api/Properties/launchSettings.json...
Building...
info: Dewiride.Inventory.Api[2111287004]
      MySQL connection: server 127.0.0.1, database inventory, user inventory_app, SslMode Required, pool up to 100, connect timeout 15 s
info: Microsoft.Hosting.Lifetime[14]
      Now listening on: http://localhost:5190
info: Microsoft.Hosting.Lifetime[0]
      Application started. Press Ctrl+C to shut down.
info: Microsoft.Hosting.Lifetime[0]
      Hosting environment: Development
info: Microsoft.Hosting.Lifetime[0]
      Content root path: ~/Downloads/inventory-orders-api-dotnet-csharp-mysql/src/Dewiride.Inventory.Api
The API is running. This terminal stays busy for as long as it runs, so leave it open and use a second terminal for the next step.
To check that it can reach MySQL, open http://localhost:5190/health/ready in your browser. It answers with one word:
Healthy
Step 8: Place Your First Order
An order needs a product, a product needs a category, and a product starts with no stock. So there are four requests to send, and one more to see the result. Open a second terminal, in any folder.
- bash / zsh
- PowerShell
Create a category:
curl -s -X POST http://localhost:5190/api/v1/categories \
  -H "Content-Type: application/json" \
  -d '{"name":"Keyboards"}'
{"id":1,"name":"Keyboards","createdAtUtc":"2026-11-06T09:52:36.436082Z"}
Create a product in it:
curl -s -X POST http://localhost:5190/api/v1/products \
  -H "Content-Type: application/json" \
  -d '{"sku":"KB-100","name":"Mechanical keyboard","categoryId":1,"unitPrice":79.00,"reorderLevel":2}'
{"id":1,"sku":"KB-100","name":"Mechanical keyboard","description":null,"categoryId":1,"categoryName":"Keyboards","unitPrice":79.00,"quantityOnHand":0,"reorderLevel":2,"isArchived":false,"archivedAtUtc":null,"version":0,"createdAtUtc":"2026-11-06T09:52:36.658585Z","updatedAtUtc":"2026-11-06T09:52:36.658585Z"}
Record a delivery of 5:
curl -s -X POST http://localhost:5190/api/v1/products/1/stock/receipts \
  -H "Content-Type: application/json" \
  -d '{"quantity":5,"reason":"First delivery","reference":"PO-1001"}'
{"movement":{"id":1,"productId":1,"type":"Receipt","quantityChange":5,"reason":"First delivery","reference":"PO-1001","orderId":null,"occurredAtUtc":"2026-11-06T09:52:36.950144Z"},"quantityOnHand":5}
Place an order for 2:
curl -s -X POST http://localhost:5190/api/v1/orders \
  -H "Content-Type: application/json" \
  -H "Idempotency-Key: order-0001" \
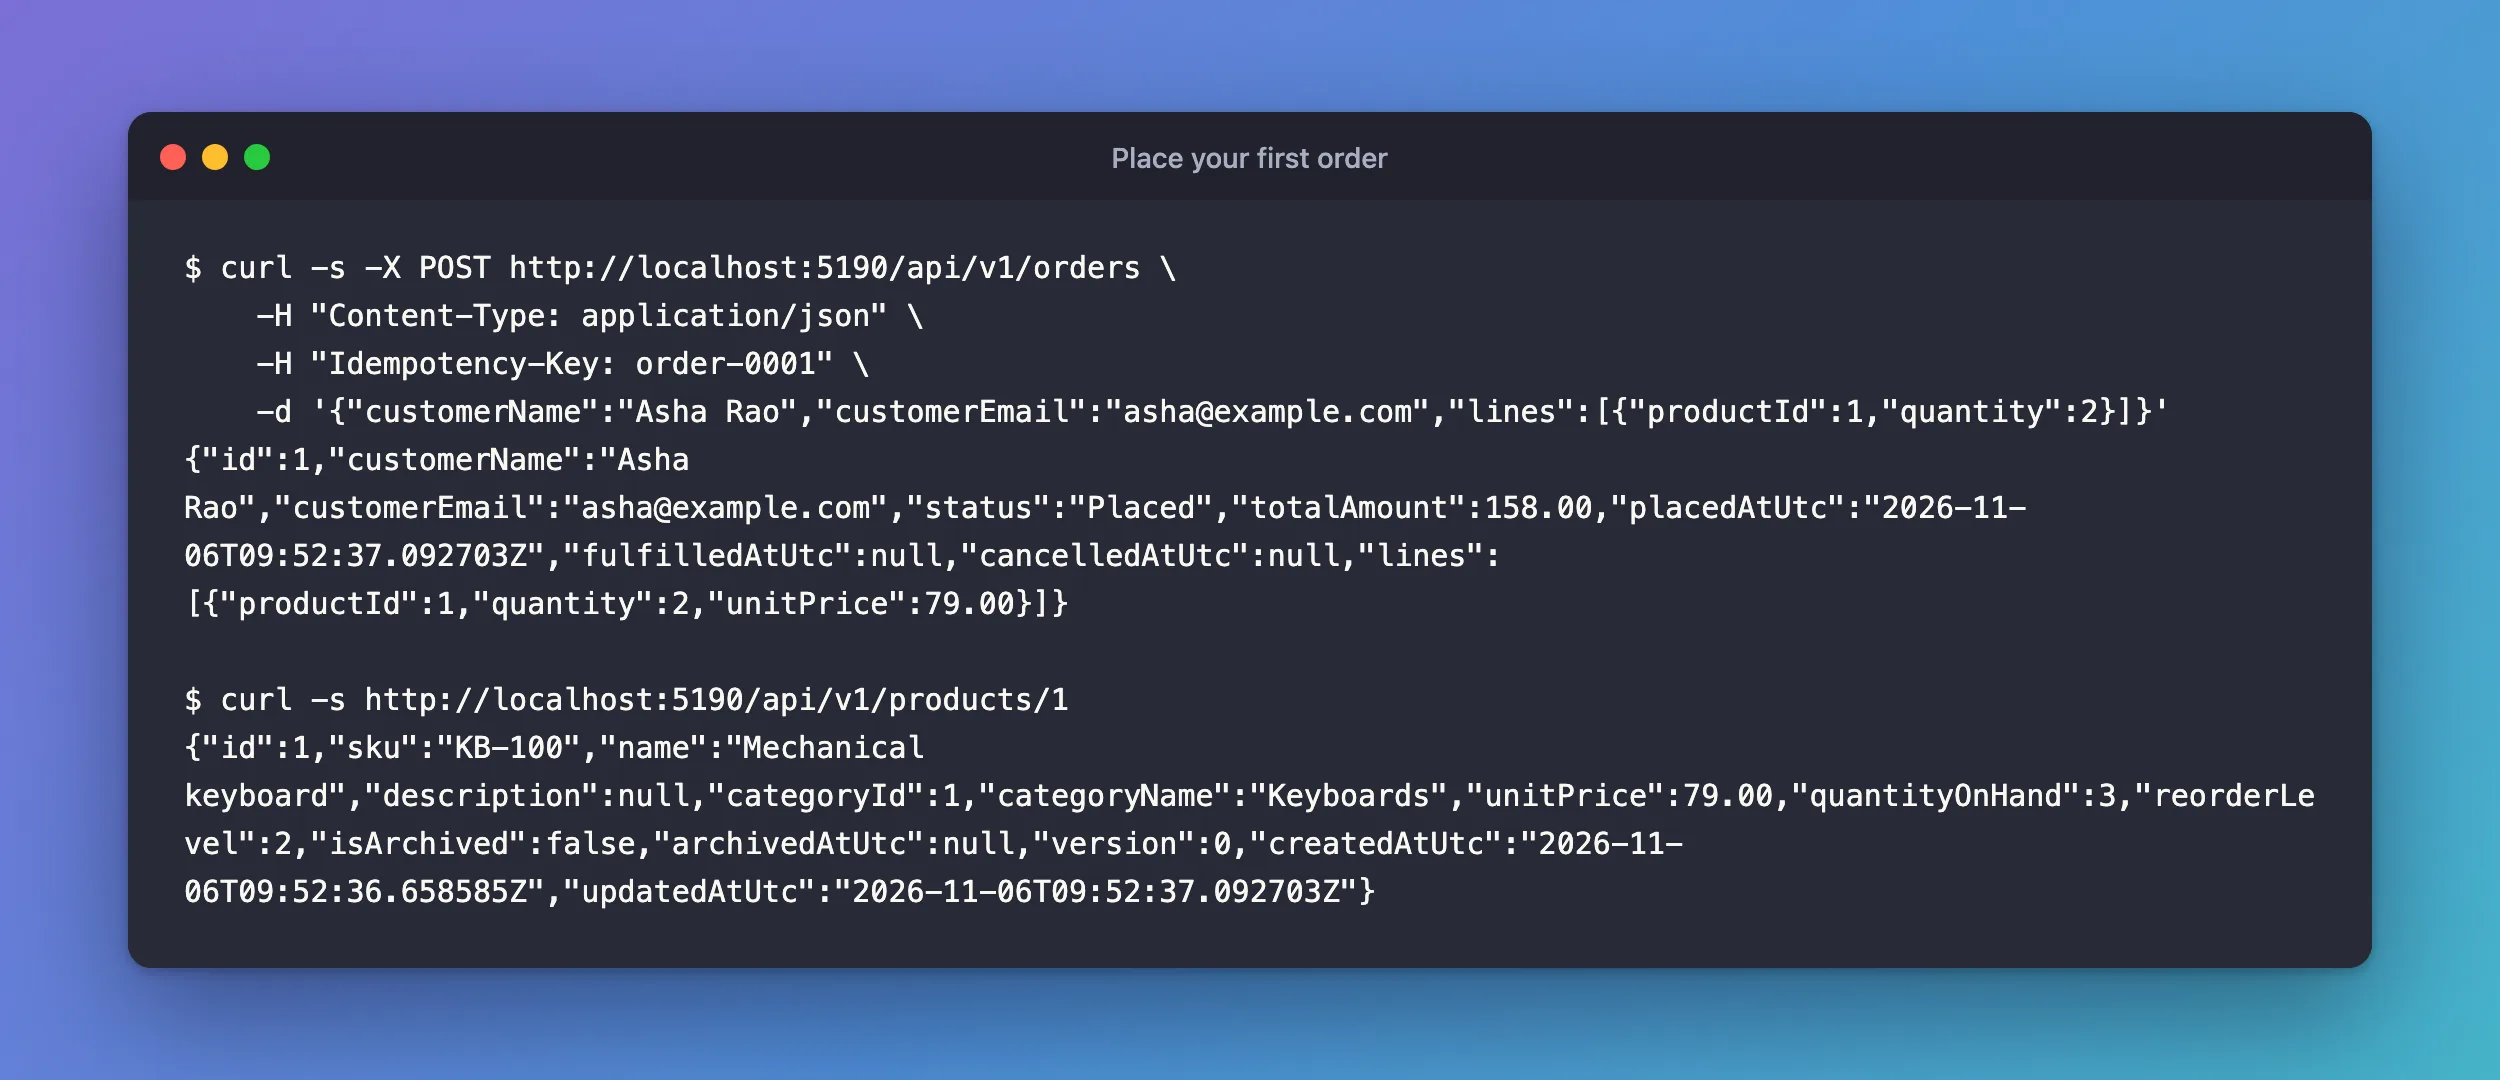
  -d '{"customerName":"Asha Rao","customerEmail":"asha@example.com","lines":[{"productId":1,"quantity":2}]}'
{"id":1,"customerName":"Asha Rao","customerEmail":"asha@example.com","status":"Placed","totalAmount":158.00,"placedAtUtc":"2026-11-06T09:52:37.092703Z","fulfilledAtUtc":null,"cancelledAtUtc":null,"lines":[{"productId":1,"quantity":2,"unitPrice":79.00}]}
See the stock it took:
curl -s http://localhost:5190/api/v1/products/1
{"id":1,"sku":"KB-100","name":"Mechanical keyboard","description":null,"categoryId":1,"categoryName":"Keyboards","unitPrice":79.00,"quantityOnHand":3,"reorderLevel":2,"isArchived":false,"archivedAtUtc":null,"version":0,"createdAtUtc":"2026-11-06T09:52:36.658585Z","updatedAtUtc":"2026-11-06T09:52:37.092703Z"}
Create a category:
Invoke-RestMethod http://localhost:5190/api/v1/categories -Method Post -ContentType "application/json" -Body '{"name":"Keyboards"}'
id name      createdAtUtc
-- ----      ------------
 1 Keyboards 06/11/2026 9:56:19 AM
Create a product in it:
Invoke-RestMethod http://localhost:5190/api/v1/products -Method Post -ContentType "application/json" -Body '{"sku":"KB-100","name":"Mechanical keyboard","categoryId":1,"unitPrice":79.00,"reorderLevel":2}'
id             : 1
sku            : KB-100
name           : Mechanical keyboard
description    :
categoryId     : 1
categoryName   : Keyboards
unitPrice      : 79
quantityOnHand : 0
reorderLevel   : 2
isArchived     : False
archivedAtUtc  :
version        : 0
createdAtUtc   : 06/11/2026 9:56:20 AM
updatedAtUtc   : 06/11/2026 9:56:20 AM
Record a delivery of 5:
Invoke-RestMethod http://localhost:5190/api/v1/products/1/stock/receipts -Method Post -ContentType "application/json" -Body '{"quantity":5,"reason":"First delivery","reference":"PO-1001"}'
movement
--------
@{id=1; productId=1; type=Receipt; quantityChange=5; reason=First delivery; re…
Place an order for 2:
Invoke-RestMethod http://localhost:5190/api/v1/orders -Method Post -ContentType "application/json" -Headers @{ "Idempotency-Key" = "order-0001" } -Body '{"customerName":"Asha Rao","customerEmail":"asha@example.com","lines":[{"productId":1,"quantity":2}]}'
id             : 1
customerName   : Asha Rao
customerEmail  : asha@example.com
status         : Placed
totalAmount    : 158
placedAtUtc    : 06/11/2026 9:56:21 AM
fulfilledAtUtc :
cancelledAtUtc :
lines          : {@{productId=1; quantity=2; unitPrice=79}}
See the stock it took:
Invoke-RestMethod http://localhost:5190/api/v1/products/1
id             : 1
sku            : KB-100
name           : Mechanical keyboard
description    :
categoryId     : 1
categoryName   : Keyboards
unitPrice      : 79
quantityOnHand : 3
reorderLevel   : 2
isArchived     : False
archivedAtUtc  :
version        : 0
createdAtUtc   : 06/11/2026 9:56:20 AM
updatedAtUtc   : 06/11/2026 9:56:21 AM
PowerShell turns each answer into an object and prints it as a table or a list, so it looks different from the JSON the API sends. The dates also follow your computer's regional format.
Stock went from 5 to 3. That Idempotency-Key header is worth knowing about: send the same request again with the same key, and you get the same order back, with no more stock taken. A client can safely repeat a request when it doesn't know whether the first one worked.
Try the Rest in Your Browser
The API documents itself while it runs in Development. Open http://localhost:5190/scalar/v1 to see every endpoint, with what it takes and what it returns.
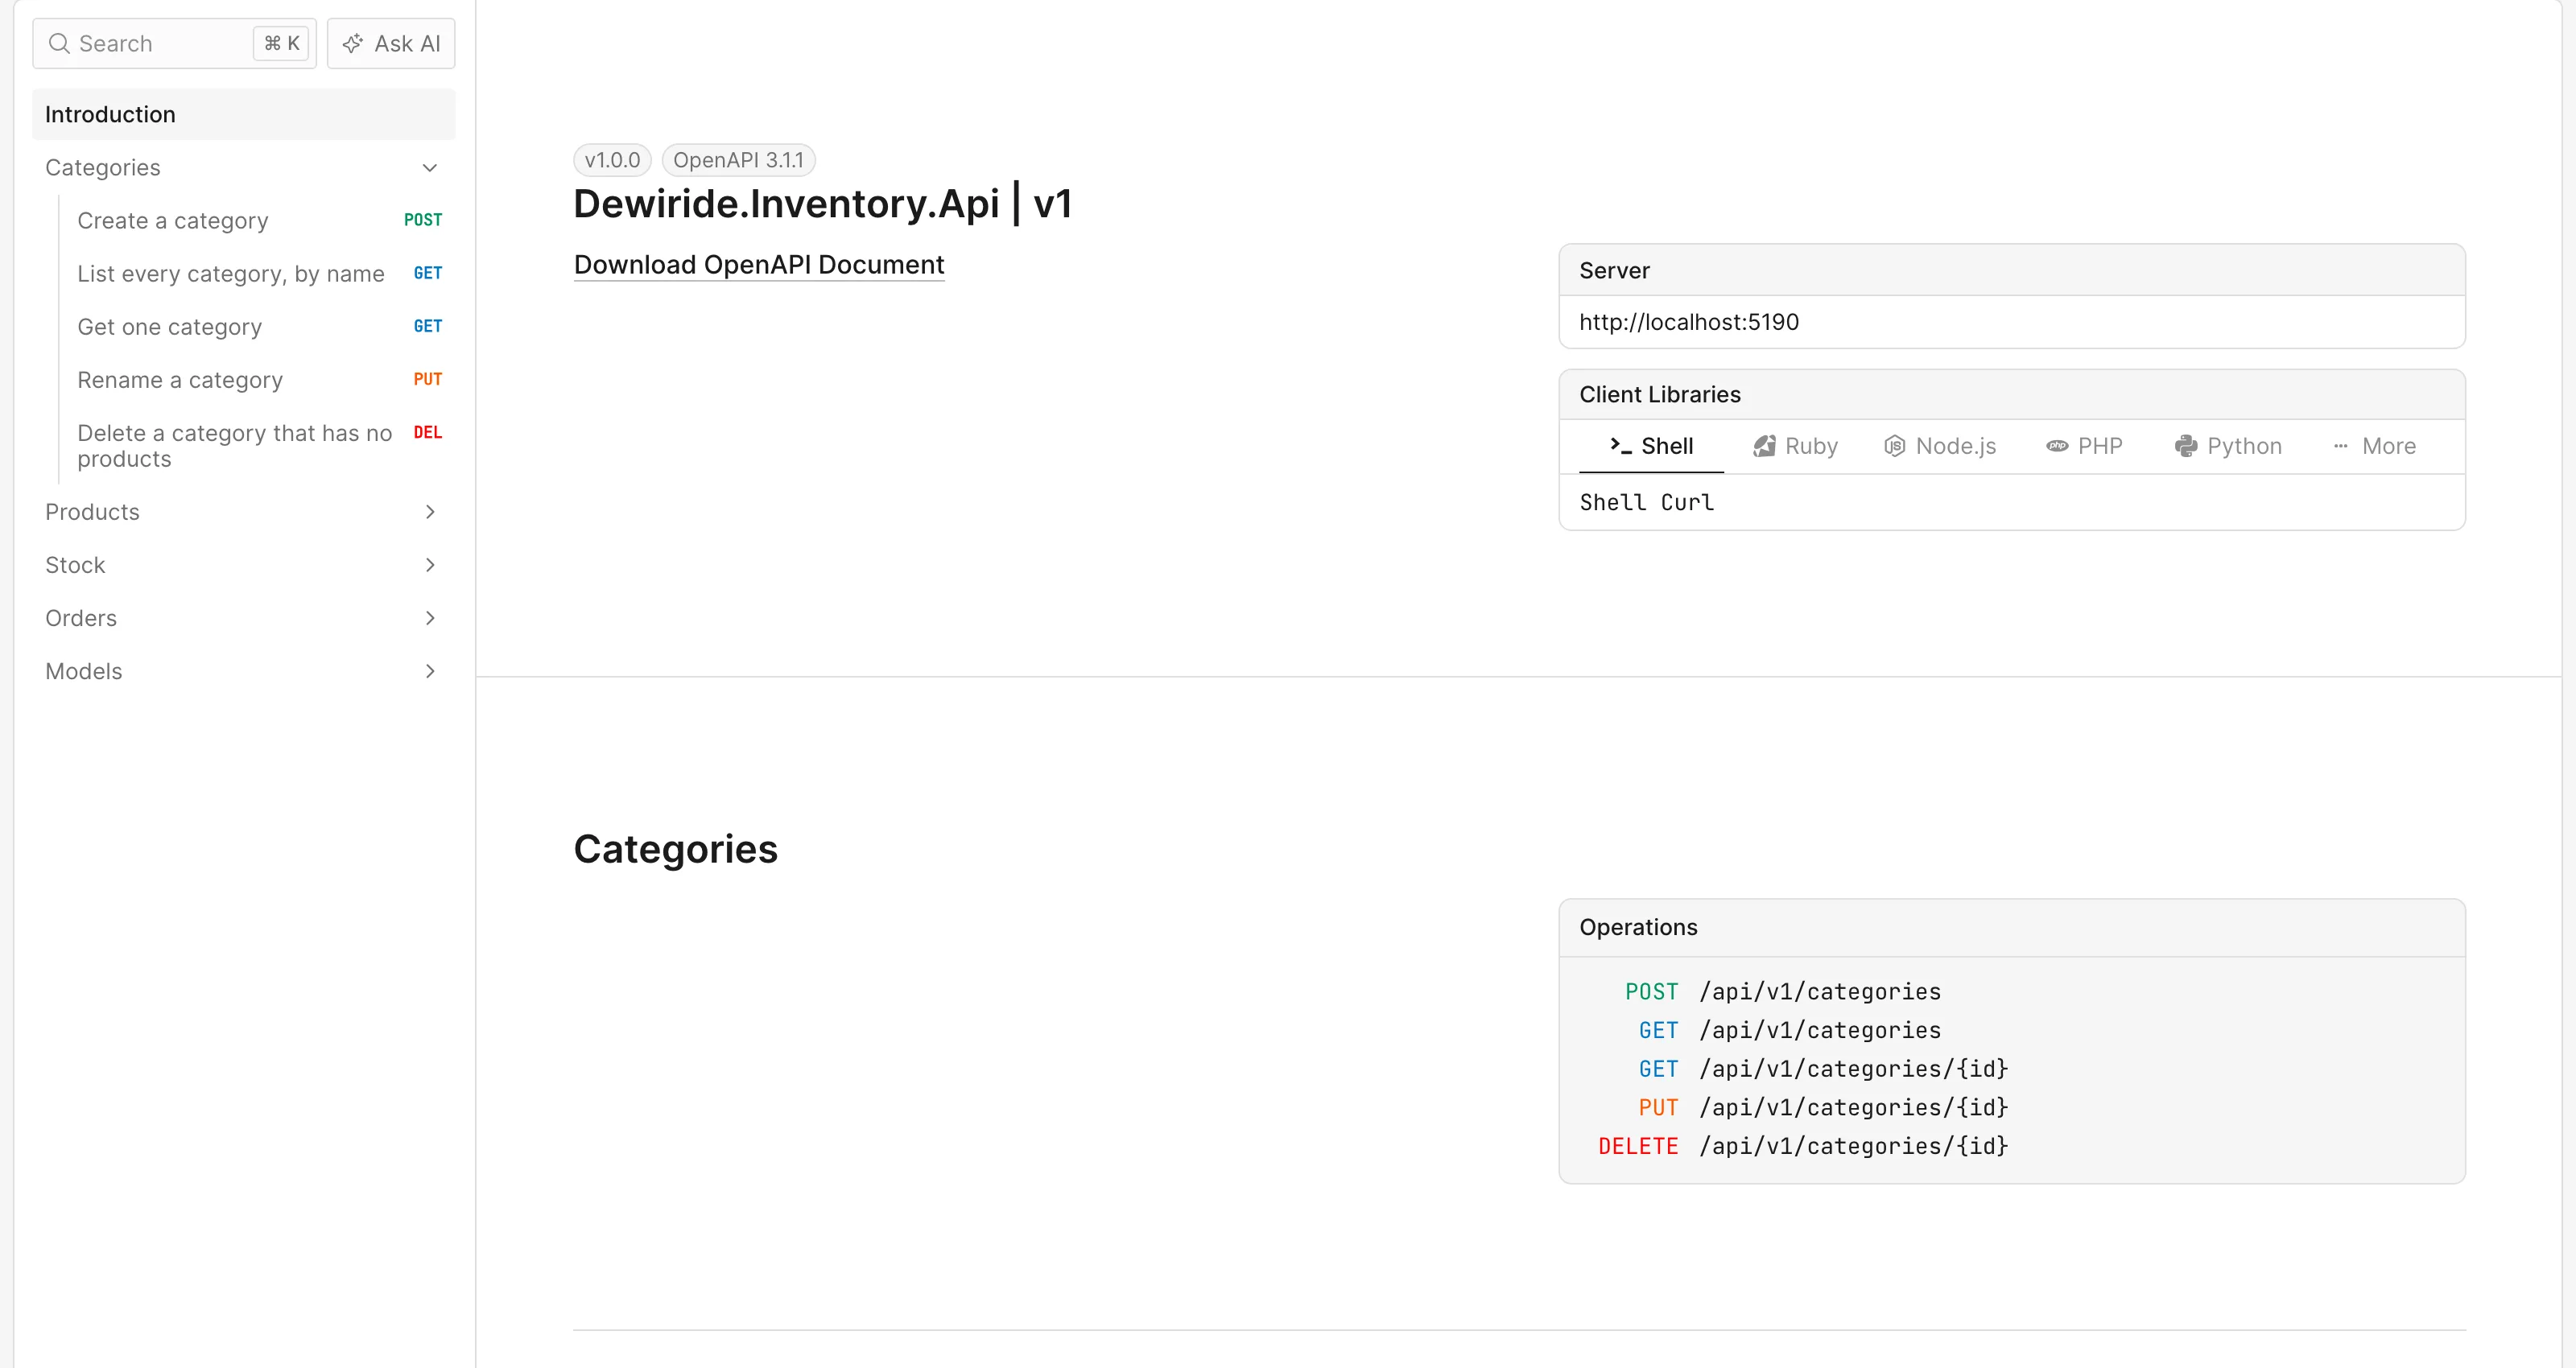
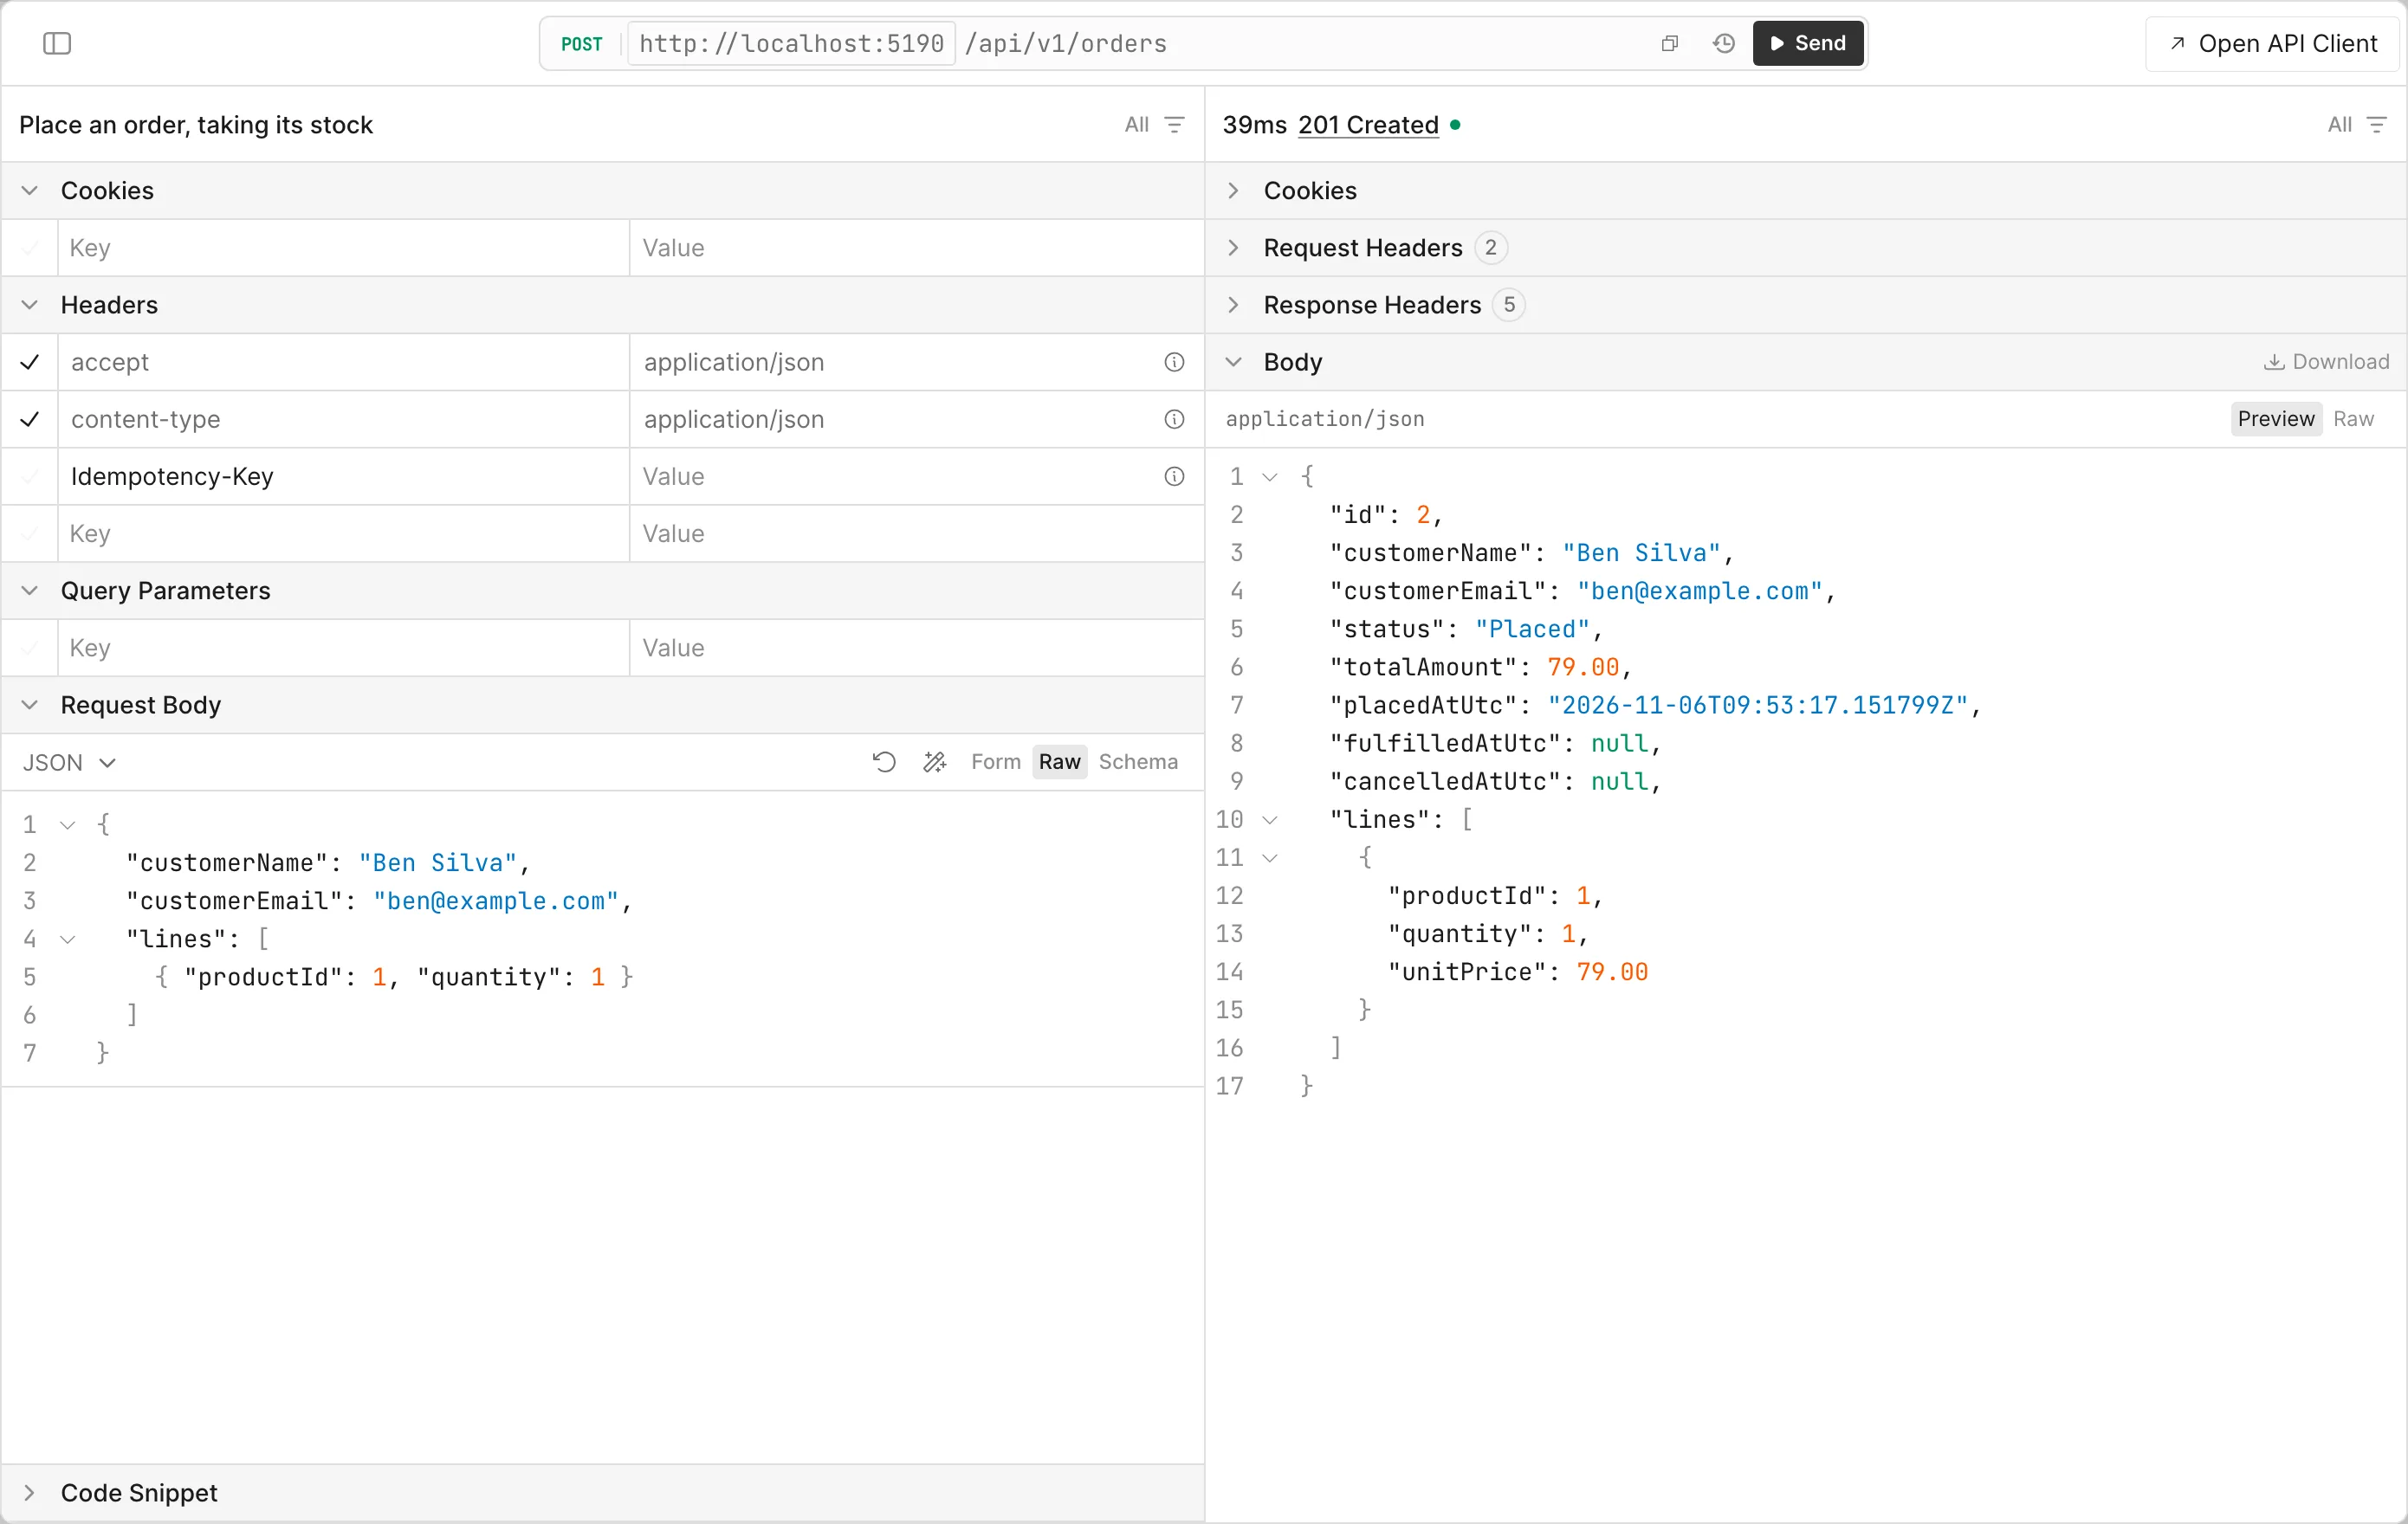
Open Orders, then Place an order, taking its stock, and choose Test Request. Change the body, choose Send, and the answer appears beside it. This is a real request, so it places a real order and takes real stock.
Or Use Your Editor
src/Dewiride.Inventory.Api/Dewiride.Inventory.Api.http has a request for every endpoint, ready to send with a click. How to Send API Requests from a .http File in VS Code and Visual Studio shows how.
Stop It, and Start It Again Later
To stop everything, press Ctrl+C in the terminal that's running the API, then stop MySQL:
docker compose stop
[+] stop 1/1
 ✔ Container dewiride-inventory-mysql-1 Stopped
Your data stays in its volume. Next time, you only need two commands, from the same folder:
docker compose up -d --wait
dotnet run --project src/Dewiride.Inventory.Api
[+] up 1/1
 ✔ Container dewiride-inventory-mysql-1 Healthy
When I did this, the product was still there, with a quantity of 2: the 3 from before, less the 1 that the test client ordered.
docker compose down -v deletes the container and the volume with all its data. Use it only when you want to start again from Step 2. How to Stop, Start and Remove Docker Compose Containers Without Losing Data explains the difference.
Find Your Way Around the Code
| To change | Look in |
|---|---|
| Endpoints and what they accept and return | src/Dewiride.Inventory.Api/Features/, one folder each for Categories, Products, Stock and Orders |
| Request limits and error responses | src/Dewiride.Inventory.Api/Infrastructure/ |
| Tables and columns | src/Dewiride.Inventory.Data/Entities/ and Configurations/, then add a migration |
| Retries and time limits | MySqlRetryStrategy.cs and Interceptors/ in src/Dewiride.Inventory.Data/ |
| The values you're likely to tune | The Database and RequestLimits sections of appsettings.json. The README's Settings table explains each one |
Before You Go to Production
What you've just run is a development setup. The README's Before You Go to Production section lists what the code expects from a real server. In short:
- Set the connection string in the environment. User-secrets are only read in Development. How to Pass a Connection String with an Environment Variable in .NET C# shows how.
- Verify the server. Use
SslMode=VerifyFull, as in How to Use VerifyFull with MySql.Data in .NET C#. - Run it under something that restarts it. A stalled TLS handshake can end the process in a way no code can catch, as this fix explains.
- Put your own sign-in in front. The API has no sign-in, on purpose, because how you sign people in depends on your systems.
- Apply migrations as their own step. The app never migrates itself. Use a SQL script or a migrations bundle.
I tested all of this against MySQL 9.7 in Docker, not against a managed MySQL service. Part 5 of the series goes through the whole checklist.
Common Mistakes
| Mistake | What happens | What to do |
|---|---|---|
| Running a command from another folder | docker compose says no configuration file provided: not found, or dotnet run says The provided file path does not exist | cd into the folder that has compose.yaml |
Changing .env after MySQL's first start | The accounts keep the old passwords, so you get Access denied | Change the password inside MySQL |
Skipping dotnet restore before dotnet ef | Unable to retrieve project metadata | Run the restore first |
| Skipping Step 6 | The API stops as it starts, saying the connection string ConnectionStrings:Inventory is missing | Run Step 6 |
| Closing the API's terminal, then sending requests | curl can't connect, because nothing is running on port 5190 | Start the API again, and keep that terminal open |
Troubleshooting
| Symptom | Likely cause | Fix |
|---|---|---|
A compatible .NET SDK was not found | Your SDK is older than the project asks for | The fix |
docker compose can't connect to Docker at all | Docker Desktop isn't running | Start Docker Desktop, wait until it says it's running, and try again |
Unable to connect to any of the specified MySQL hosts | MySQL is stopped | The fix |
Failed to bind to address … address already in use | Another program, or another copy of the API, is on port 5190 | The fix |
/health/ready says Unhealthy | The API can't reach MySQL | Run docker compose ps, and start MySQL if it isn't healthy |
An order answers 409 with There isn't enough stock. | The product has less stock than the order asks for | Record a delivery first, as in Step 8 |
FAQ
Do I need to read the tutorial series first?
No. Everything you need to run it is on this page and in the README. The free series is there when you want to understand how the connection works and why it's built this way.
Can I use my own MySQL server instead of Docker?
Yes. Skip Steps 2 and 3, create the inventory database and the two accounts on your server, and put its address in the connection strings of Steps 5 and 6. I've only tested it against MySQL 9.7.
Does it run on Windows?
The commands have PowerShell versions, and .NET and Docker both run on Windows. I ran them in PowerShell 7 on macOS, and I haven't run them on a Windows machine yet.
Why doesn't it have a sign-in?
How you sign people in depends on your own systems, so the API leaves that to you. Put it behind your own authentication or gateway before it faces anything you don't trust.
Where are my passwords?
In two places, both outside the code: .env in the project folder, which Git ignores, and .NET user-secrets in your home folder. If you put the project in Git, .env stays out.
Conclusion
You unzipped the archive, created the passwords, started MySQL, gave the API and the migrations their own accounts, created the tables, stored the connection string and started the API. Your first order took its stock, and it was still there after a restart. From here, change it into what you need, and go through the production list before it faces real users.
Additional Resources
- Safe storage of app secrets in development — how .NET user-secrets work.
- EF Core tools reference — what
dotnet ef database updatedoes. - Docker Compose CLI reference —
up,ps,stopanddown.
Related
- How to Connect a .NET C# Web API to a MySQL Database — Part 1: Connect with EF Core and a Secure Connection String
- How to Store a Connection String in .NET C# with dotnet user-secrets
- How to Add Scalar API Documentation to a .NET 10 C# Web API
- How to Install dotnet-ef as a Local Tool in a .NET C# Project
- How to Generate a Strong Random Password in the Terminal
