How to Send API Requests from a .http File in VS Code and Visual Studio

A .http file is a plain text file that holds API requests. It lives next to your code and goes into Git with it, so everyone on the team has the same requests. VS Code with the free REST Client extension and Visual Studio both add a link above each request that sends it. This guide covers the format and how to send requests in each editor.
Prerequisites
- A Web API that's running. The examples use a .NET 10 Web API on
http://localhost:5190. How to Create a .NET C# Web API Solution with a Class Library builds one, anddotnet new webapialready creates a.httpfile for you. - An editor that can send the requests:
- VS Code
- Visual Studio
Install the free REST Client extension, by Huachao Mao. Open the Extensions view, search for REST Client, and select Install.
Nothing to install. Microsoft's .http files page lists "Visual Studio 2022 version 17.8 or later with the ASP.NET and web development workload installed" as the requirement. To add a file, right-click the project in Solution Explorer, select Add > New Item, then ASP.NET Core > General > HTTP File.
Step 1: Write a Request
The simplest request is one line, with the method and the address:
GET http://localhost:5190/api/v1/categories
Microsoft's page gives the format as HTTPMethod URL HTTPVersion, all on one line, and the version is optional.
Step 2: Send It
- VS Code
- Visual Studio
The extension's page says: "click the Send Request link above the request". On macOS, Cmd+Alt+R does the same, and on Windows and Linux Ctrl+Alt+R. The response opens in a new tab beside the file.
Run the project first. Microsoft's page says: "Select the Send Request or Debug link that is directly above the request to be sent." The page adds that the response "appears in a separate pane to the right of the editor window."
The API's answer:
HTTP/1.1 200 OK
Content-Type: application/json; charset=utf-8

[
  {
    "id": 1,
    "name": "Cables",
    "createdAtUtc": "2026-11-04T10:48:37.000261Z"
  },
  {
    "id": 2,
    "name": "Chargers",
    "createdAtUtc": "2026-11-04T10:48:38.457419Z"
  }
]
The response shows the status, the headers and the body. The real one also has Date, Server and Transfer-Encoding headers, left out here.
Step 3: Keep Several Requests in One File
### separates requests. Text after ### on the same line works as a label for the request:
### List every category
GET http://localhost:5190/api/v1/categories

### Get one category
GET http://localhost:5190/api/v1/categories/1
Each one gets its own link. The API's /health/live and the rest can all live in the same file.
Step 4: Use a Variable for the Address
A line that starts with @ defines a variable, and {{name}} uses it. When the port changes, you change one line:
@Dewiride.Inventory.Api_HostAddress = http://localhost:5190

### List every category
GET {{Dewiride.Inventory.Api_HostAddress}}/api/v1/categories
dotnet new webapi writes a variable like this into the .http file it creates, named after the project.
Step 5: Send a JSON Body
A POST or PUT needs a header that says the body is JSON, then a blank line, then the body:
### Create a category
POST {{Dewiride.Inventory.Api_HostAddress}}/api/v1/categories
Content-Type: application/json

{
  "name": "Cables"
}
HTTP/1.1 201 Created
Content-Type: application/json; charset=utf-8
Location: /api/v1/categories/1

{
  "id": 1,
  "name": "Cables",
  "createdAtUtc": "2026-11-04T10:48:37.000261Z"
}
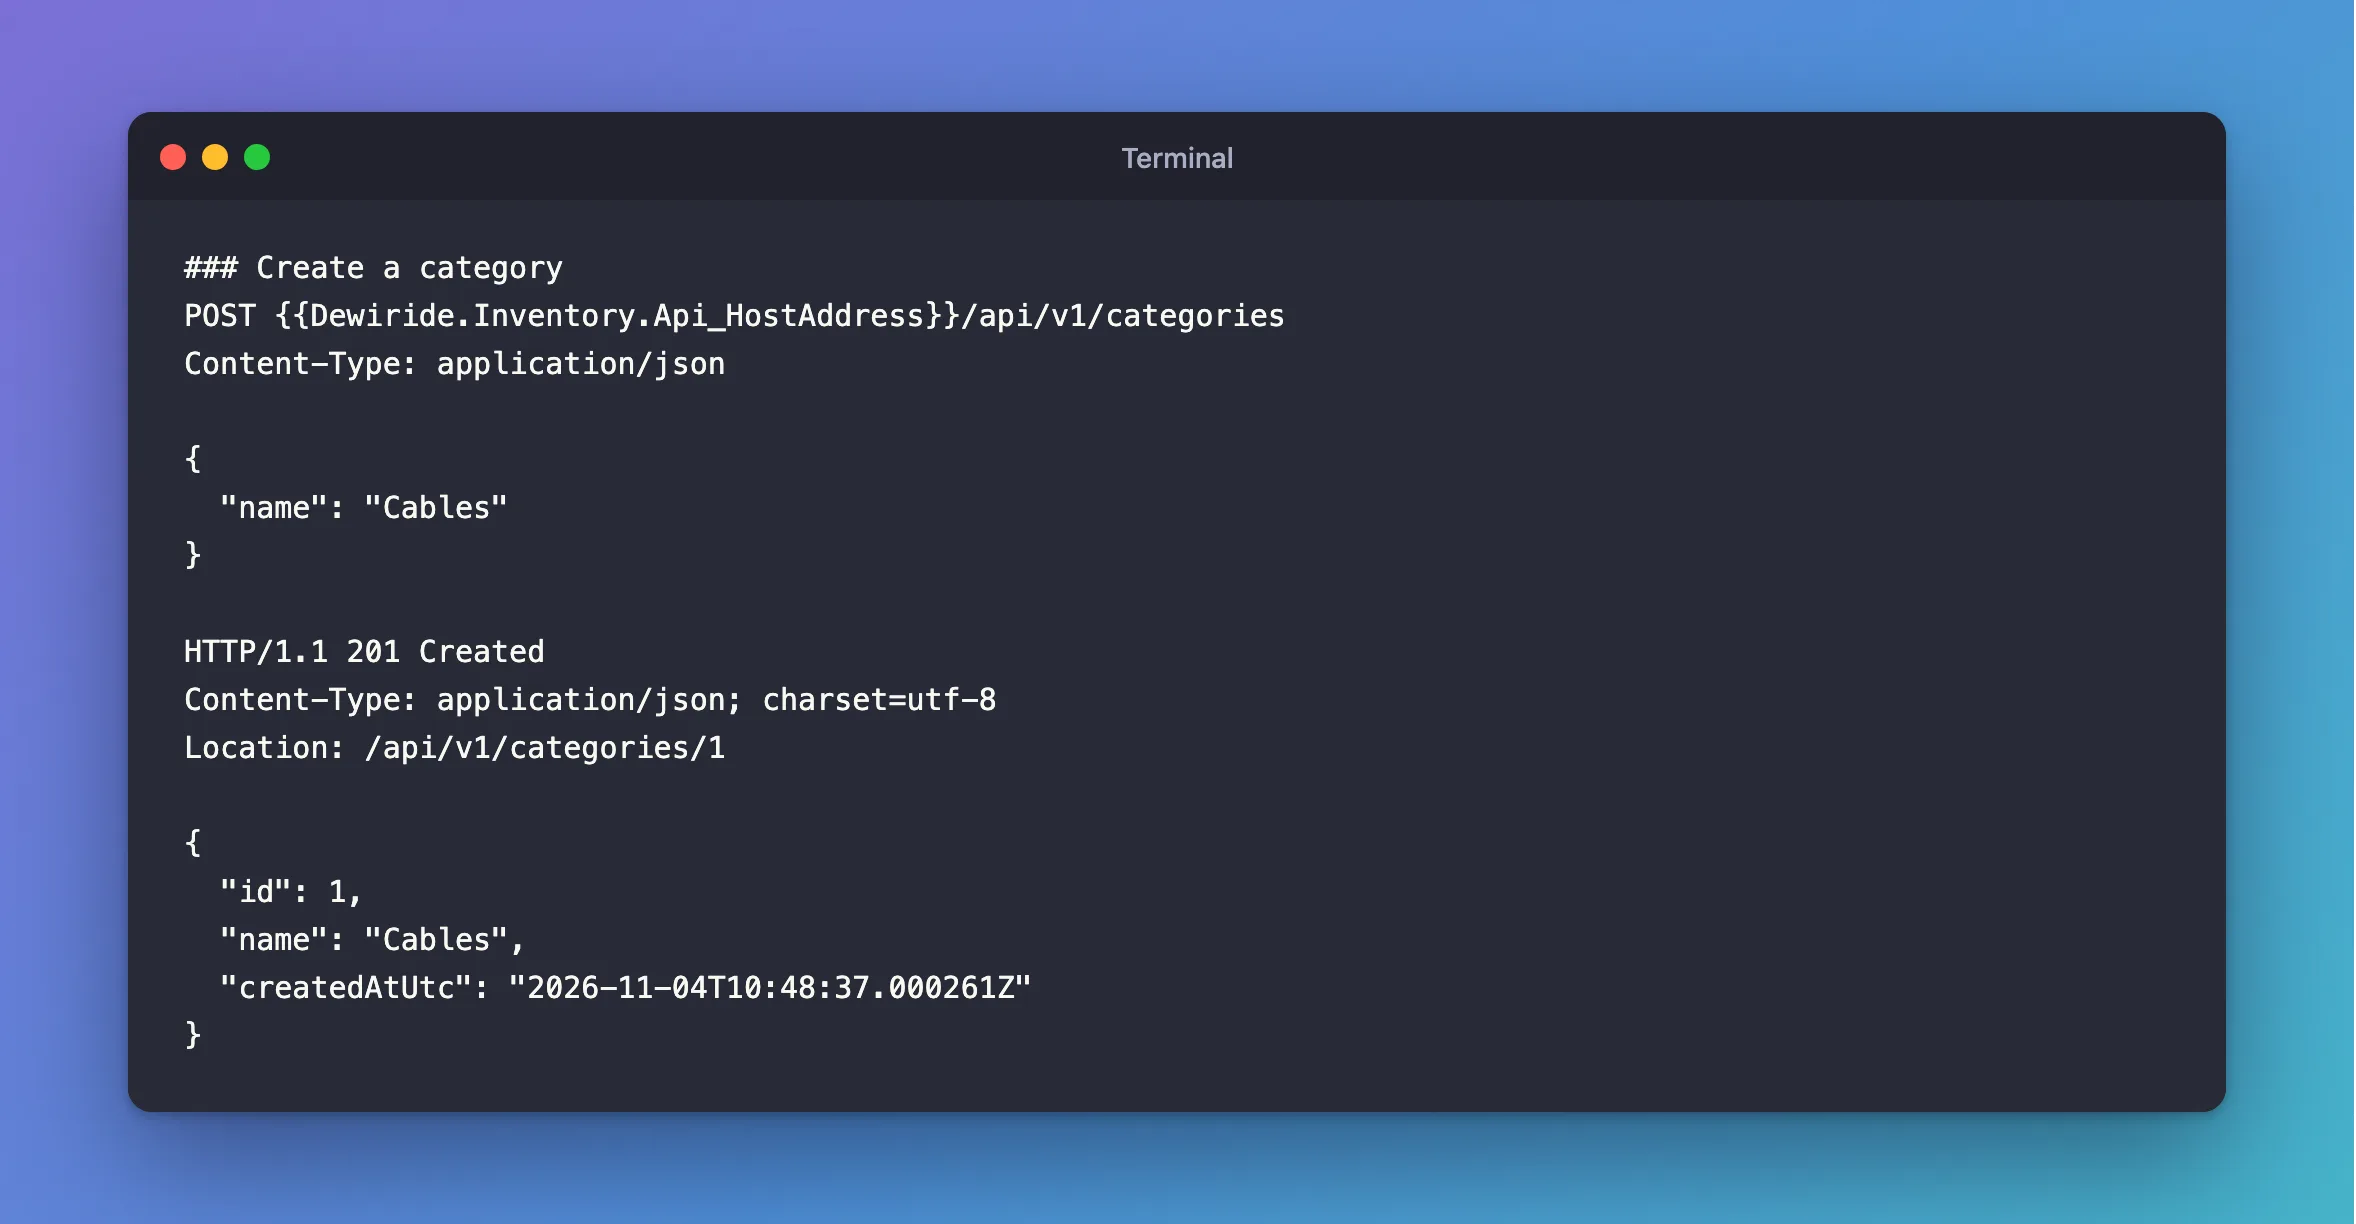
The blank line matters: it's how the format tells headers from the body. Without the Content-Type line, the API answers 415 Unsupported Media Type, as this post shows.
What the Editors Don't Share
The basic format works in both, because Microsoft's page says Visual Studio's editor "was inspired by the Visual Studio Code REST Client extension". They aren't identical, though: the page says Visual Studio's "doesn't have all the features" of the extension, and lists them. Stick to @variables, ###, headers and bodies, and the same file works in both.
Common Mistakes
| Mistake | What happens | Do this instead |
|---|---|---|
| No blank line before the body | The body is read as more headers | Leave one blank line |
No Content-Type on a JSON body | 415 Unsupported Media Type | Add Content-Type: application/json |
| Sending before the API is running | The request fails to connect | Start the API first |
| Putting real tokens or passwords in the file | They end up in Git | Use environment files, and keep secrets out |
| No link above the request in VS Code | The file isn't in HTTP mode | Check the language in the status bar, and that the extension is installed |
FAQ
Is this better than Postman?
It's different. A .http file is plain text, so it's reviewed and versioned with the code, and it needs no account. Postman does more, such as collections and test scripts.
Can I use a .rest extension?
Yes. Microsoft's page says the editor "recognizes .rest as an alternative file extension for the same file format."
Does it work outside the editor?
Not by itself. For scripts, use curl.
Conclusion
A .http file keeps your API requests in plain text next to the code. Write the method and address on one line, separate requests with ###, put the address in an @variable, and leave a blank line before a JSON body. VS Code needs the REST Client extension, and Visual Studio has it built in, with a Send Request link above each request.
Additional Resources
- Use .http files in Visual Studio — the format, variables and options.
- REST Client for VS Code — the extension.
