How to Install Docker on Ubuntu Server (Step-by-Step Guide)

Learn how to install Docker Engine on Ubuntu Server using Docker's official apt repository. This step-by-step guide covers setting up the Docker repository, installing the engine and CLI, running Docker without sudo, enabling it to start on boot, and verifying everything works with the hello-world container.
Introduction
Docker is the most popular containerization platform for building, shipping, and running applications in isolated, reproducible environments called containers. On an Ubuntu Server, Docker is the foundation for running self-hosted apps, CI/CD runners, databases, reverse proxies, and full microservice stacks — without the overhead of full virtual machines.
In this guide, you will install Docker Engine (the free, open-source Docker runtime) on Ubuntu Server the recommended way: from Docker's official apt repository. This method gives you the latest stable release and clean, automatic updates through apt — unlike the convenience script or the older Ubuntu-bundled docker.io package.
By the end, you will have:
- Docker Engine, the Docker CLI,
containerd, Buildx, and the Docker Compose plugin installed. - Docker running as a background
systemdservice that starts automatically on boot. - The ability to run Docker commands without typing
sudoevery time. - A verified installation confirmed by the official
hello-worldtest container.
Every command in this guide follows the official Docker Engine installation documentation for Ubuntu. The steps were tested on a fresh Ubuntu 26.04 LTS server, and they work identically on Ubuntu 24.04 LTS and 22.04 LTS.
Why Install Docker on Ubuntu Server?
Docker has become the default way to deploy software on Linux servers. Here is why it pairs so well with Ubuntu Server:
- Consistency — A container runs the same on your laptop, a staging box, and production. "It works on my machine" disappears.
- Isolation — Each app ships with its own dependencies, so two apps needing different library versions never conflict.
- Efficiency — Containers share the host kernel, so they are far lighter and faster to start than virtual machines.
- Portability — Move a container image between any Docker host without reconfiguring the server.
- Huge ecosystem — Thousands of ready-to-run images on Docker Hub (databases, web servers, language runtimes, and more).
Docker Engine vs. Docker Desktop: Which One for a Server?
A common point of confusion is whether to install Docker Engine or Docker Desktop. For a headless Ubuntu Server, you want Docker Engine.
| Feature | Docker Engine (this guide) | Docker Desktop |
|---|---|---|
| Best for | Servers, VMs, cloud instances, CI/CD | Local development on a desktop |
| Interface | Command line only | GUI + bundled VM |
| Resource usage | Minimal — runs natively on the host | Heavier — runs inside a managed VM |
| License | Free and open source (Apache 2.0) | Free for small use; paid for large business |
| Installation | apt repository (what we do below) | Downloadable .deb package |
Since Ubuntu Server has no desktop environment, Docker Engine is the correct and lightweight choice.
Prerequisites
Before you start, make sure you have:
- A 64-bit Ubuntu Server running one of the supported versions: Ubuntu 26.04 (LTS), 24.04 (LTS), 22.04 (LTS), or 25.10.
- A user account with
sudo(administrator) privileges. If you have not created one yet, follow our guide on how to create a new user in Ubuntu Server. - SSH access to the server (or direct console access).
- An active internet connection to download packages.
Connect to your server over SSH from your local machine (replace username and server_ip with your own):
ssh username@server_ip
Step 1: Check Your Ubuntu Version
Docker publishes a dedicated package repository for each Ubuntu release, so it helps to confirm which version and codename you are on. Run:
cat /etc/os-release
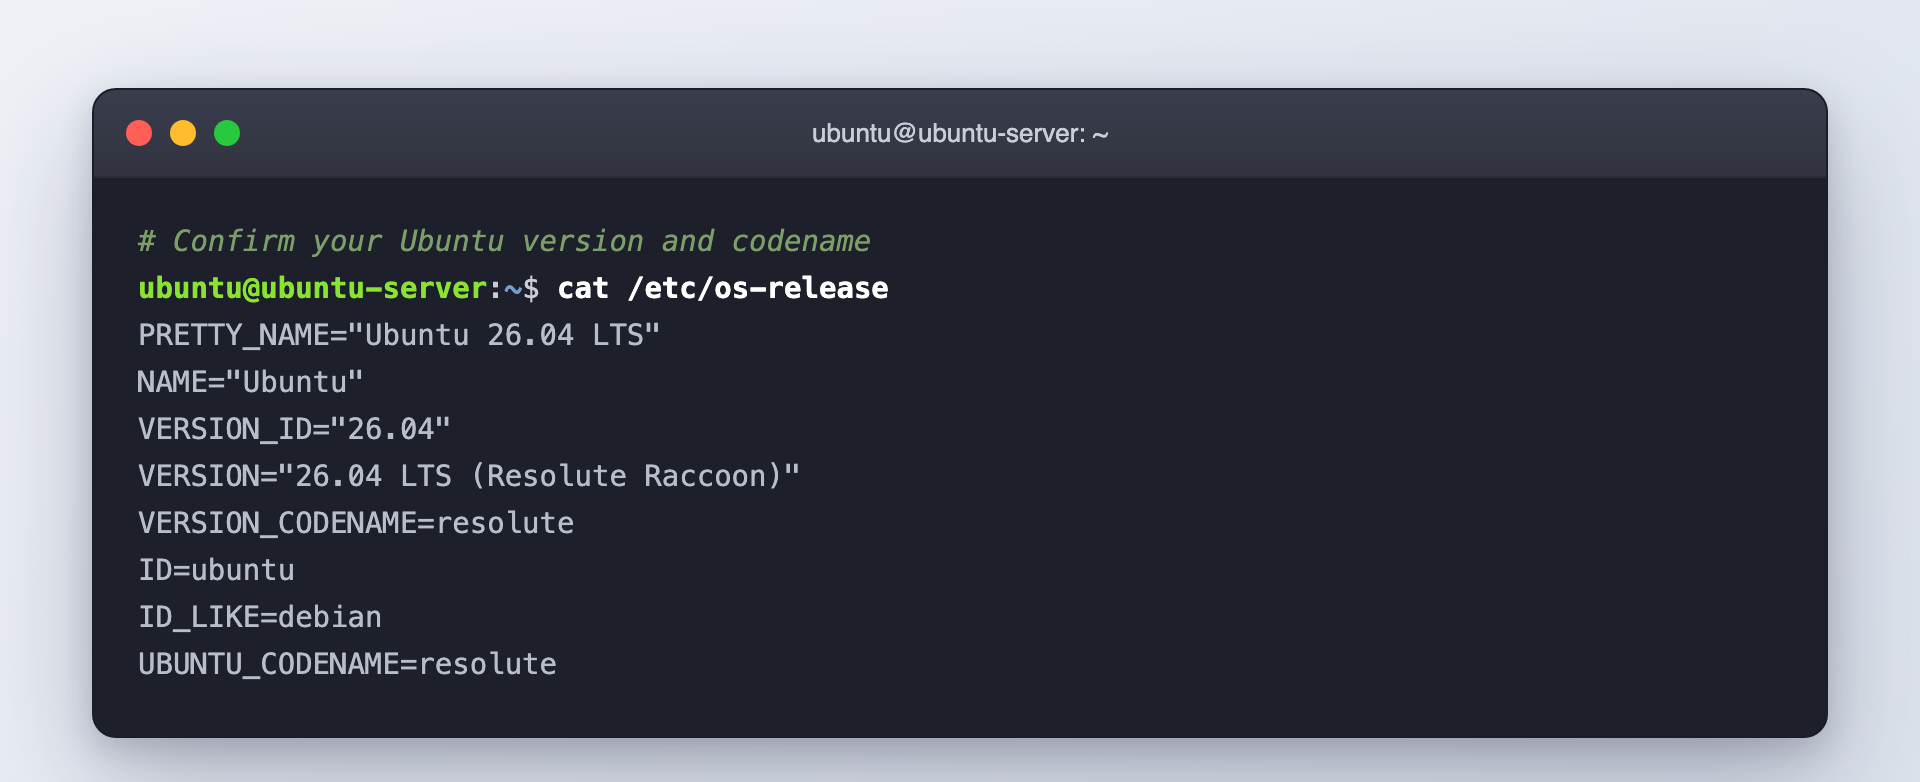
Note the VERSION_CODENAME value (for example, resolute for 26.04, noble for 24.04, or jammy for 22.04). You do not need to type it anywhere — the repository setup below detects it automatically — but it is useful to know your version is supported.
Step 2: Remove Old or Conflicting Docker Packages
Before installing Docker Engine, uninstall any conflicting packages that may have shipped with your distribution, such as the unofficial docker.io package or old containerd/runc builds:
sudo apt remove $(dpkg --get-selections docker.io docker-compose docker-compose-v2 docker-doc podman-docker containerd runc | cut -f1)
It is completely fine if apt reports that none of these packages are installed — that just means your system is clean and ready. Note that your stored container images and volumes in /var/lib/docker/ are not removed by this step.
Step 3: Set Up Docker's Official apt Repository
This is the most important step. We add Docker's GPG signing key and register their official repository so apt can install and update Docker directly from Docker.
Add Docker's GPG Key
# Add Docker's official GPG key:
sudo apt update
sudo apt install ca-certificates curl
sudo install -m 0755 -d /etc/apt/keyrings
sudo curl -fsSL https://download.docker.com/linux/ubuntu/gpg -o /etc/apt/keyrings/docker.asc
sudo chmod a+r /etc/apt/keyrings/docker.asc
Add the Docker Repository to apt Sources
Now add the repository. The command below writes a modern deb822-format docker.sources file and automatically fills in your Ubuntu codename and CPU architecture:
# Add the repository to Apt sources:
sudo tee /etc/apt/sources.list.d/docker.sources <<EOF
Types: deb
URIs: https://download.docker.com/linux/ubuntu
Suites: $(. /etc/os-release && echo "${UBUNTU_CODENAME:-$VERSION_CODENAME}")
Components: stable
Architectures: $(dpkg --print-architecture)
Signed-By: /etc/apt/keyrings/docker.asc
EOF
Then refresh the package index so apt picks up the new repository:
sudo apt update
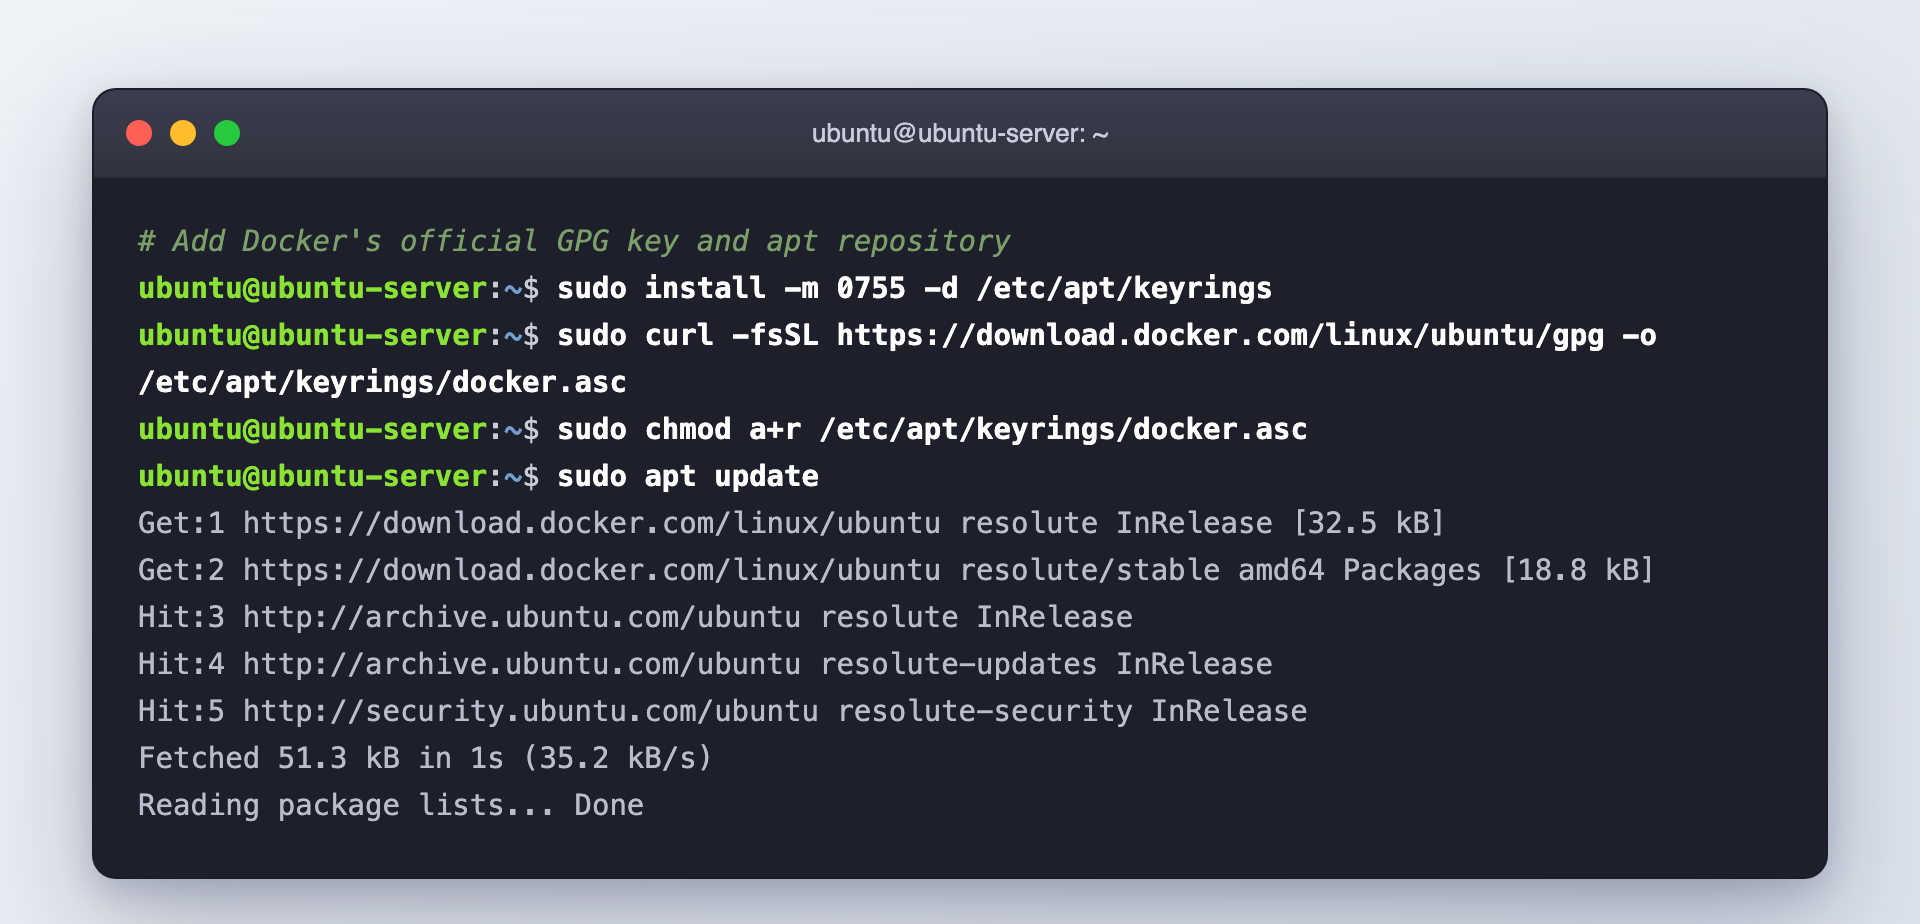
You should see apt fetch from https://download.docker.com/linux/ubuntu in the output — that confirms the repository was added correctly.
If you have used older Docker guides, they told you to create a /etc/apt/sources.list.d/docker.list file. Docker's current documentation uses the newer docker.sources (deb822) format shown above. You only need this one file — do not create both.
Step 4: Install Docker Engine
With the repository in place, install Docker Engine, the CLI, containerd, and the Buildx and Compose plugins in a single command:
sudo apt install docker-ce docker-ce-cli containerd.io docker-buildx-plugin docker-compose-plugin
When prompted, press Y and hit Enter to confirm. apt will download and set everything up.
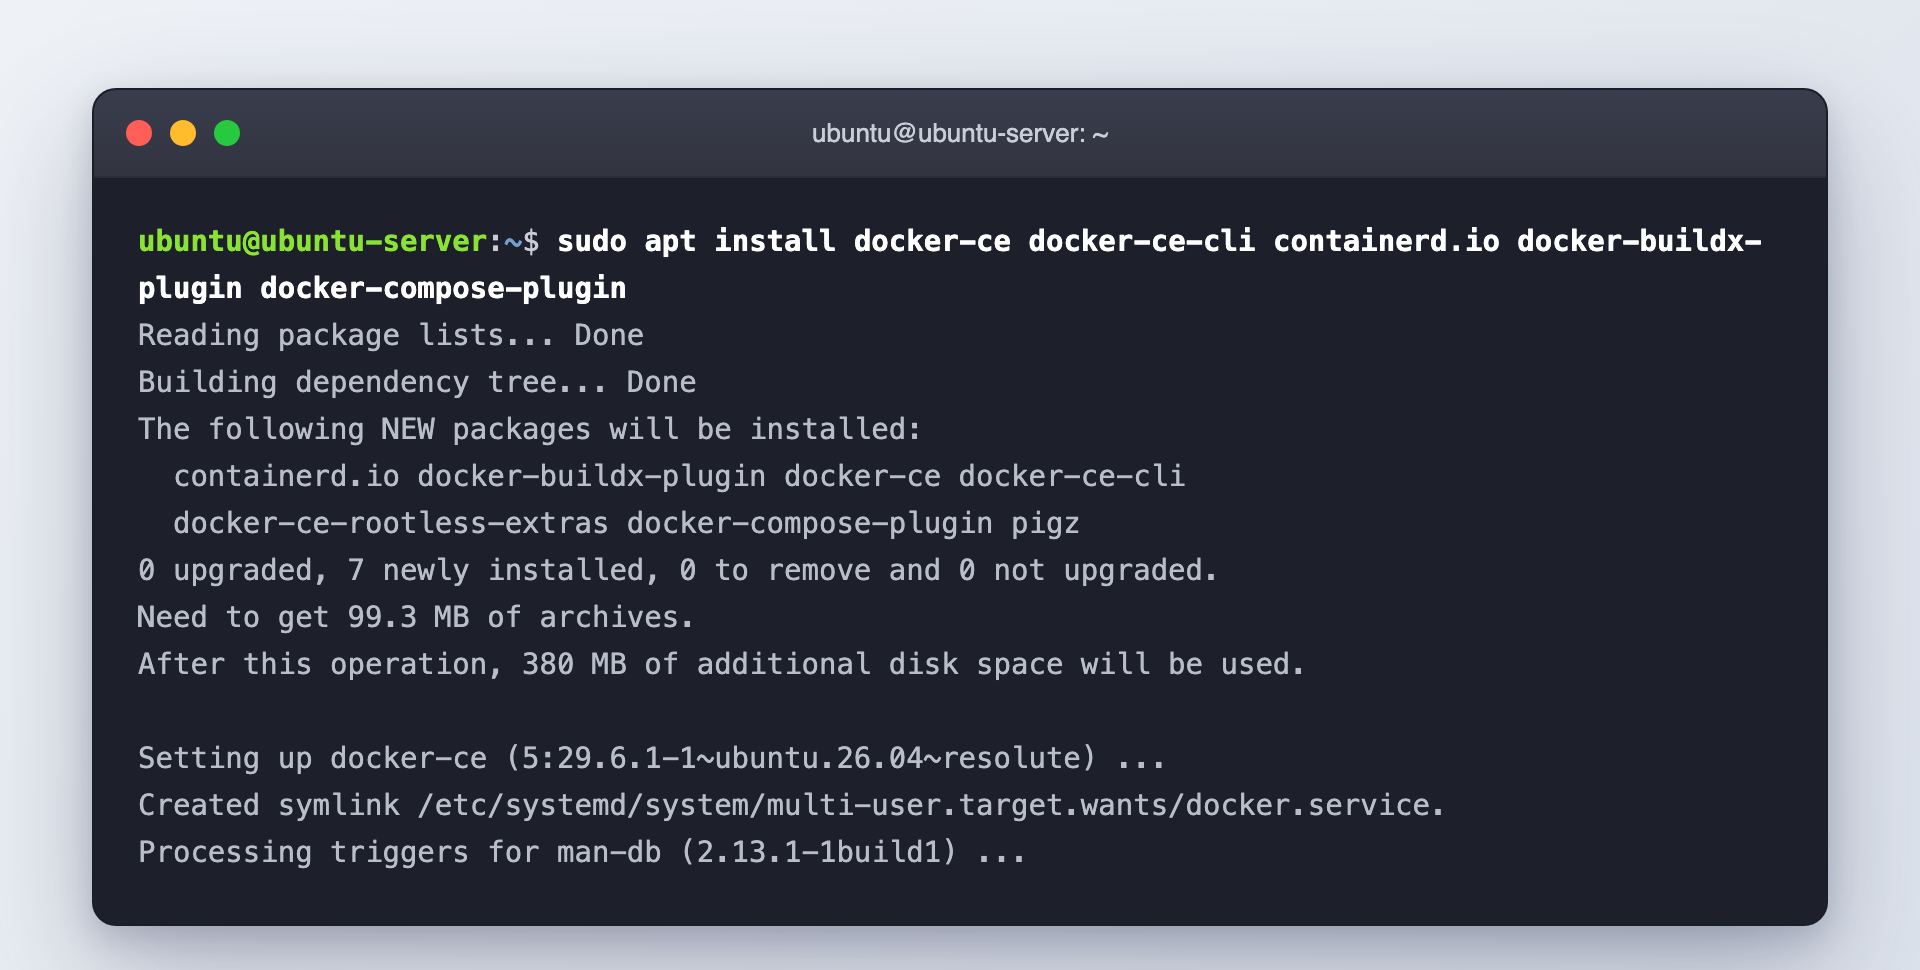
Here is what each package does:
docker-ce— Docker Engine, the core daemon (dockerd) that runs your containers.docker-ce-cli— Thedockercommand-line client you interact with.containerd.io— The underlying container runtime.docker-buildx-plugin— Advanced image building (docker buildx).docker-compose-plugin— Docker Compose v2 (docker compose) for multi-container apps.
The installer automatically creates and enables the docker and containerd systemd services, so Docker starts running immediately and on every reboot.
Step 5: Verify Docker Is Installed and Running
Check the installed version:
docker --version
And confirm the Docker service is active:
sudo systemctl status docker
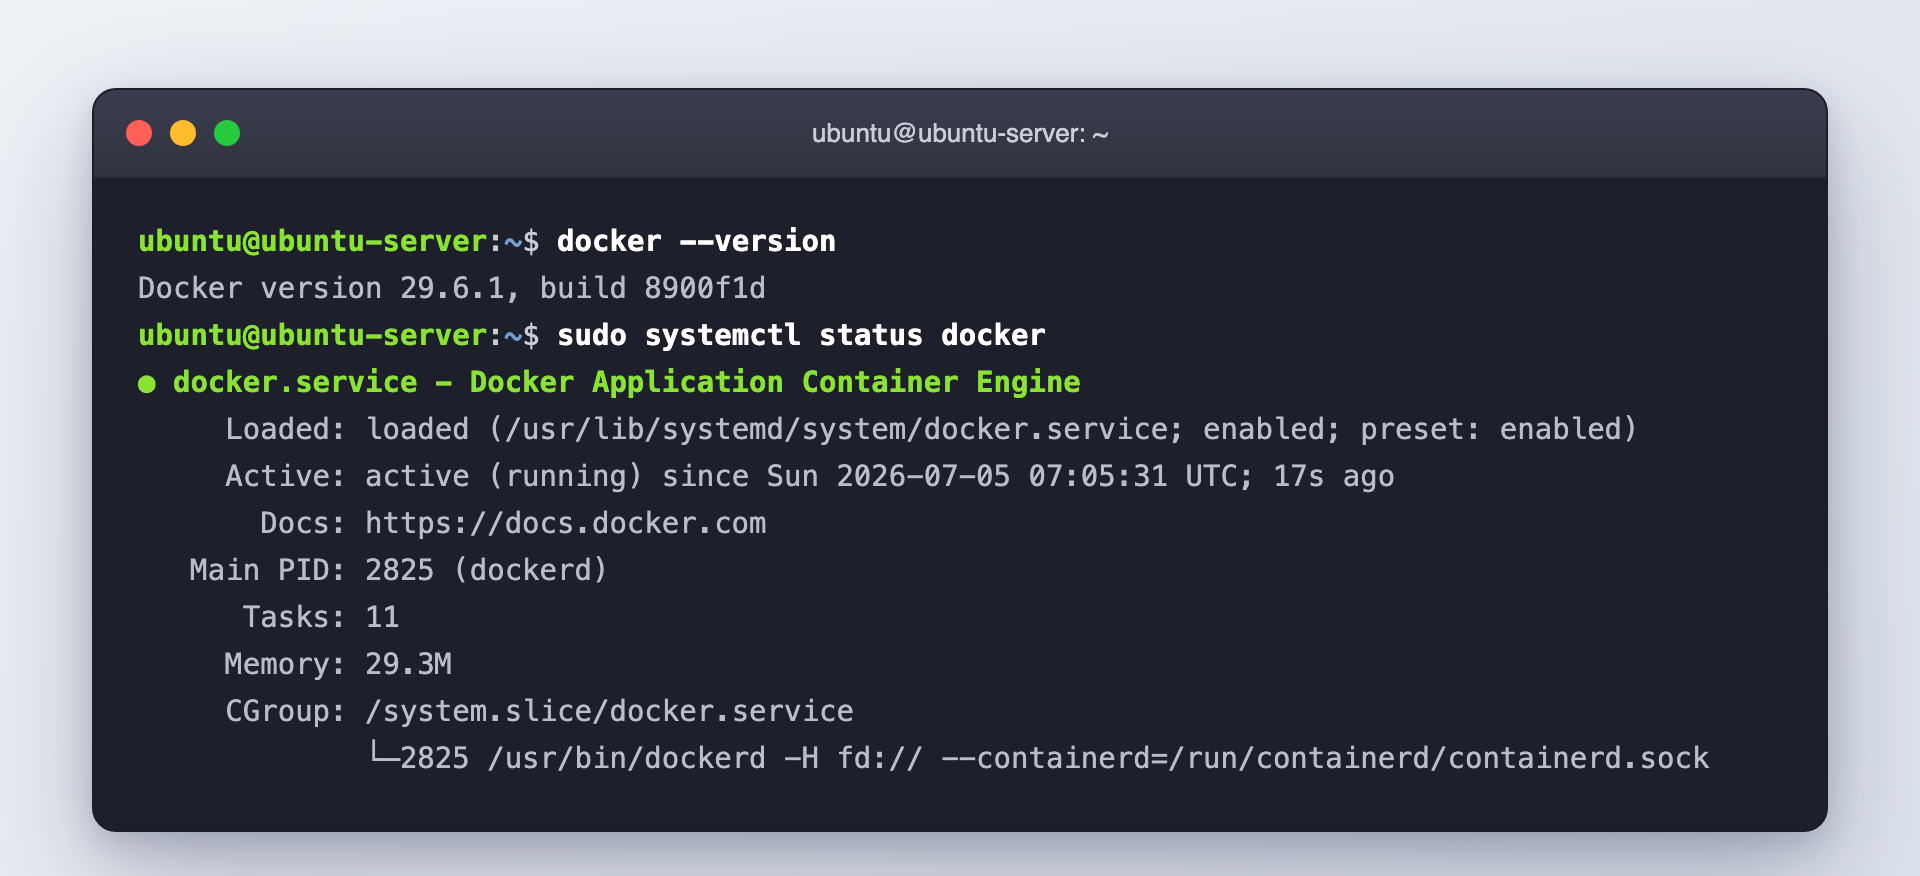
Look for Active: active (running) in green — that means the Docker daemon is up. Press q to exit the status view.
Step 6: Test Docker with the hello-world Container
The official way to verify a working installation is to run Docker's hello-world image:
sudo docker run hello-world
Docker will pull the tiny hello-world image from Docker Hub, run it in a container, and print a confirmation message.
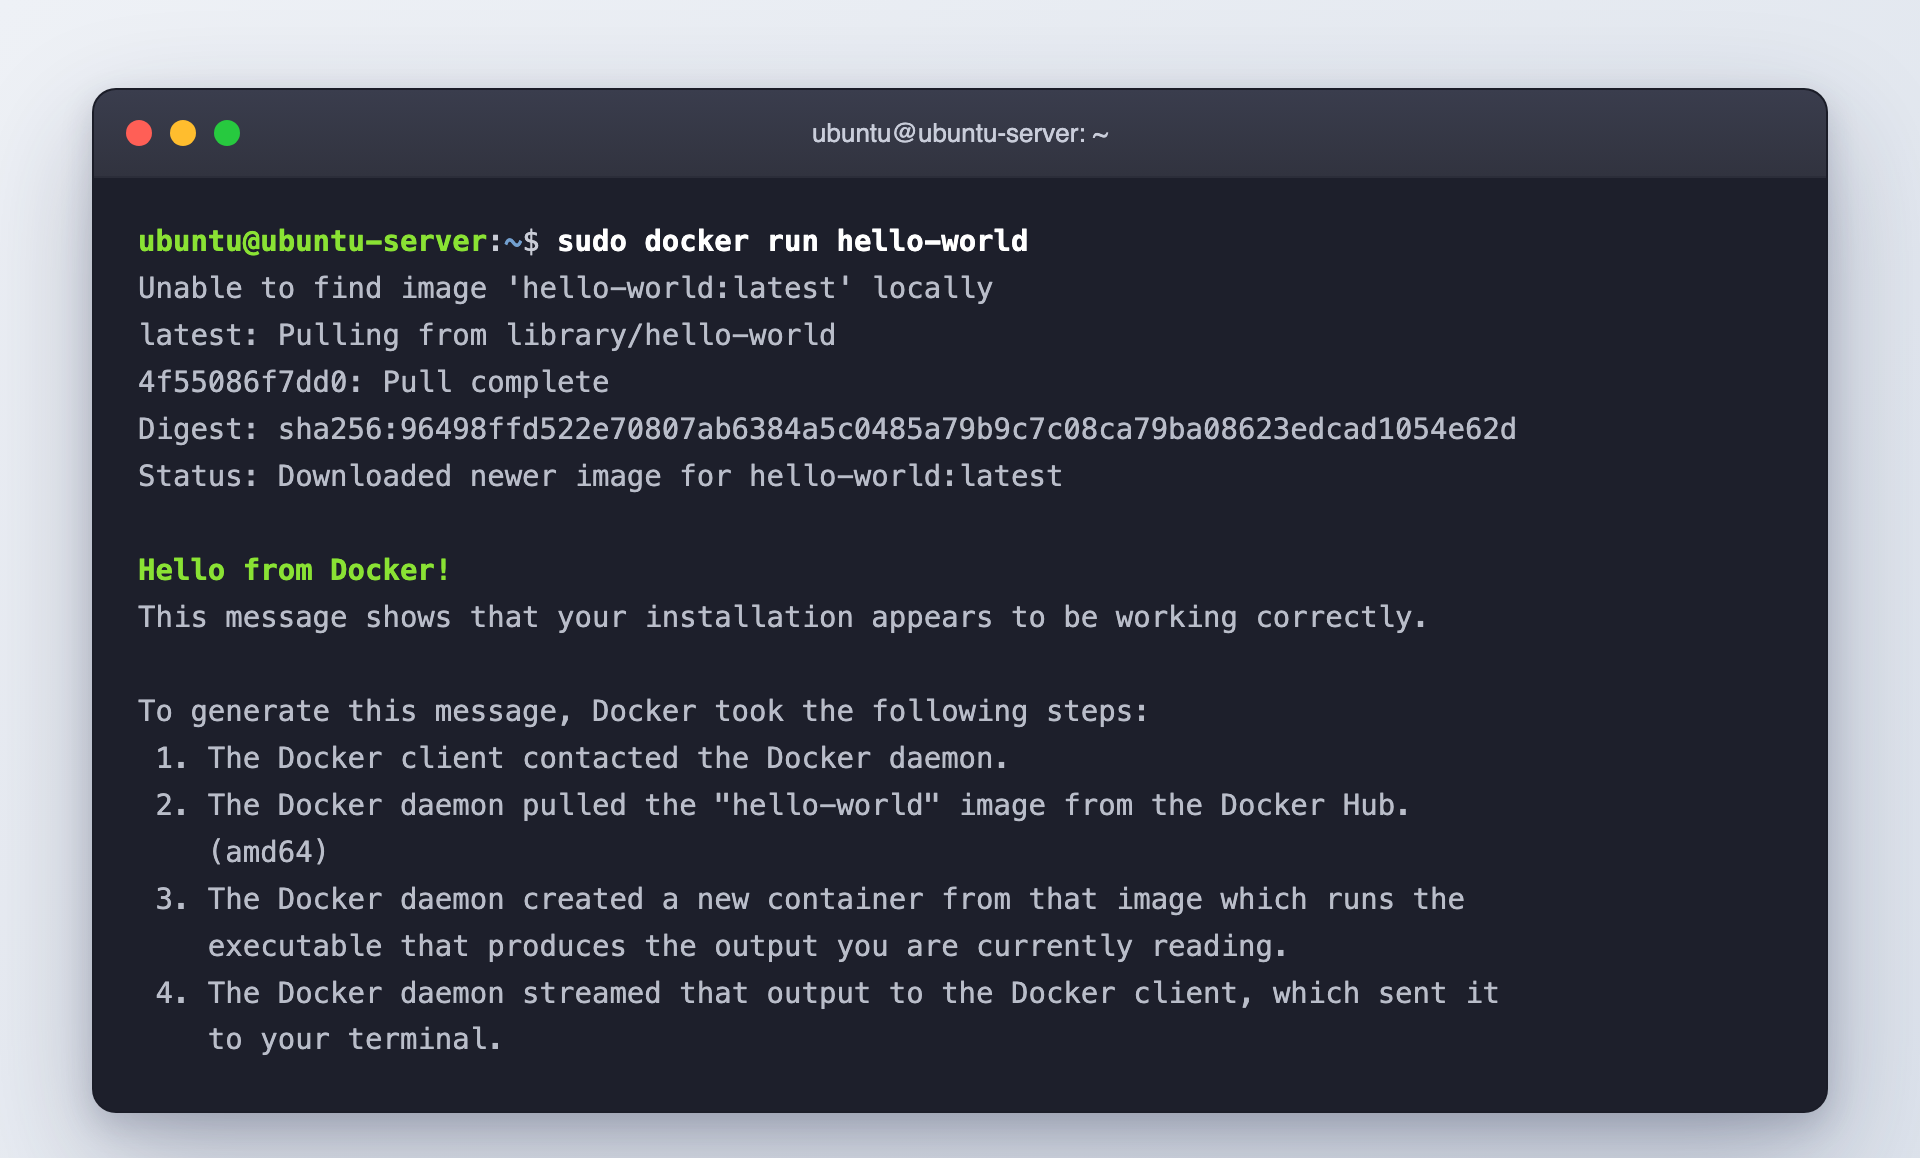
Seeing "Hello from Docker! This message shows that your installation appears to be working correctly." means Docker Engine is fully functional. 🎉
Step 7: Run Docker Without sudo (Manage Docker as a Non-Root User)
By default, the Docker daemon socket is owned by root, so every docker command needs sudo. To run Docker as your normal user, add yourself to the docker group.
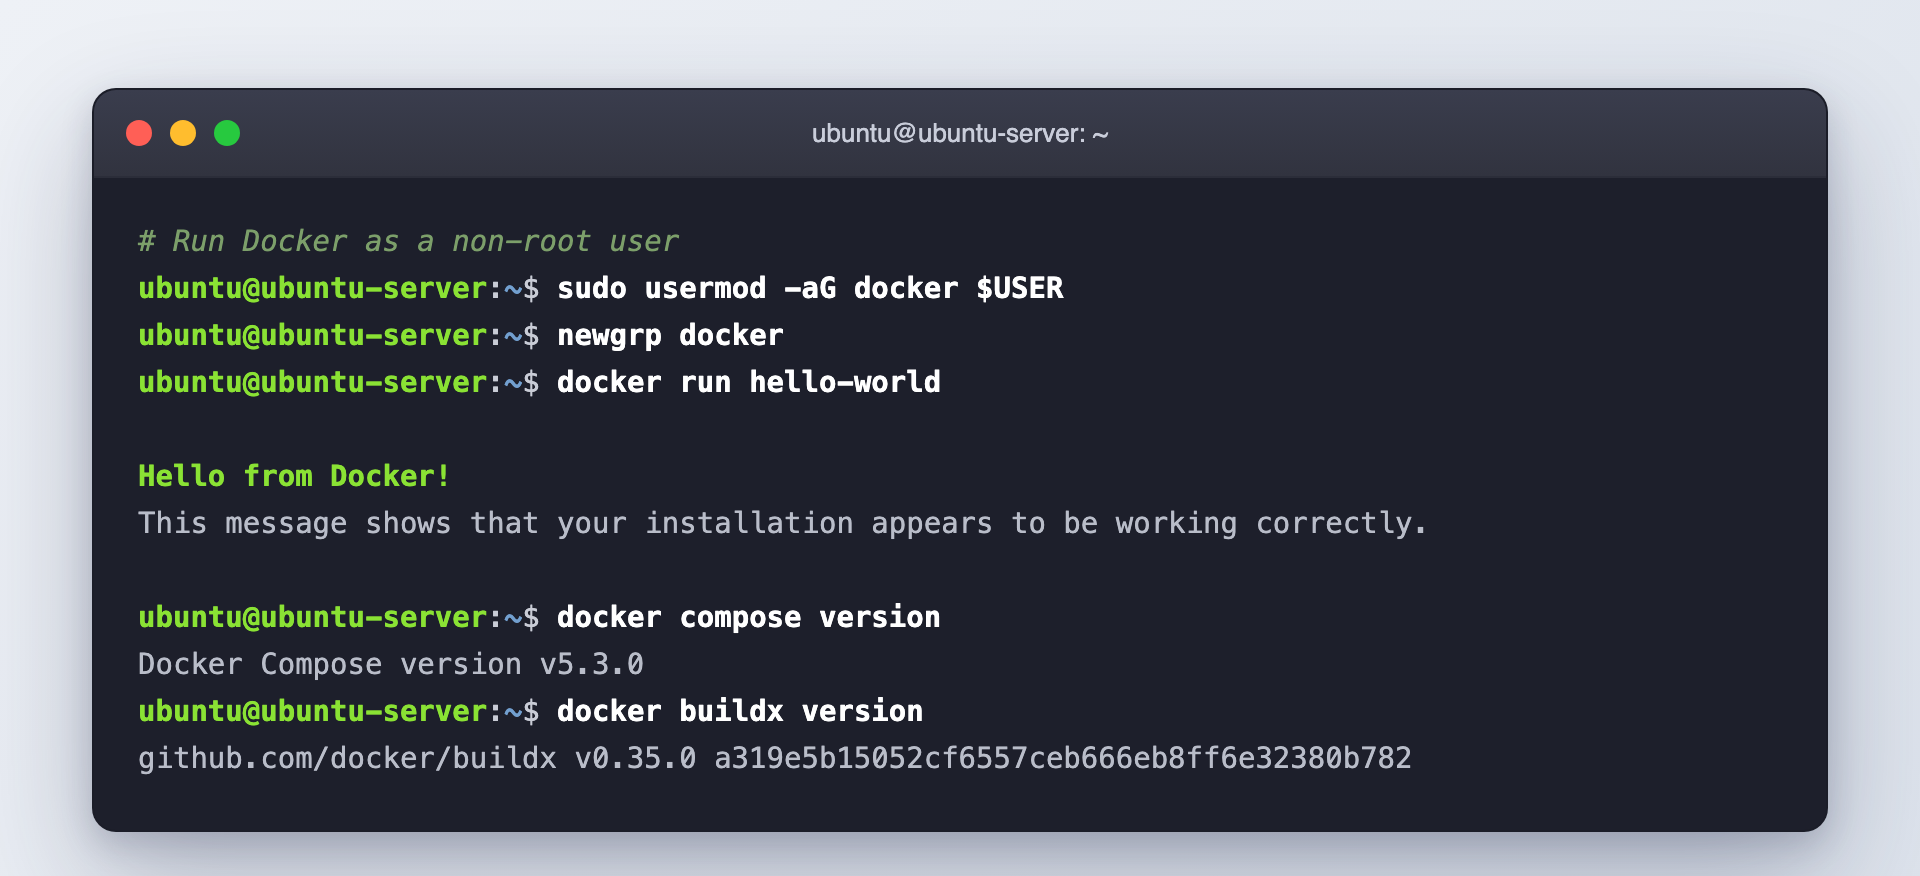
Create the group (it usually already exists after installation) and add your user:
sudo groupadd docker
sudo usermod -aG docker $USER
Apply the new group membership. Either log out and back in, or activate it in the current shell with:
newgrp docker
Now run the test container without sudo:
docker run hello-world
Adding a user to the docker group grants root-equivalent privileges, because that user can run containers that mount and control the host filesystem. Only add trusted users to the docker group. For hardened, multi-user servers, look into rootless mode.
Step 8: Enable Docker to Start on Boot
On Ubuntu, Docker's systemd service is enabled automatically during installation. To make sure Docker and containerd start on every reboot, you can explicitly enable them:
sudo systemctl enable docker.service
sudo systemctl enable containerd.service
To stop Docker from starting automatically, disable it instead:
sudo systemctl disable docker.service
sudo systemctl disable containerd.service
Step 9: Confirm Docker Compose and Buildx (Optional)
Because we installed the plugins, Docker Compose and Buildx are already available — no separate install needed. Verify them:
docker compose version
docker buildx version
You should see the Compose (v2.x/v5.x) and Buildx versions printed, confirming both plugins are ready. Note that modern Docker uses docker compose (a space, as a subcommand) rather than the legacy docker-compose binary.
How to Update Docker on Ubuntu
Because Docker is installed from the official apt repository, updating is the same as updating any other package. Refresh the index and upgrade:
sudo apt update
sudo apt upgrade
apt will pull the latest stable Docker Engine whenever Docker publishes a new release.
How to Uninstall Docker from Ubuntu
If you ever need to remove Docker completely, purge the packages and delete Docker's data directories:
sudo apt purge docker-ce docker-ce-cli containerd.io docker-buildx-plugin docker-compose-plugin docker-ce-rootless-extras
sudo rm -rf /var/lib/docker
sudo rm -rf /var/lib/containerd
Deleting /var/lib/docker permanently removes all containers, images, volumes, and networks. Back up anything you need first. You must also manually delete the source list file (/etc/apt/sources.list.d/docker.sources) and the keyring (/etc/apt/keyrings/docker.asc) if you want to remove every trace.
Troubleshooting Common Issues
permission denied while trying to connect to the Docker daemon socket— You have not applied thedockergroup membership yet. Log out and back in (or runnewgrp docker) after completing Step 7.docker: command not found— The install did not complete. Re-run Step 4 and checkaptfor errors.Cannot connect to the Docker daemon— The service is not running. Start it withsudo systemctl start dockerand checksudo systemctl status docker.aptcannot find the Docker packages — The repository was not added correctly. Re-check Step 3 and confirmsudo apt updatefetches fromdownload.docker.com.- GPG or
NO_PUBKEYerrors — The signing key was not downloaded or lacks read permission. Re-run thecurlandchmod a+rcommands in Step 3.
Frequently Asked Questions
Which Ubuntu versions does Docker Engine support?
Docker officially supports the 64-bit versions of Ubuntu 26.04 (LTS), 25.10, 24.04 (LTS), and 22.04 (LTS). LTS releases are recommended for servers because they receive long-term security updates.
Do I need to install Docker Compose separately?
No. The docker-compose-plugin package installed in Step 4 provides Docker Compose v2, which you run as docker compose (with a space). The old standalone docker-compose binary is deprecated.
What is the difference between docker.io and docker-ce?
docker.io is the version packaged by Ubuntu's own repositories — it is often older. docker-ce (Community Edition) comes from Docker's official repository and is the current, up-to-date release. This guide installs docker-ce, which is the recommended approach.
How do I run Docker commands without sudo?
Add your user to the docker group with sudo usermod -aG docker $USER, then log out and back in (see Step 7). After that, docker commands work without sudo.
How do I check whether Docker is running?
Run sudo systemctl status docker. If you see Active: active (running), the Docker daemon is up. You can also run docker info for full daemon details.
Is Docker Engine free to use?
Yes. Docker Engine is free and open source under the Apache 2.0 license. Only Docker Desktop has commercial licensing terms for large organizations, and you do not need Docker Desktop on a server.
Why should I use the apt repository instead of the convenience script?
The apt repository gives you clean, incremental updates through your normal package manager and is the method Docker recommends for production. The get.docker.com convenience script is meant for quick testing and development, not long-term server maintenance.
Conclusion
You have successfully installed Docker Engine on Ubuntu Server using Docker's official apt repository. Along the way you set up the Docker repository and GPG key, installed the engine along with the Compose and Buildx plugins, configured Docker to run without sudo, enabled it to start on boot, and verified the whole setup with the hello-world container.
Your server is now ready to run containers. From here, you might pull an image like nginx or postgres, write a docker-compose.yml to orchestrate a multi-container stack, or deploy your own application in a container. For a real-world deployment walkthrough, check out our guide on deploying a .NET app on Ubuntu with Nginx and SSL.
For the official reference, see the Docker Engine installation docs for Ubuntu and the post-installation steps.
Video Tutorial
Coming soon!
