How to Create a Document Library in SharePoint Online

A document library is where a SharePoint site keeps files, the way a list keeps rows of data. Every site starts with one, Documents, but a library of its own lets a set of files have their own permissions and their own place. It takes a minute to create.
The Overtime Timesheet series needs one for payroll: each month a flow saves an Excel workbook of approved overtime there, and only payroll staff can open it.
Prerequisites
- A SharePoint site you own. Microsoft's Create a document library in SharePoint notes that "site owners can create or manage lists. Other team members might not be able to." If you created the site, you're its owner.
Step 1: Select New, Then Document Library
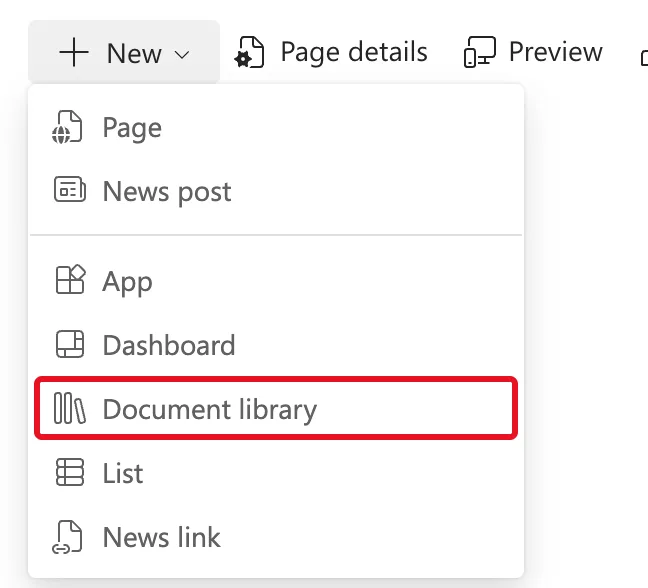
On the site's home page, select + New → Document library:
Step 2: Choose Blank Library
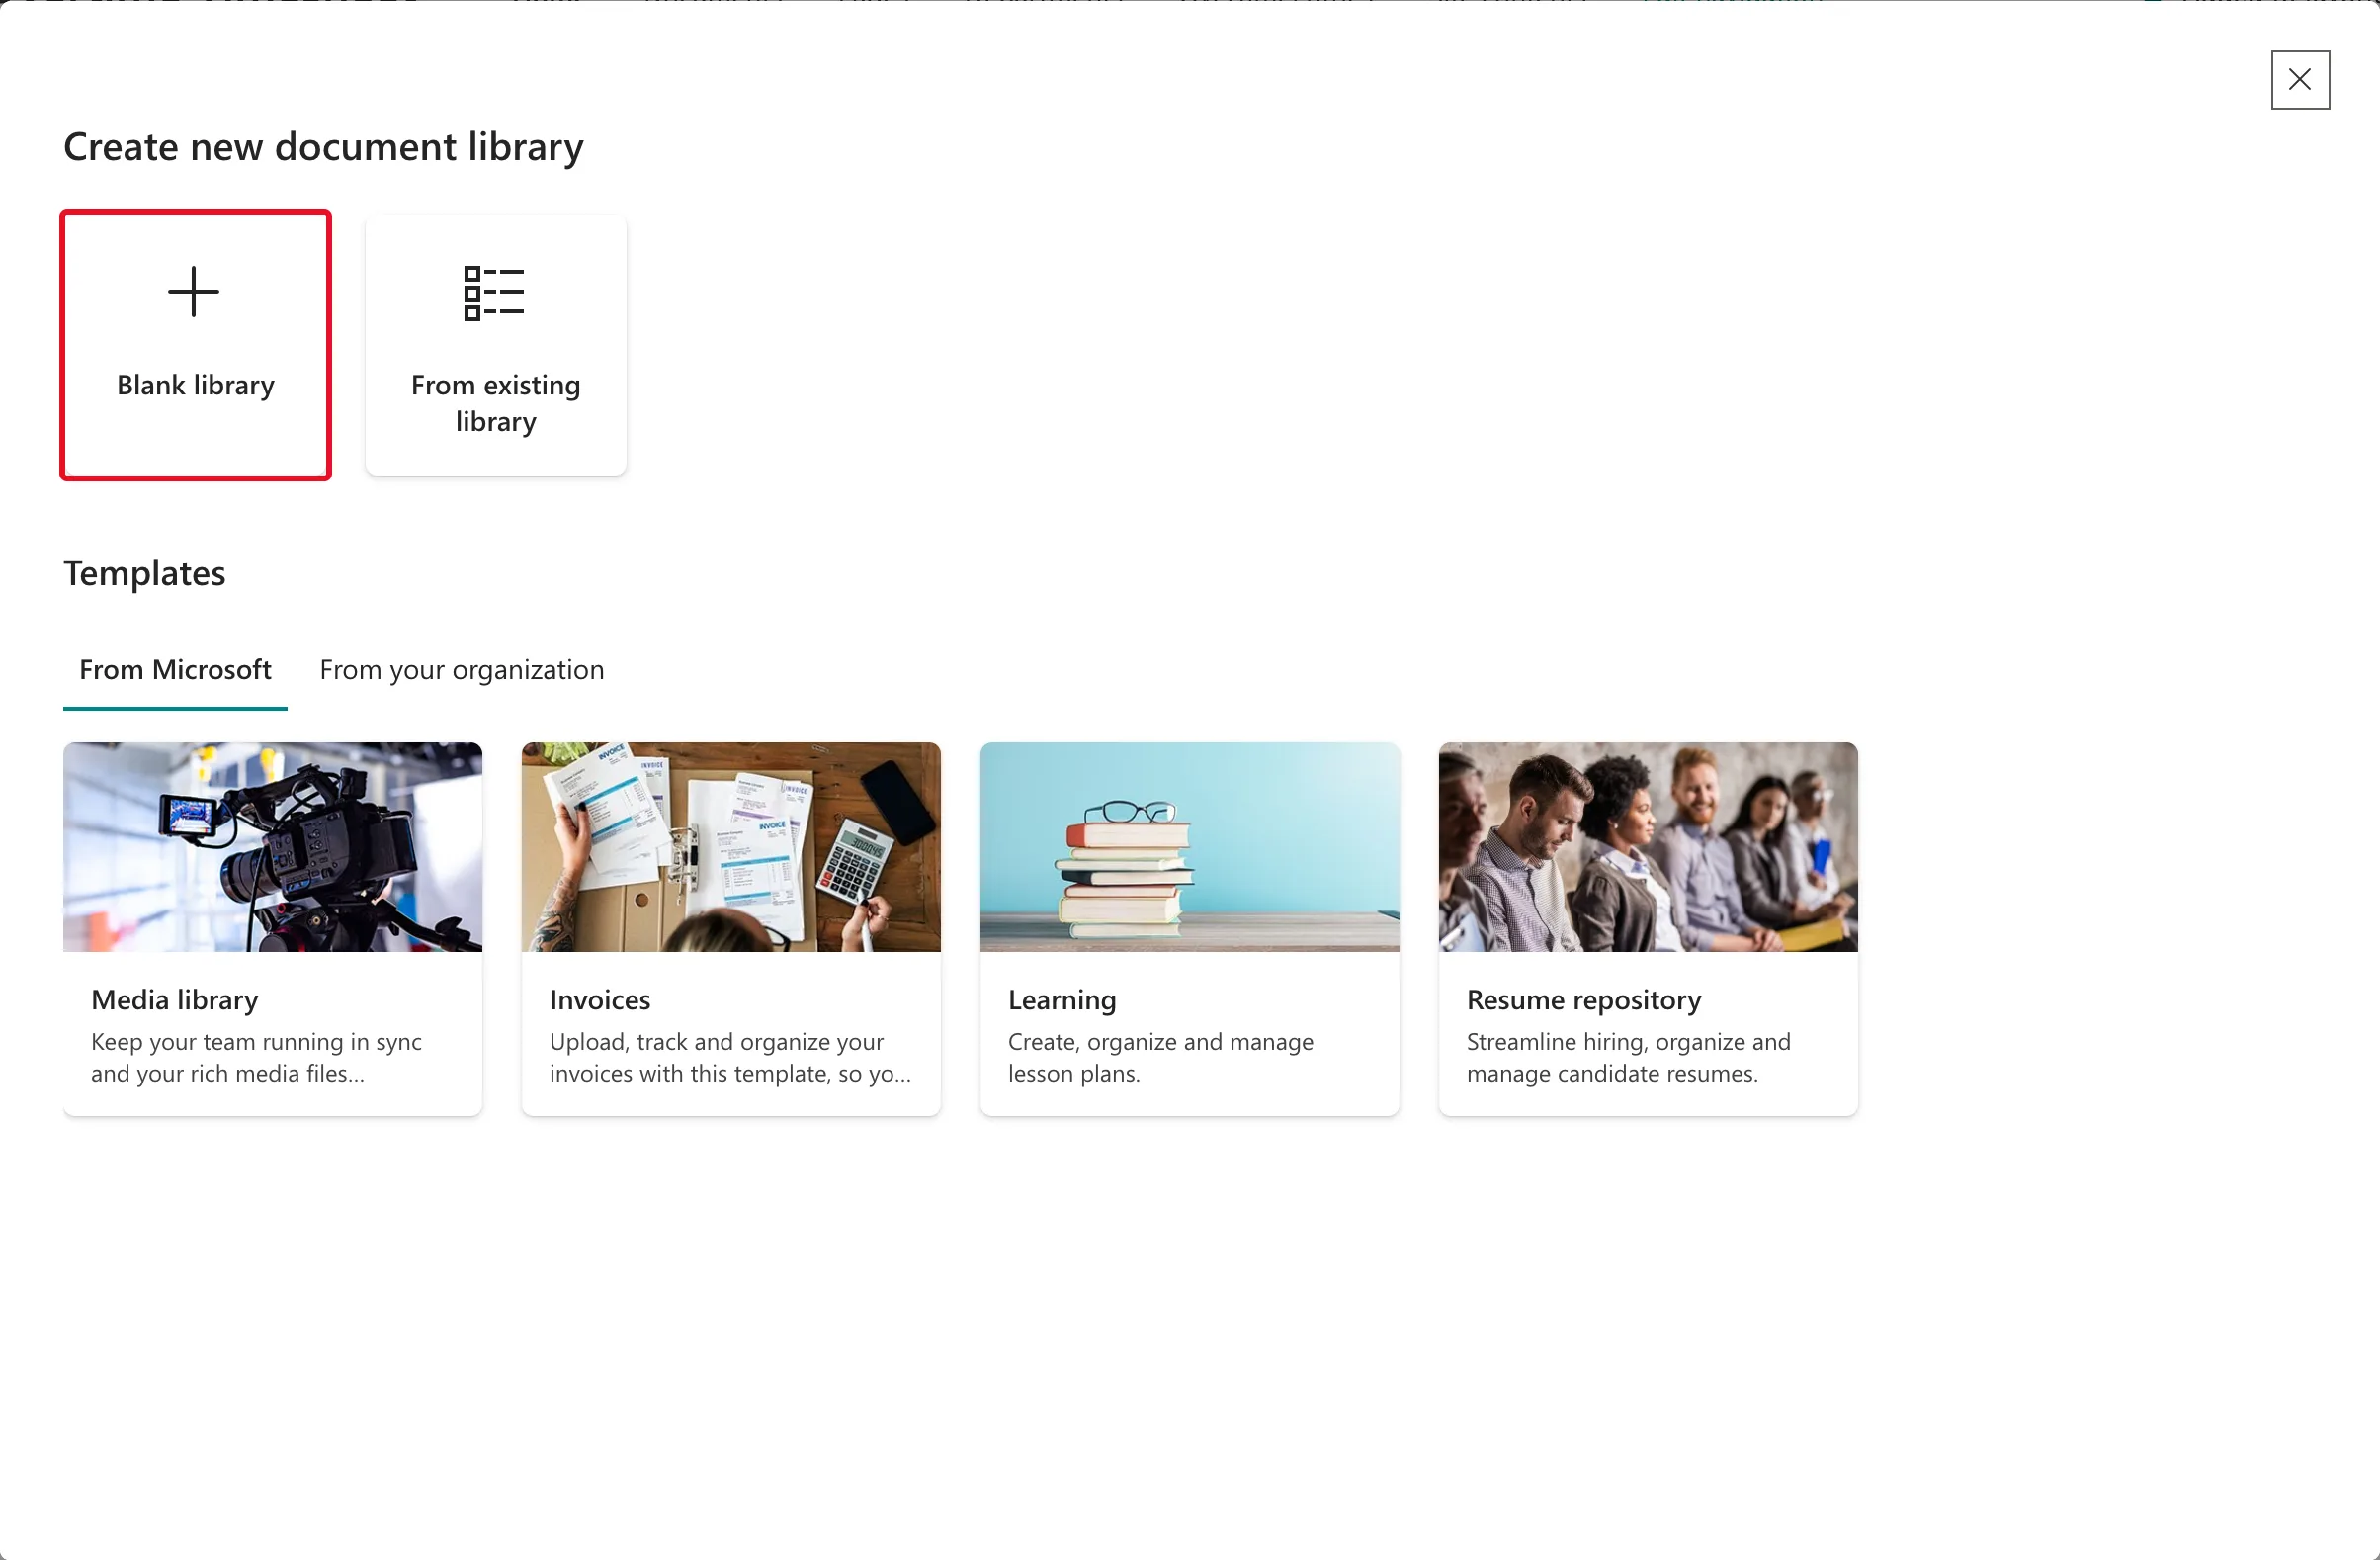
Create new document library offers a Blank library, a copy of an existing library, or a template such as Media library, Invoices, Learning or Resume repository. Select Blank library:
Step 3: Name It and Decide on Navigation
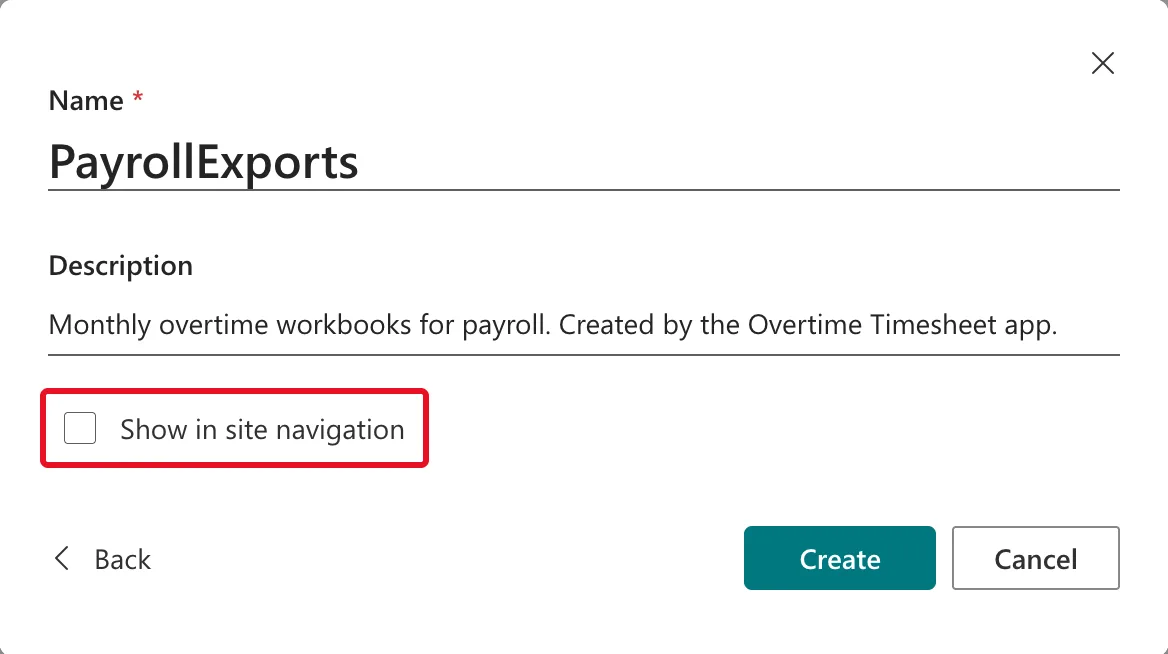
Fill in Document Library settings:
| Setting | Payroll library | Why |
|---|---|---|
| Name | PayrollExports | The name becomes the web address, so leave out spaces. Rename it with spaces afterwards if you like |
| Description | Monthly overtime workbooks for payroll. Created by the Overtime Timesheet app. | Tells people what the library is for |
| Show in site navigation | Cleared | It's for payroll only, so it stays out of the menu everyone sees |
Select Create.
Step 4: The New Library
The library opens, empty, at https://<your-organization>.sharepoint.com/sites/OvertimeTimesheet/PayrollExports:
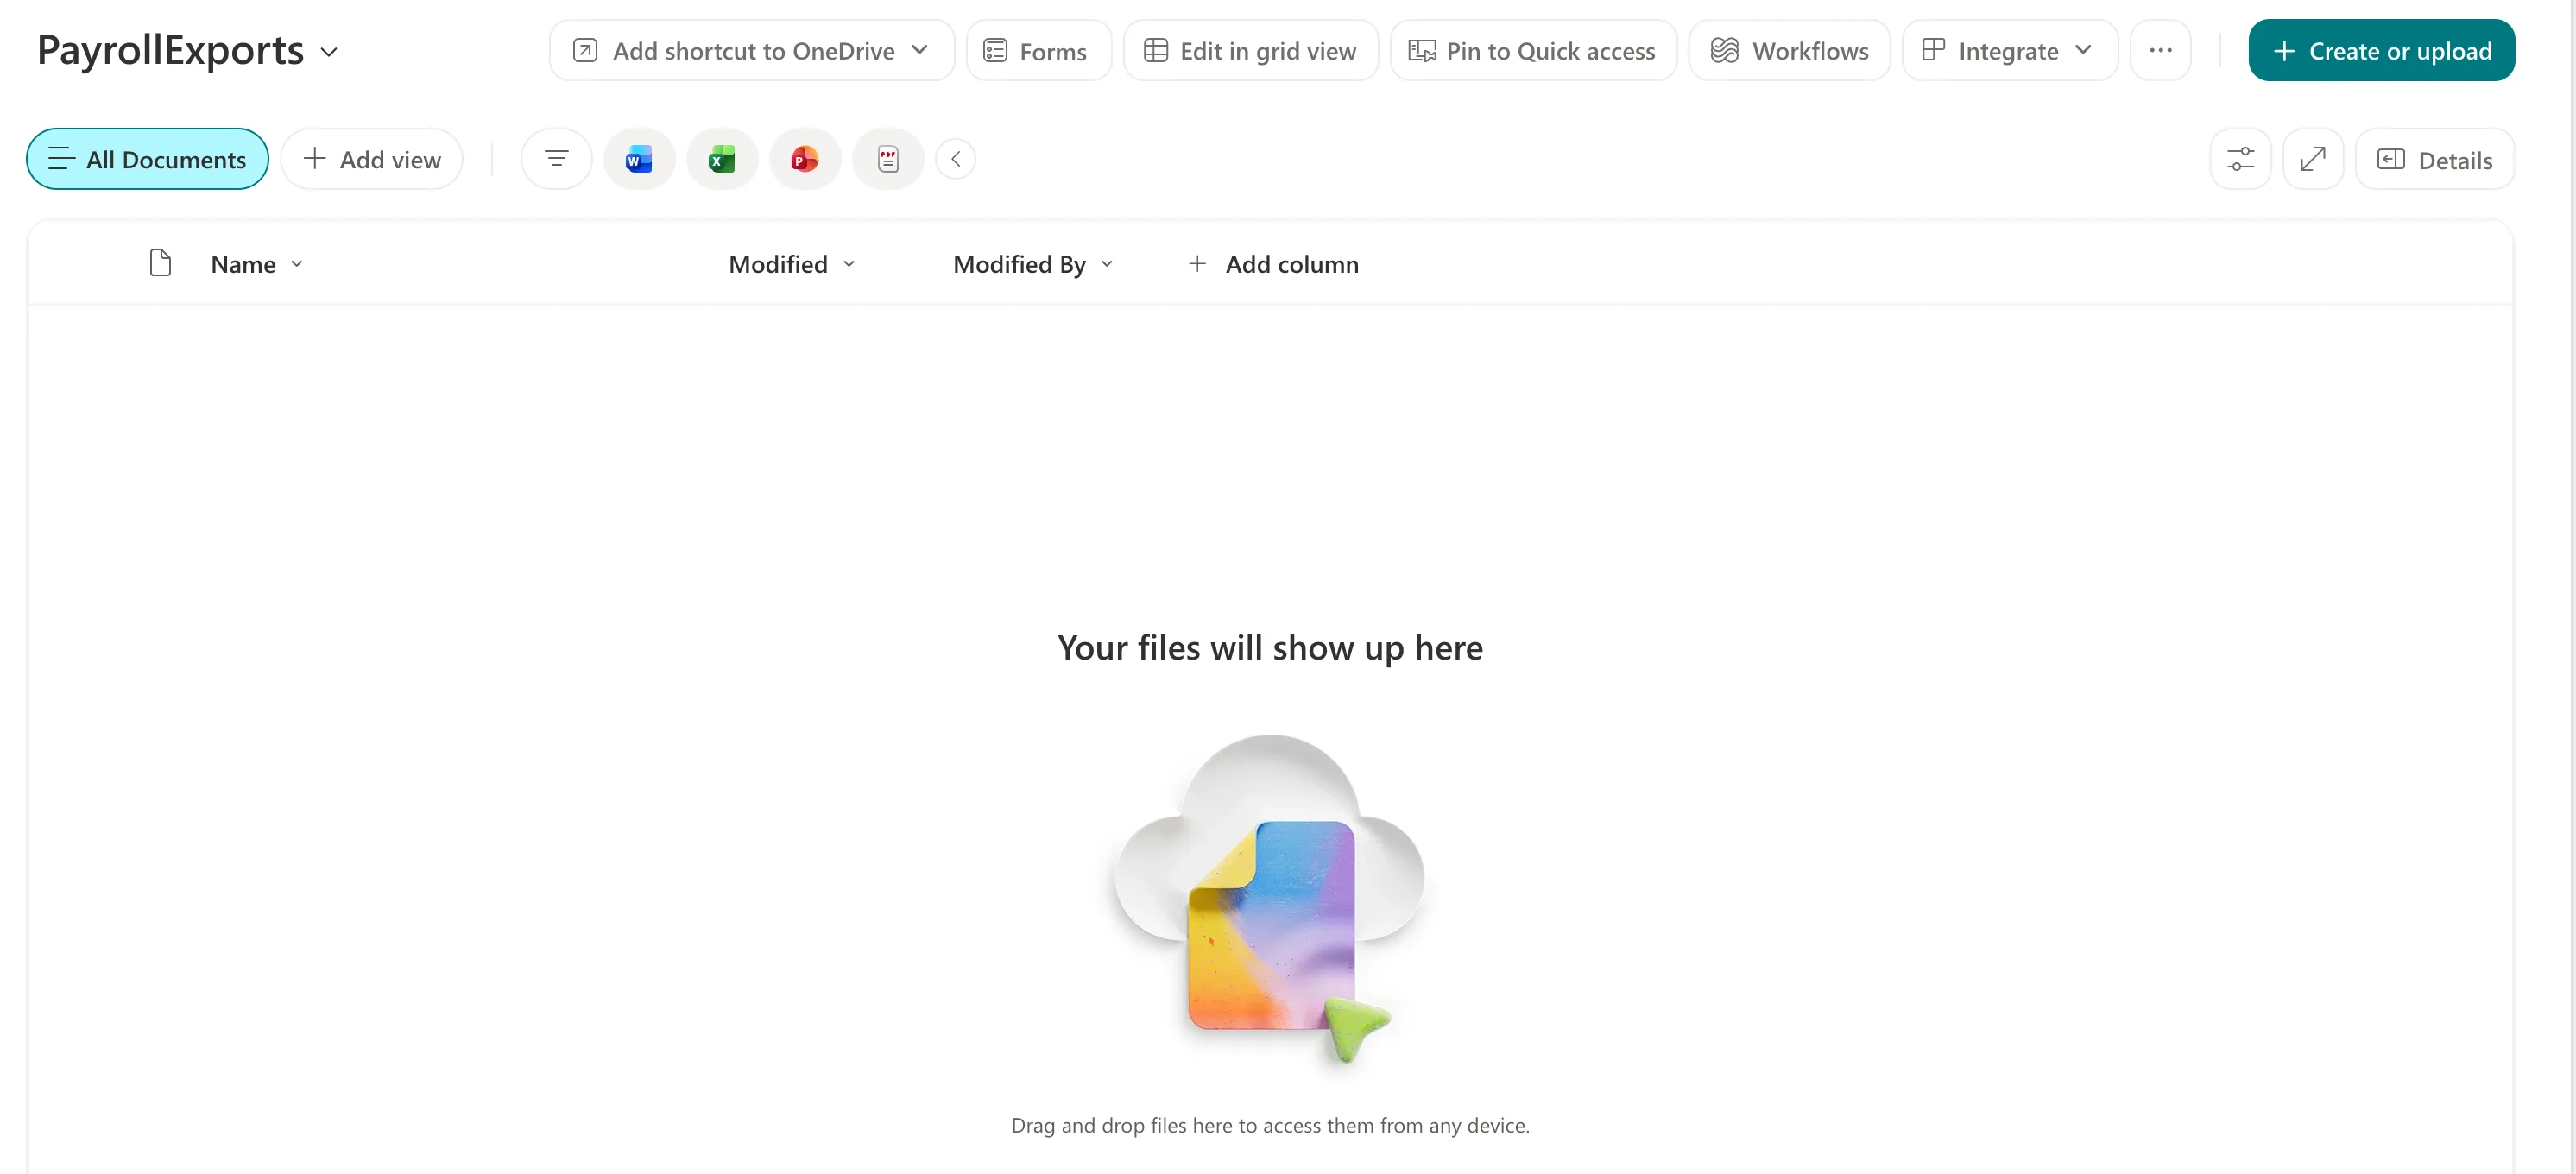
A New: Collect Files with Forms tip may pop up the first time; select Got it to close it.
Its address ends in /PayrollExports, with no %20 where a space would be. To give it a friendlier name without changing that address, see How to Rename a SharePoint Library Without Changing Its URL.
Common Mistakes
| Mistake | What happens | Do this instead |
|---|---|---|
| Naming it with spaces | The web address gets %20 for each space | Name it without spaces, then rename it |
| Keeping files for one team in the site's Documents | They share Documents' permissions | Give them a library of their own |
| Leaving a restricted library in the navigation | Everyone sees a link to it | Clear Show in site navigation |
Troubleshooting
| Symptom | Likely cause | Fix |
|---|---|---|
| No Document library in the + New menu | You may not have permission to create libraries on this site | Ask a site owner to create it |
| The library isn't in the site's menu | Show in site navigation was cleared | Open it from Site contents |
FAQ
Library or list?
A library holds files, each with optional columns of information. A list holds rows of data with no file. Monthly workbooks are files, so they belong in a library.
Who can open the new library?
Everyone who can open the site, until you change its permissions. The Overtime Timesheet series gives the payroll library its own permissions in Part 3, using How to Restrict a SharePoint Document Library to One Group.
Conclusion
+ New → Document library → Blank library → a name without spaces, a description, and Show in site navigation as you need it → Create.
