How to Complete the Welcome to Power Apps Dialog

The first time someone opens make.powerapps.com, Power Apps shows a Welcome to Power Apps dialog: We need some information to get started. Choose your country or region, tick or untick the box for tips and offers, and select Get started.
The example is Aisha, a member of staff in a test organization, opening Power Apps for the first time to find an app that had been shared with her.
Microsoft's Sign in to Power Apps article covers using Power Apps for the first time, but doesn't describe this dialog. Everything below is what the dialog showed.
Step 1: Choose Your Country or Region
The dialog has a picture on the left and the questions on the right:
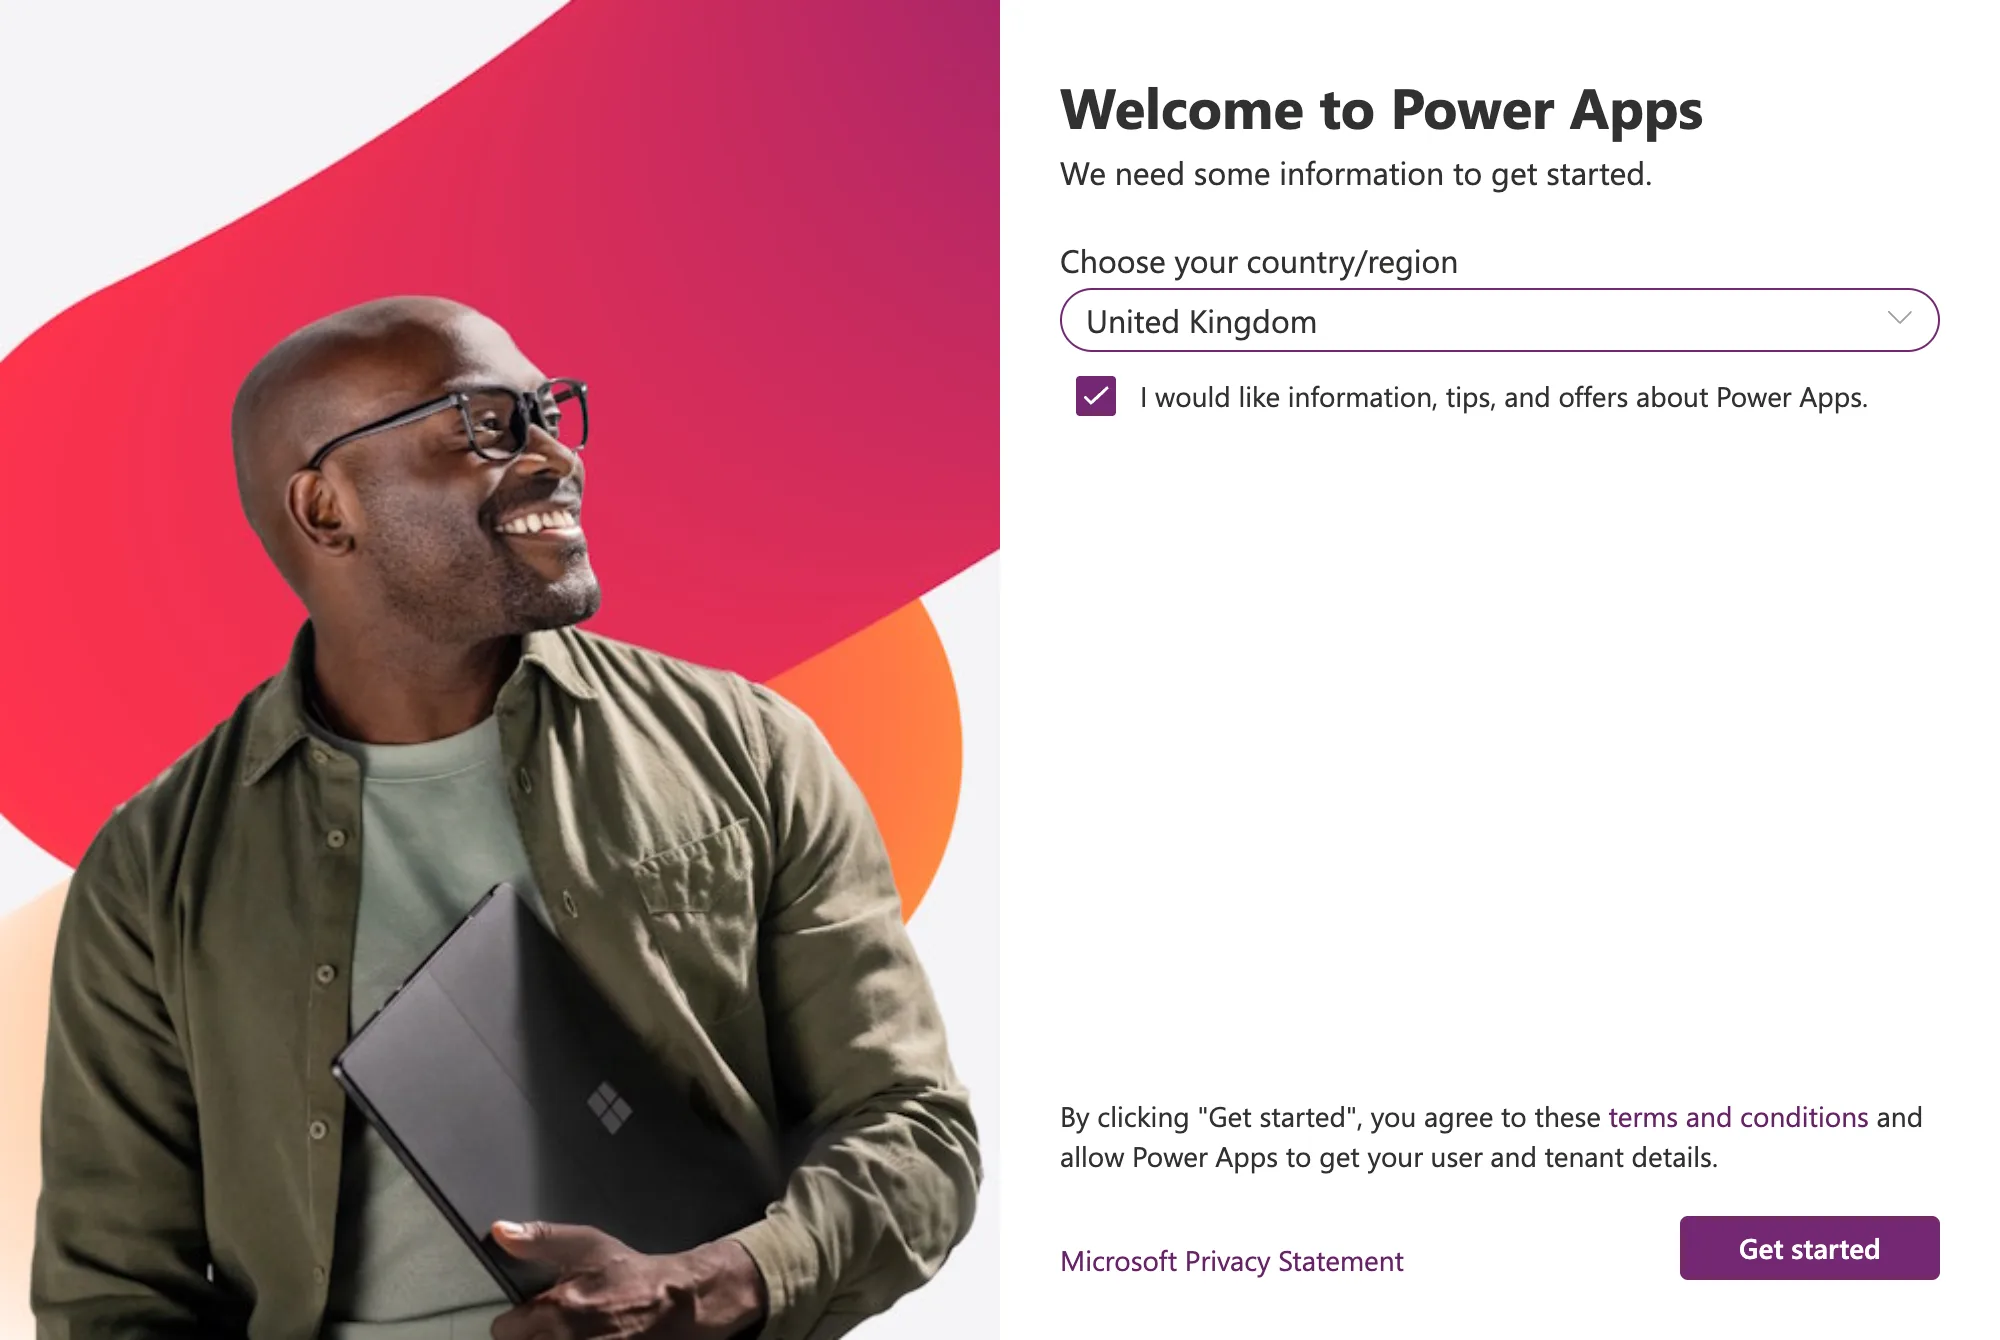
Choose your country/region came pre-filled. Open the list and choose the country you work in; for Aisha, United Kingdom.
Step 2: Decide on the Tips Checkbox
Below the country is a checkbox: I would like information, tips, and offers about Power Apps. Whether it starts ticked depends on the country. I switched between a few to see:
| Country or region | The checkbox |
|---|---|
| United Kingdom, France | Shown, ticked |
| Germany, Ireland, Canada, Australia, India | Shown, not ticked |
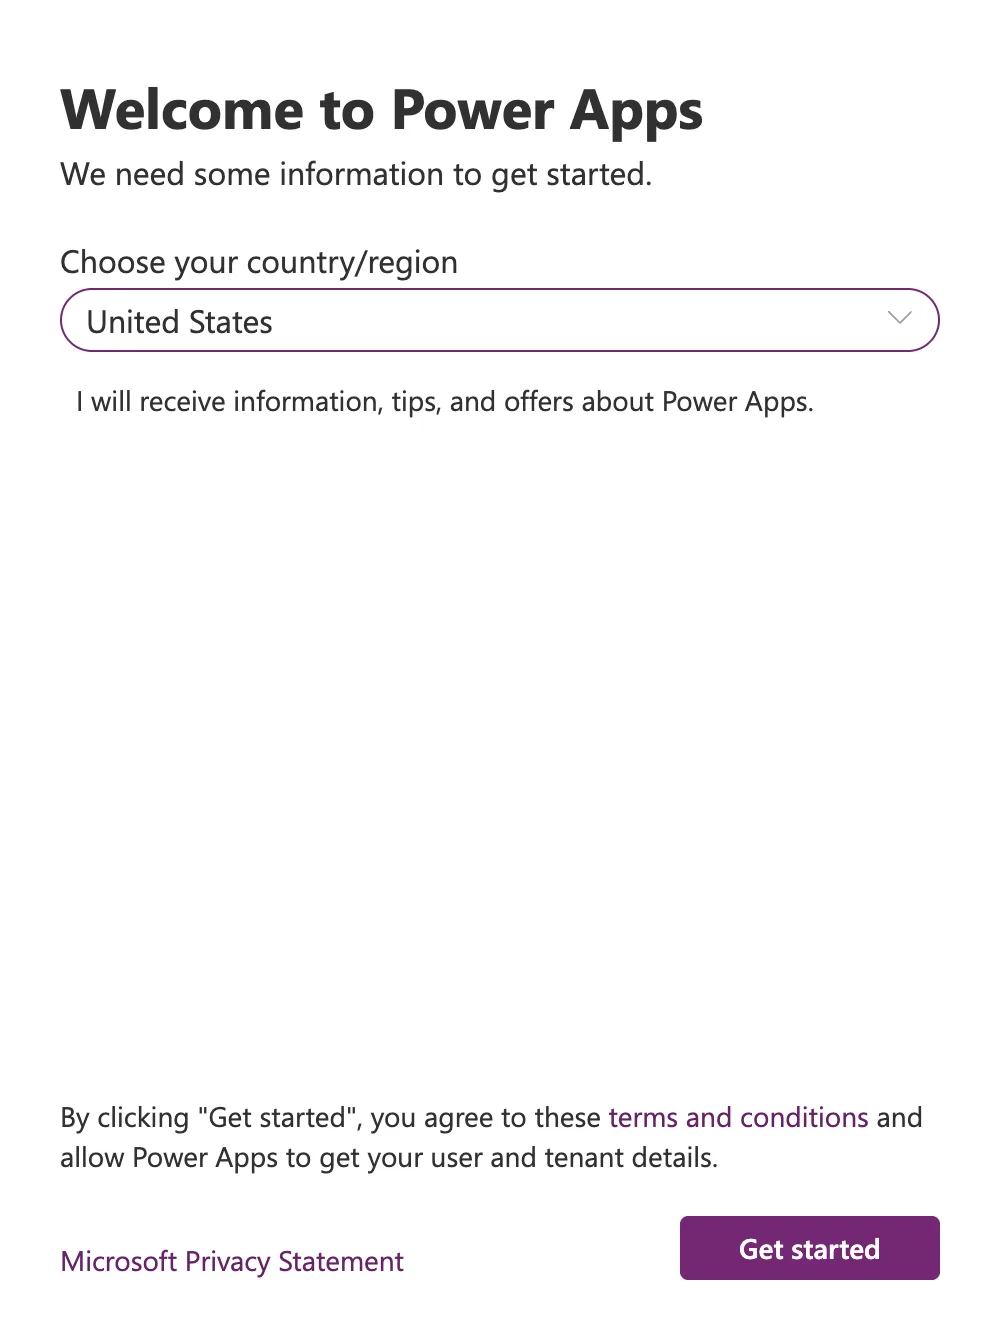
| United States | Not shown: a line says I will receive information, tips, and offers about Power Apps. |
For the United States, there's nothing to tick:
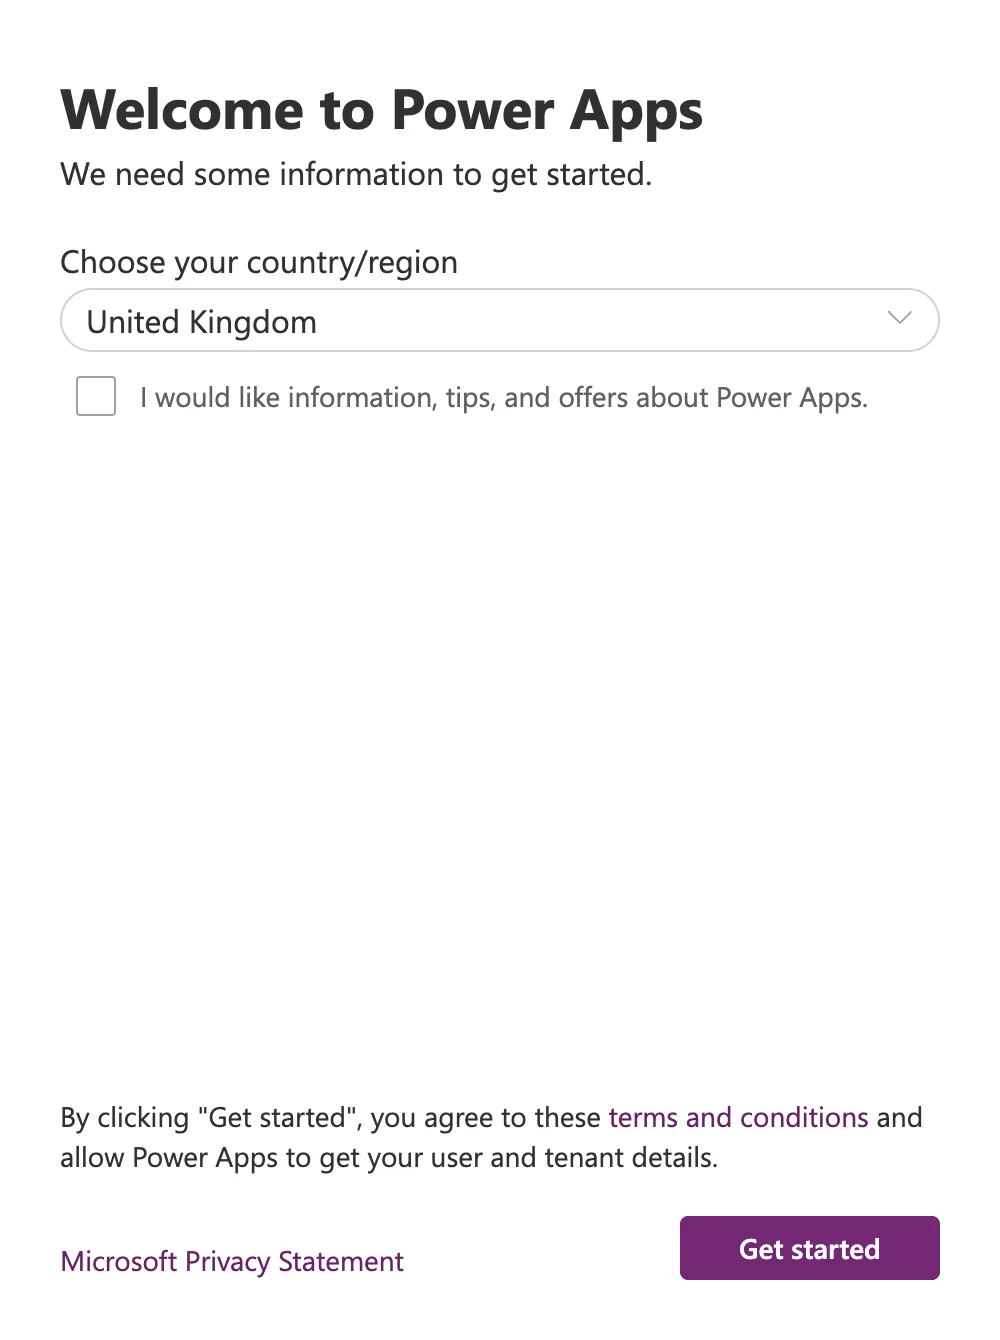
Tick the box if you want Microsoft's tips and offers, and untick it if not. Aisha didn't want them:
Step 3: Read the Terms and Get Started
At the bottom: By clicking "Get started", you agree to these terms and conditions and allow Power Apps to get your user and tenant details. The terms and conditions and Microsoft Privacy Statement links open the documents. Select Get started.
The Result
The dialog closes and Power Apps opens on its home page, greeting the person by first name:
From here, Apps > Shared with me lists the apps shared with them (How to Find Apps Shared with You in Power Apps).
Common Mistakes
| Mistake | What happens | Do this instead |
|---|---|---|
| Keeping the pre-filled country without checking it | It may not be the country you work in | Choose the country you work in |
| Selecting Get started with the box ticked by default | You sign up for tips and offers | Untick it if you don't want them |
Troubleshooting
| Symptom | Likely cause | Fix |
|---|---|---|
| No checkbox | The country is the United States | Expected; the line says you'll receive them |
| The box changed by itself | You changed the country | Check the box again after choosing the country |
FAQ
What does the country do?
The dialog doesn't say. It decides whether the tips checkbox is ticked to start with, as the table shows.
Do people who only use apps see it too?
Aisha only uses apps and doesn't build them, and she saw it on her first visit to make.powerapps.com.
Is anything shared with Microsoft?
The line above Get started says you allow Power Apps to get your user and tenant details; the privacy statement explains how Microsoft uses data.
Conclusion
On Welcome to Power Apps, choose the country you work in, decide on the tips checkbox, whose default changes with the country, and select Get started. Power Apps then opens on its home page.
