How to Add Previous and Next Month Buttons in Power Apps

A screen that shows one month at a time needs a way to move between months. Keep the month in a context variable, as its first day; two buttons move it with DateAdd(month, -1, TimeUnit.Months) and DateAdd(month, 1, TimeUnit.Months), and a heading shows it as November 2026. To stop people going past this month, the next button disables itself there.
The example is the Overtime Timesheet app's My Overtime screen, which shows each person's overtime month by month.
Prerequisites
- A month as a date: How to Get the First Day of the Month in Power Apps.
- Context variables: How to Use Context Variables in Power Apps with UpdateContext.
- Buttons and containers: How to Add a Button in Power Apps and How to Show Only the Icon on a Button on Phones in Power Apps.
Step 1: Start on This Month
The screen's OnVisible sets the month the first time the screen opens, and leaves it alone afterwards (How to Run a Formula When a Screen Opens in Power Apps with OnVisible):
If(
    IsBlank(locMonthMO),
    UpdateContext({locMonthMO: Date(Year(Today()), Month(Today()), 1)})
);
A context variable holds its value until the app is closed (UpdateContext), so someone who goes to another screen and comes back is still on the month they chose.
Step 2: Add the Bar
Insert a Horizontal container, conMonthMO, with three controls in it:
| Control | What it is |
|---|---|
btnPreviousMonthMO | A button with only a left chevron |
lblMonthMO | A Text control with the month's name, filling the space between |
btnNextMonthMO | A button with only a right chevron |
The container: Flexible height off, Height 40, Width Min(640, Parent.Width - 48), Align (vertical) centre, Gap 8.
The two buttons:
| Property | btnPreviousMonthMO | btnNextMonthMO |
|---|---|---|
| Text | "Previous month" | "Next month" |
| Icon | "ChevronLeft" | "ChevronRight" |
| Layout | ButtonLayout.IconOnly | ButtonLayout.IconOnly |
| Appearance | ButtonAppearance.Secondary | ButtonAppearance.Secondary |
| Width, Height | 40, 40 | 40, 40 |
| AccessibleLabel, Tooltip | "Previous month" | "Next month" |
With Layout set to icon only, the Text isn't shown, so AccessibleLabel tells screen readers what the button does and Tooltip tells mouse users.
The heading, with FillPortions 1 so it takes the space between the buttons, Align Align.Center, Size 20 and FontWeight FontWeight.Semibold:
Text(locMonthMO, "mmmm yyyy")
More on the format: How to Show the Month Name and Year in Power Apps.
Step 3: Move a Month
DateAdd with TimeUnit.Months moves a date by whole months. Each button moves the month, then reloads the screen's data, which the example keeps in its Refresh button (How to Use the Select Function in Power Apps):
UpdateContext({locMonthMO: DateAdd(locMonthMO, -1, TimeUnit.Months)});
Select(btnRefreshMO)
UpdateContext({locMonthMO: DateAdd(locMonthMO, 1, TimeUnit.Months)});
Select(btnRefreshMO)

Because the month is always its first day, moving it never skips a month or lands on a day that doesn't exist.
Step 4: Stop at This Month
Overtime can't be logged for the future, so there's nothing to see after this month. The next button is disabled when the month shown is this month or later (How to Make a Control Read-Only in Power Apps with DisplayMode):
If(locMonthMO < Date(Year(Today()), Month(Today()), 1), DisplayMode.Edit, DisplayMode.Disabled)
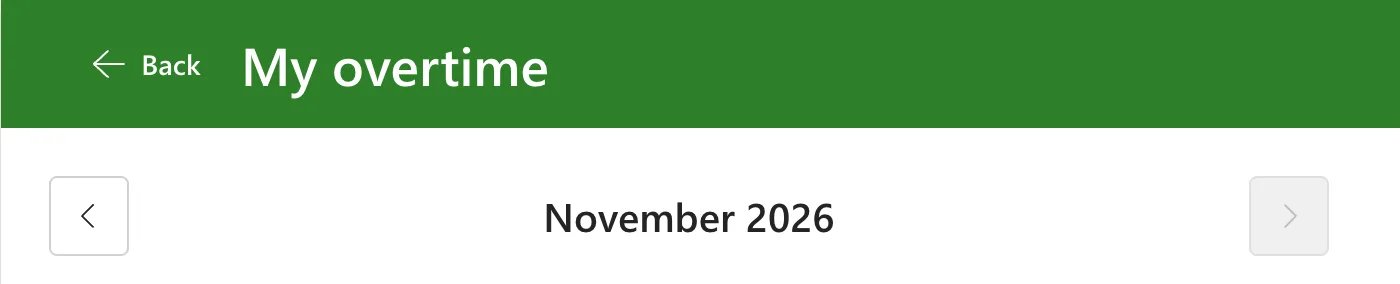
In November 2026, the current month, the preview strip shows disabled:

Step 5: Try It
Preview the app and open the screen. On this month, the next button is greyed out:
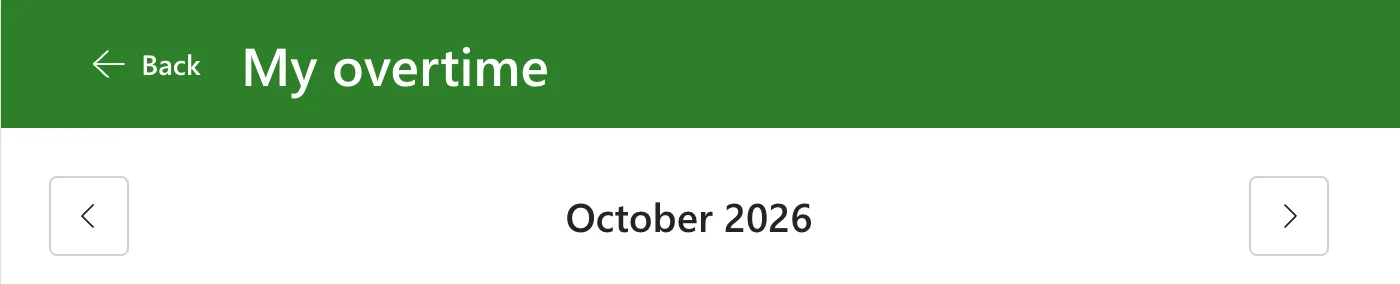
After Previous month, the heading reads October 2026, and the next button can be used again:
Common Mistakes
| Mistake | What happens | Do this instead |
|---|---|---|
| Keeping today's date and adding months to it | The day comes along, and not every month has a 29th, 30th or 31st | Keep the first day of the month |
| Setting the month in OnVisible every time | The screen jumps back to this month when people return | Set it only when it's blank |
| Leaving AccessibleLabel and Tooltip empty on an icon-only button | Nothing on screen says what the button does | Give each one a label and a tooltip |
Troubleshooting
| Symptom | Likely cause | Fix |
|---|---|---|
| The heading is empty in Preview | Preview started on this screen, so OnVisible didn't run | Preview from the screen before it and go to this one |
| The month changes but the list doesn't | The buttons don't reload the data | Add the reload, such as Select(btnRefreshMO) |
| The next button is never enabled | The comparison is the wrong way round | locMonthMO < first day of this month enables it for earlier months |
FAQ
Why does Preview show an empty heading?
Microsoft's Screen control reference describes OnVisible as the behavior of an app when the user navigates to a screen. Starting Preview on the screen isn't navigating to it, so the month stays blank. Preview from the screen before it and go to this one.
Can people pick a month from a list instead?
Yes, but two buttons are enough when people mostly look at this month and the one before.
Conclusion
Keep the month as its first day in a context variable, move it with DateAdd(month, ±1, TimeUnit.Months) from two labelled icon buttons, show it with Text(month, "mmmm yyyy"), and disable the next button at this month.
Additional Resources
- DateAdd, DateDiff, and TimeZoneOffset functions: adding months.
- UpdateContext function: context variables.
- Button modern control: Layout, Icon and AccessibleLabel.
