Deploy a .NET App to Azure Container Apps — Part 1: Build the App

Most "deploy to the cloud" tutorials skip the part where you actually understand what you built. This series does the opposite: six short parts that take you from an empty folder to a real, public URL on Azure, explaining every command along the way.
This is Part 1 of a 6-part series.
- Part 1: Build the App (you are here)
- Part 2: Containerize It with Docker
- Part 3: Resource Group and Container Registry
- Part 4: Push Your Image to the Registry
- Part 5: Deploy to Azure Container Apps
- Part 6: Logs, Scaling, Cost and Cleanup
You do not need to be a developer to follow along. If you can copy a command into a terminal and press Enter, you can finish this series.
What you'll have by the end of the series
A small web page, running inside a container, on a public HTTPS address that looks like this:
https://ca-dotnet-status-page.ambitiouscliff-d6ce11ff.centralindia.azurecontainerapps.io
The page reports the host name of the machine it is running on. That one detail is what makes this series click: you will watch that value change from your laptop's name, to a container ID, to an Azure replica name — proving at each step that your app really did move.
What this part covers
Installing the .NET SDK, creating the project, writing about 30 lines of C#, and seeing it in your browser. No containers and no Azure yet — those come next.
Prerequisites
You need the .NET SDK. That's the free toolkit from Microsoft that compiles and runs C# code.
Download it from dot.net/download and pick .NET 10. Install it like any other app, then open a terminal and check it worked:
dotnet --version
You should see a version number starting with 10.:
10.0.301
.NET releases a new major version every November. Even-numbered ones (8, 10, 12) are LTS — Long Term Support — and get patches for three years. Odd-numbered ones get two.
.NET 10 is the current LTS and is supported until November 2028. .NET 8 and .NET 9 both go out of support in November 2026, so starting anything new on them today means an upgrade within months. Always start new projects on the newest LTS.
Step 1: Create the project
Pick a folder you're happy to work in, then run:
dotnet new web -o sample-container-app
cd sample-container-app
dotnet new web creates the smallest possible ASP.NET Core web application. -o sample-container-app puts it in a new folder of that name.
You'll get four files. The two that matter:
sample-container-app.csproj— the project file. It tells .NET which version to target.Program.cs— your actual code. It starts out as five lines that return "Hello World!".
Open the .csproj and confirm it targets .NET 10:
<Project Sdk="Microsoft.NET.Sdk.Web">

  <PropertyGroup>
    <TargetFramework>net10.0</TargetFramework>
    <Nullable>enable</Nullable>
    <ImplicitUsings>enable</ImplicitUsings>
    <RootNamespace>sample_container_app</RootNamespace>
  </PropertyGroup>

</Project>
net10.0 is the important line. If yours says net8.0 or net9.0, you have an older SDK installed — go back and install .NET 10.
Step 2: Write the status page
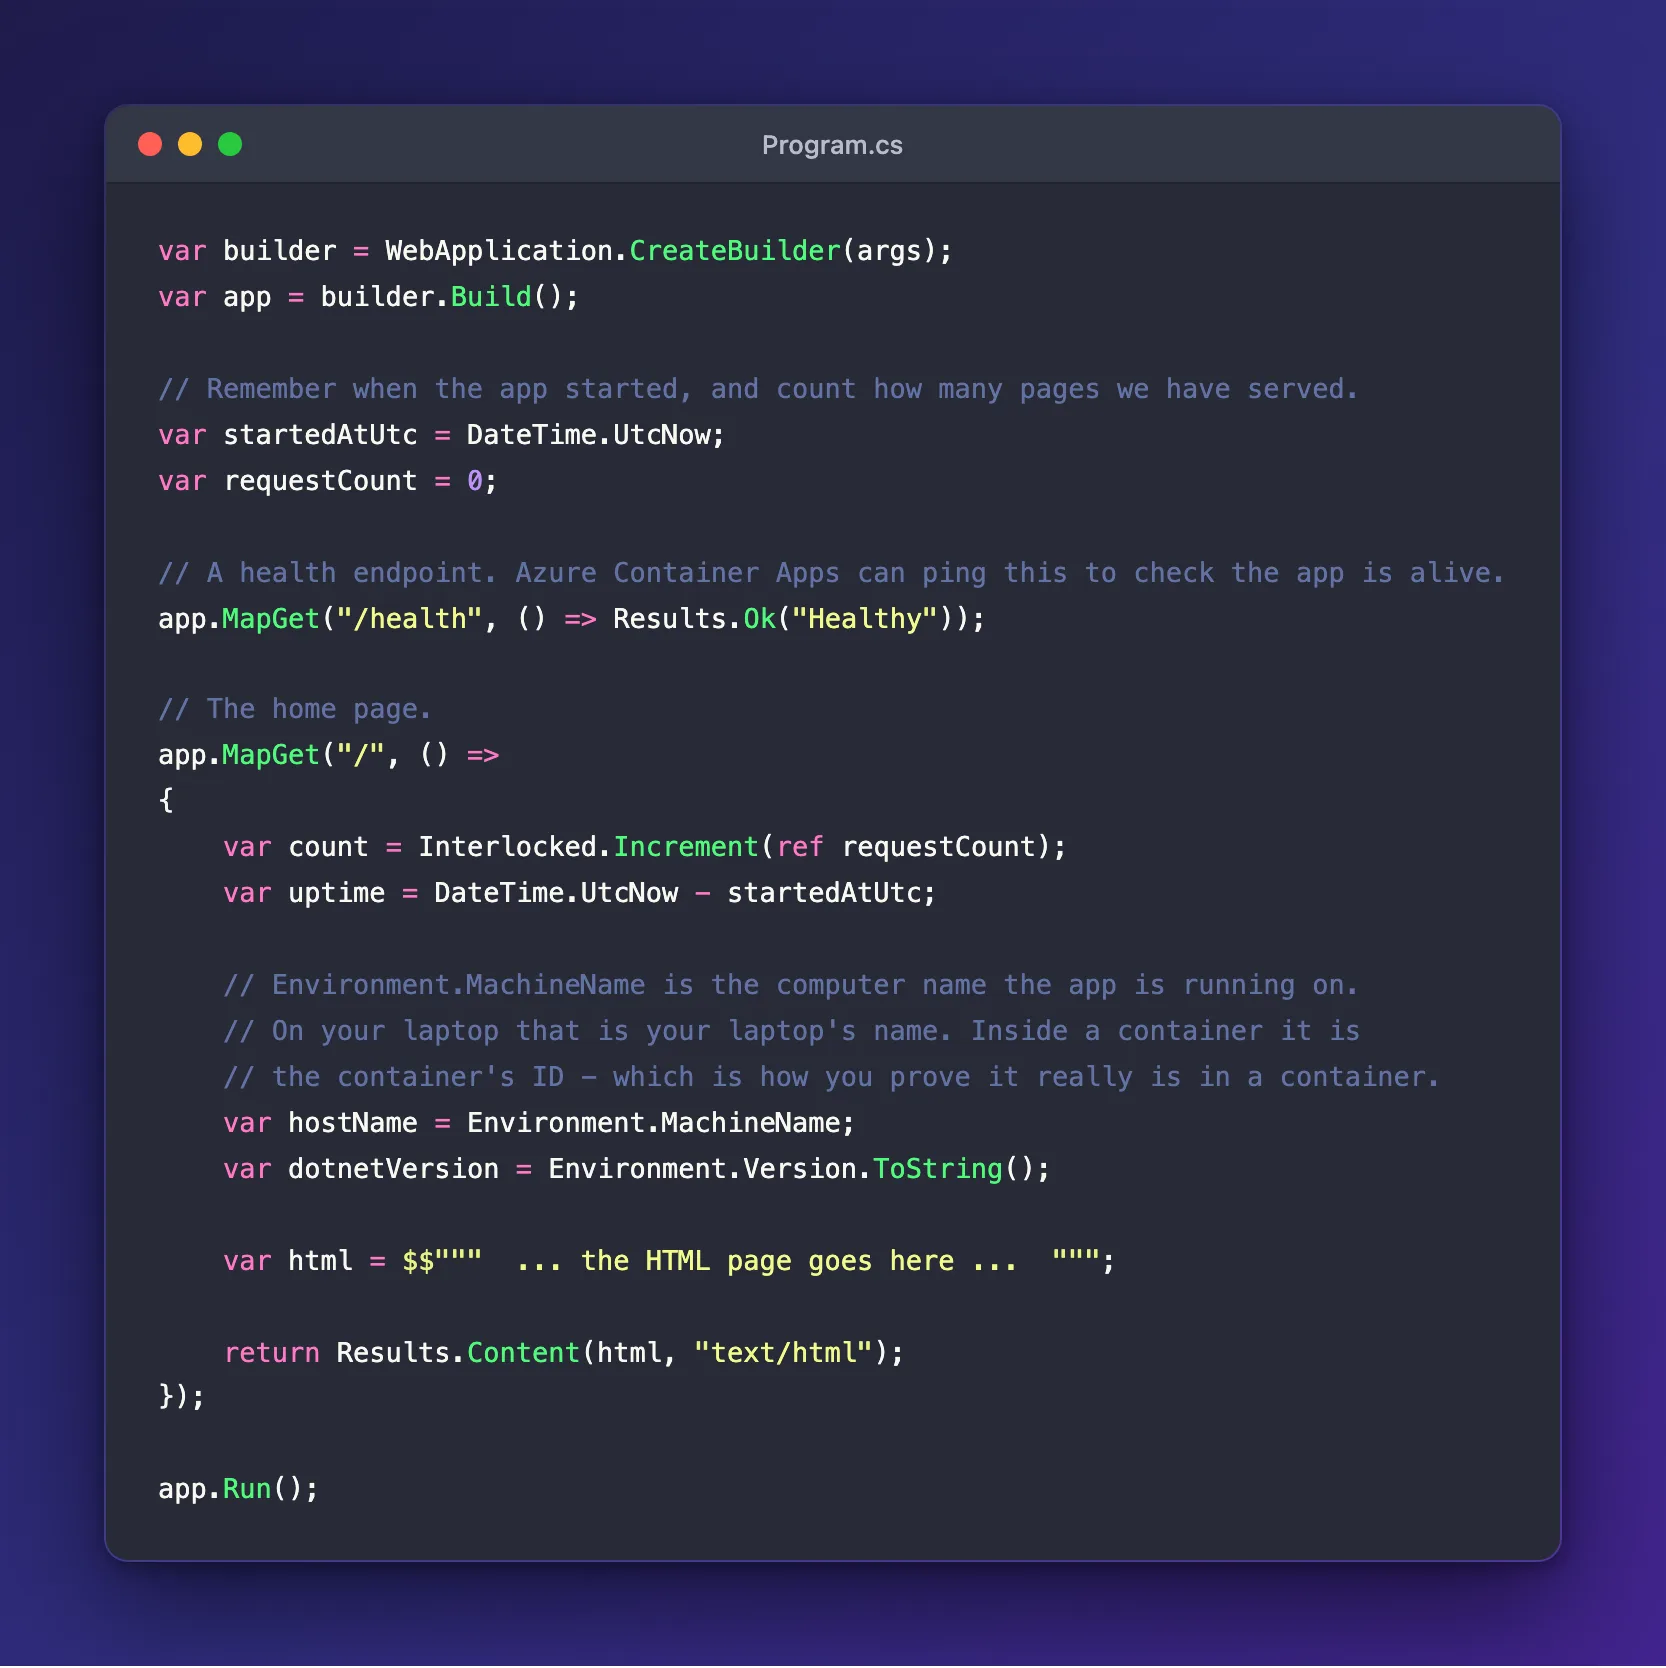
Replace everything in Program.cs with the code below. Don't worry about understanding it all at once — the explanation follows.
var builder = WebApplication.CreateBuilder(args);
var app = builder.Build();
// Remember when the app started, and count how many pages we have served.
var startedAtUtc = DateTime.UtcNow;
var requestCount = 0;
// A health endpoint. Azure Container Apps can ping this to check the app is alive.
app.MapGet("/health", () => Results.Ok("Healthy"));
// The home page.
app.MapGet("/", () =>
{
var count = Interlocked.Increment(ref requestCount);
var uptime = DateTime.UtcNow - startedAtUtc;
// Environment.MachineName is the computer name the app is running on.
// On your laptop that is your laptop's name. Inside a container it is the
// container's ID, which is how you can prove the app really is containerised.
var hostName = Environment.MachineName;
var dotnetVersion = Environment.Version.ToString();
var started = startedAtUtc.ToString("yyyy-MM-dd HH:mm:ss 'UTC'");
var uptimeText = $"{(int)uptime.TotalHours}h {uptime.Minutes}m {uptime.Seconds}s";
var html = $$"""
<!doctype html>
<html lang="en">
<head>
<meta charset="utf-8">
<meta name="viewport" content="width=device-width, initial-scale=1">
<title>Hello from .NET</title>
<style>
* { box-sizing: border-box; }
body {
margin: 0; min-height: 100vh; display: grid; place-items: center;
background: #0f172a; color: #e2e8f0; padding: 24px;
font-family: -apple-system, BlinkMacSystemFont, "Segoe UI", Roboto, sans-serif;
}
.card {
width: 100%; max-width: 520px; background: #1e293b;
border: 1px solid #334155; border-radius: 16px; padding: 32px;
box-shadow: 0 20px 50px rgba(0,0,0,.45);
}
.badge {
display: inline-block; background: #064e3b; color: #6ee7b7;
border: 1px solid #10b981; border-radius: 999px;
padding: 4px 14px; font-size: 13px; font-weight: 600; margin-bottom: 18px;
}
h1 { margin: 0 0 6px; font-size: 26px; }
p.sub { margin: 0 0 26px; color: #94a3b8; font-size: 15px; }
dl { margin: 0; display: grid; grid-template-columns: auto 1fr; gap: 12px 20px; }
dt { color: #94a3b8; font-size: 14px; }
dd {
margin: 0; text-align: right; font-size: 14px; color: #f1f5f9;
font-family: ui-monospace, Menlo, Monaco, monospace; word-break: break-all;
}
footer { margin-top: 26px; border-top: 1px solid #334155; padding-top: 16px;
color: #64748b; font-size: 13px; text-align: center; }
</style>
</head>
<body>
<div class="card">
<div class="badge">✓ Running</div>
<h1>Hello from .NET!</h1>
<p class="sub">If you can read this, your app is up and serving traffic.</p>
<dl>
<dt>Host name</dt><dd>{{hostName}}</dd>
<dt>.NET version</dt><dd>{{dotnetVersion}}</dd>
<dt>Started</dt><dd>{{started}}</dd>
<dt>Uptime</dt><dd>{{uptimeText}}</dd>
<dt>Requests served</dt><dd>{{count}}</dd>
</dl>
<footer>Refresh the page and watch the request count go up.</footer>
</div>
</body>
</html>
""";
return Results.Content(html, "text/html");
});
app.Run();
What each part does
The first two lines build and start a web application. Every ASP.NET Core app begins this way.
startedAtUtc and requestCount are two variables that live for as long as the app is running. They're how we show uptime and a request counter.
app.MapGet("/health", ...) creates a second address, /health, that returns the word "Healthy". Nothing uses it yet, but Azure can call it later to check whether your app is alive. Adding one costs nothing and you will be glad it's there.
app.MapGet("/", ...) handles the home page. It bumps the counter, works out the uptime, reads a few facts about the machine, and returns an HTML page.
Environment.MachineName is the single most important line in this series. It's the name of the computer the app is running on. Keep an eye on it.
The $$""" block is a raw string literal — a way to write a big block of text without escaping quotes. The doubled braces ({{hostName}}) mark the values C# should fill in. They're doubled because the CSS in the page already uses single braces, and C# needs to tell the two apart.
Roughly two-thirds of that file is styling, and you can paste it without reading it. It's there so the finished page looks like something worth deploying instead of black text on white. The logic — the part worth understanding — is the ~20 lines above the $$""".
Step 3: Run it
dotnet run
You'll see something like:
Building...
info: Microsoft.Hosting.Lifetime[14]
      Now listening on: http://localhost:5221
info: Microsoft.Hosting.Lifetime[0]
      Application started. Press Ctrl+C to shut down.
info: Microsoft.Hosting.Lifetime[0]
      Hosting environment: Development
info: Microsoft.Hosting.Lifetime[0]
      Content root path: /Users/you/sample-container-app
The line that matters is Now listening on: http://localhost:5221. Your port number may differ — .NET picks one when it creates the project. Use whatever yours says.
Open that address in your browser:
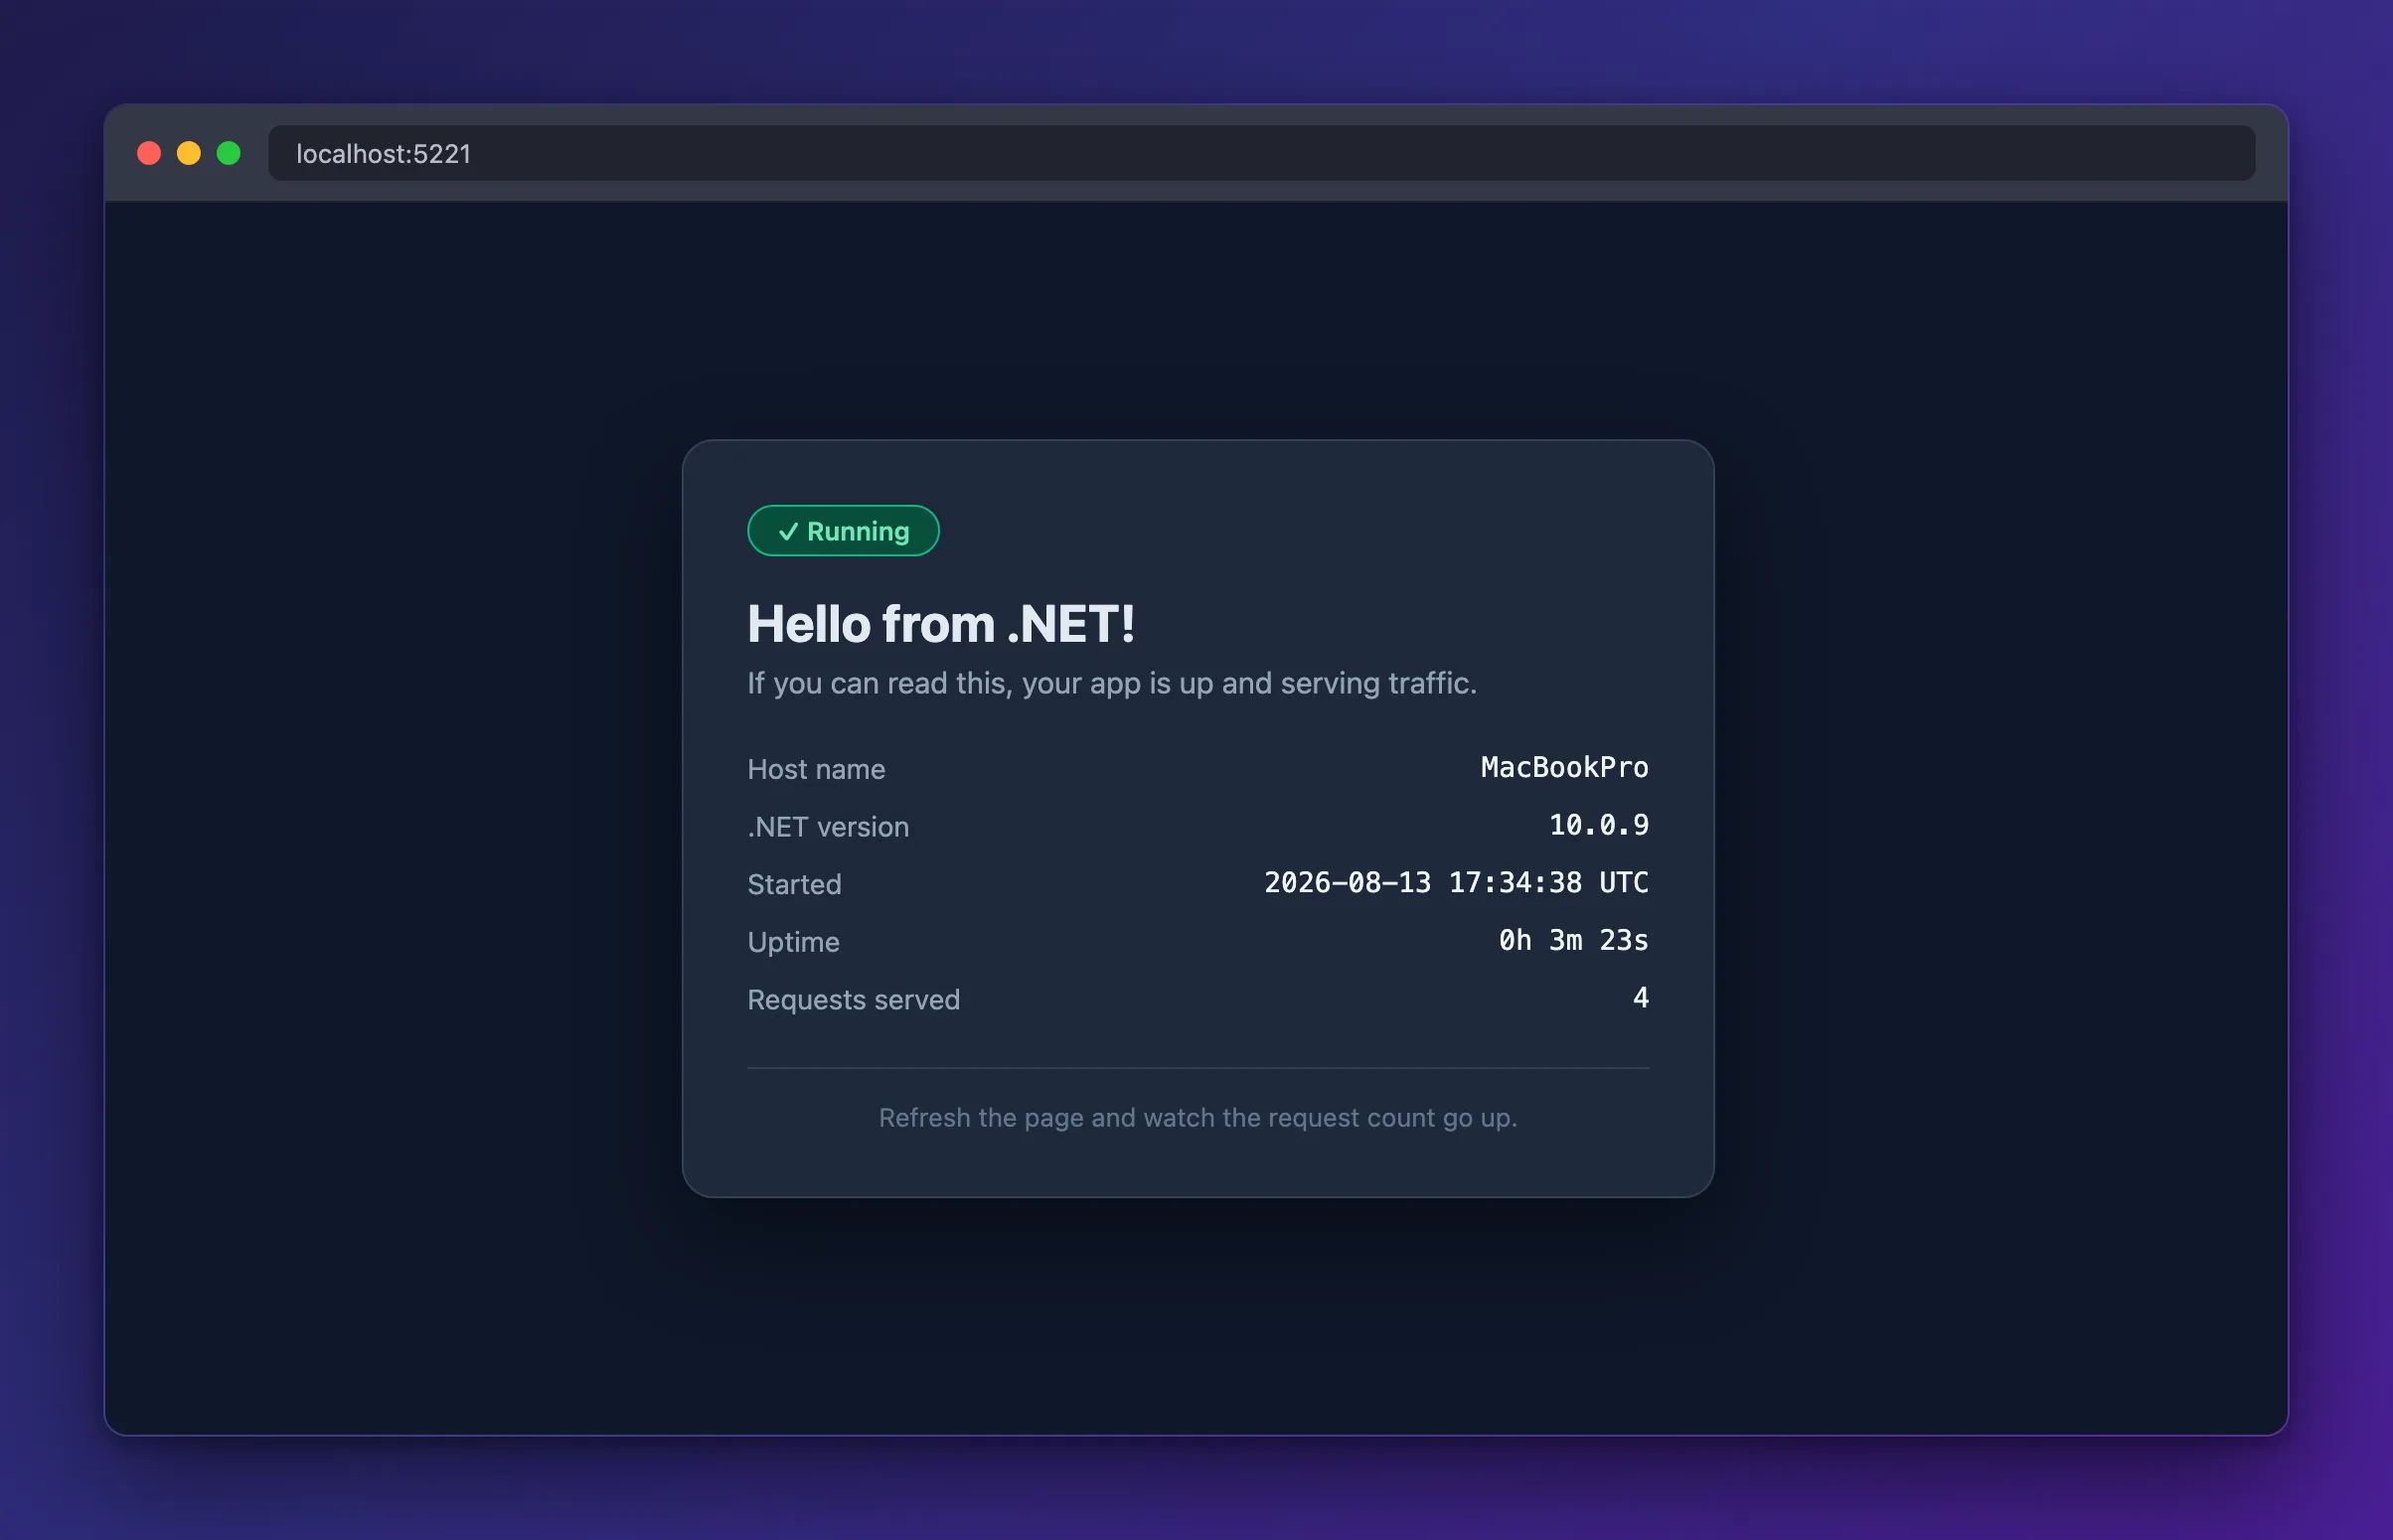
Refresh a couple of times and watch "Requests served" go up.
Look at the Host name. On the machine used to write this, it says MacBookPro — the name of the laptop. Yours will say whatever your computer is called. Remember it; in Part 2 it changes.
You can also check the health endpoint:
curl http://localhost:5221/health
"Healthy"
When you're done, press Ctrl+C in the terminal to stop the app.
Common Mistakes
| Mistake | What you'll see | Fix |
|---|---|---|
| Older SDK installed | .csproj says net8.0 or net9.0 | Install .NET 10 and recreate the project |
| Using single braces in the HTML block | error CS8076: Missing close delimiter | The block must start with $$""" and values must be {{doubled}} |
| Guessing the port | Browser shows "can't connect" | Use the exact port from the Now listening on line |
| Editing while it runs | Changes don't appear | Stop with Ctrl+C and run dotnet run again |
Troubleshooting
| Problem | Cause | Fix |
|---|---|---|
dotnet: command not found | SDK not installed, or terminal opened before installing | Reinstall, then close and reopen the terminal |
Address already in use | Something else is on that port | Run dotnet run --urls http://localhost:5300 to pick another |
| Page loads but is unstyled | The <style> block didn't get pasted | Recopy Program.cs in full |
| Build errors after pasting | Partial paste | Select all in Program.cs, delete, paste again |
FAQ
Do I need Visual Studio? No. Any text editor works — VS Code is free and popular. Everything here runs from the terminal.
Why a minimal API instead of a full template?
dotnet new web gives you one file to understand instead of a dozen. The goal of this series is containers and Azure, not project structure.
Is this "real" .NET? Yes. Minimal APIs are the same ASP.NET Core that runs production workloads. The app is small, not toy.
Do I have to use .NET 10?
The steps work on .NET 8 or 9 if you change net10.0 and the image tags in Part 2. But both leave support in November 2026, so .NET 10 is the better starting point.
What's Next
You have a web app running on your machine. The problem with that is right there in the name: your machine. It works because your laptop happens to have the right .NET version installed.
In Part 2 you'll package the app into a container — a self-contained box with .NET already inside — so it runs identically anywhere. And you'll watch that Host name change.
Next: Part 2: Containerize It with Docker →
