Set Up Your C# Development Environment
Every tutorial in this track runs on the same five things: the .NET 10 SDK, an editor, the Azure CLI, a Microsoft Foundry project with a model, and permission to call that model. This page sets up each one and checks it, so the next tutorial can start with code. If you already build .NET apps on Azure, most of it is a few quick checks.
What You Need, and Why
| You need | What it's for in this track | How you check it |
|---|---|---|
| The .NET 10 SDK | Builds and runs your C# code. .NET 10 is the current long-term support release | dotnet --version |
| An editor: VS Code with C# Dev Kit, or Visual Studio 2026 | Writing, running and debugging the code | code --version, or Visual Studio's Help → About |
| The Azure CLI, signed in | Signs your code in to Microsoft Foundry as you, without any keys | az account show |
| A Microsoft Foundry project with a model deployment | The AI model your agents talk to | Its project endpoint and the deployment's name |
| The Foundry User role | Permission to call that model | az role assignment list |
The last three work together. Your agent never holds a password or an API key: it asks the Azure CLI for a token for your account, sends that token to your Foundry project, and Foundry checks that your account has the right role before the model answers.
Microsoft's documentation explains why the role matters even for an administrator: Having administration access to a resource doesn't grant developer access to it. Explicit access by granting roles is still required. Owning a subscription doesn't let you call its models; the Foundry User role does.
What It Costs
The .NET SDK, VS Code and the Azure CLI are free, and Visual Studio 2026 has a free Community edition. Microsoft Foundry charges for the model's work by the token, so a project with a deployed model costs nothing until your code calls it. The examples in this track cost a fraction of a cent each; What Is Microsoft Agent Framework? shows the prices and a real run's cost.
Prerequisites
- An Azure subscription. You need one to create a Foundry project. Microsoft offers a free account with credit to start.
Step 1: Install the .NET 10 SDK
Download the .NET 10 SDK from Microsoft's .NET 10 download page and run the installer for your system. On Windows, Visual Studio 2026 can install it for you, as Step 2 shows. Then open a new terminal and check it:
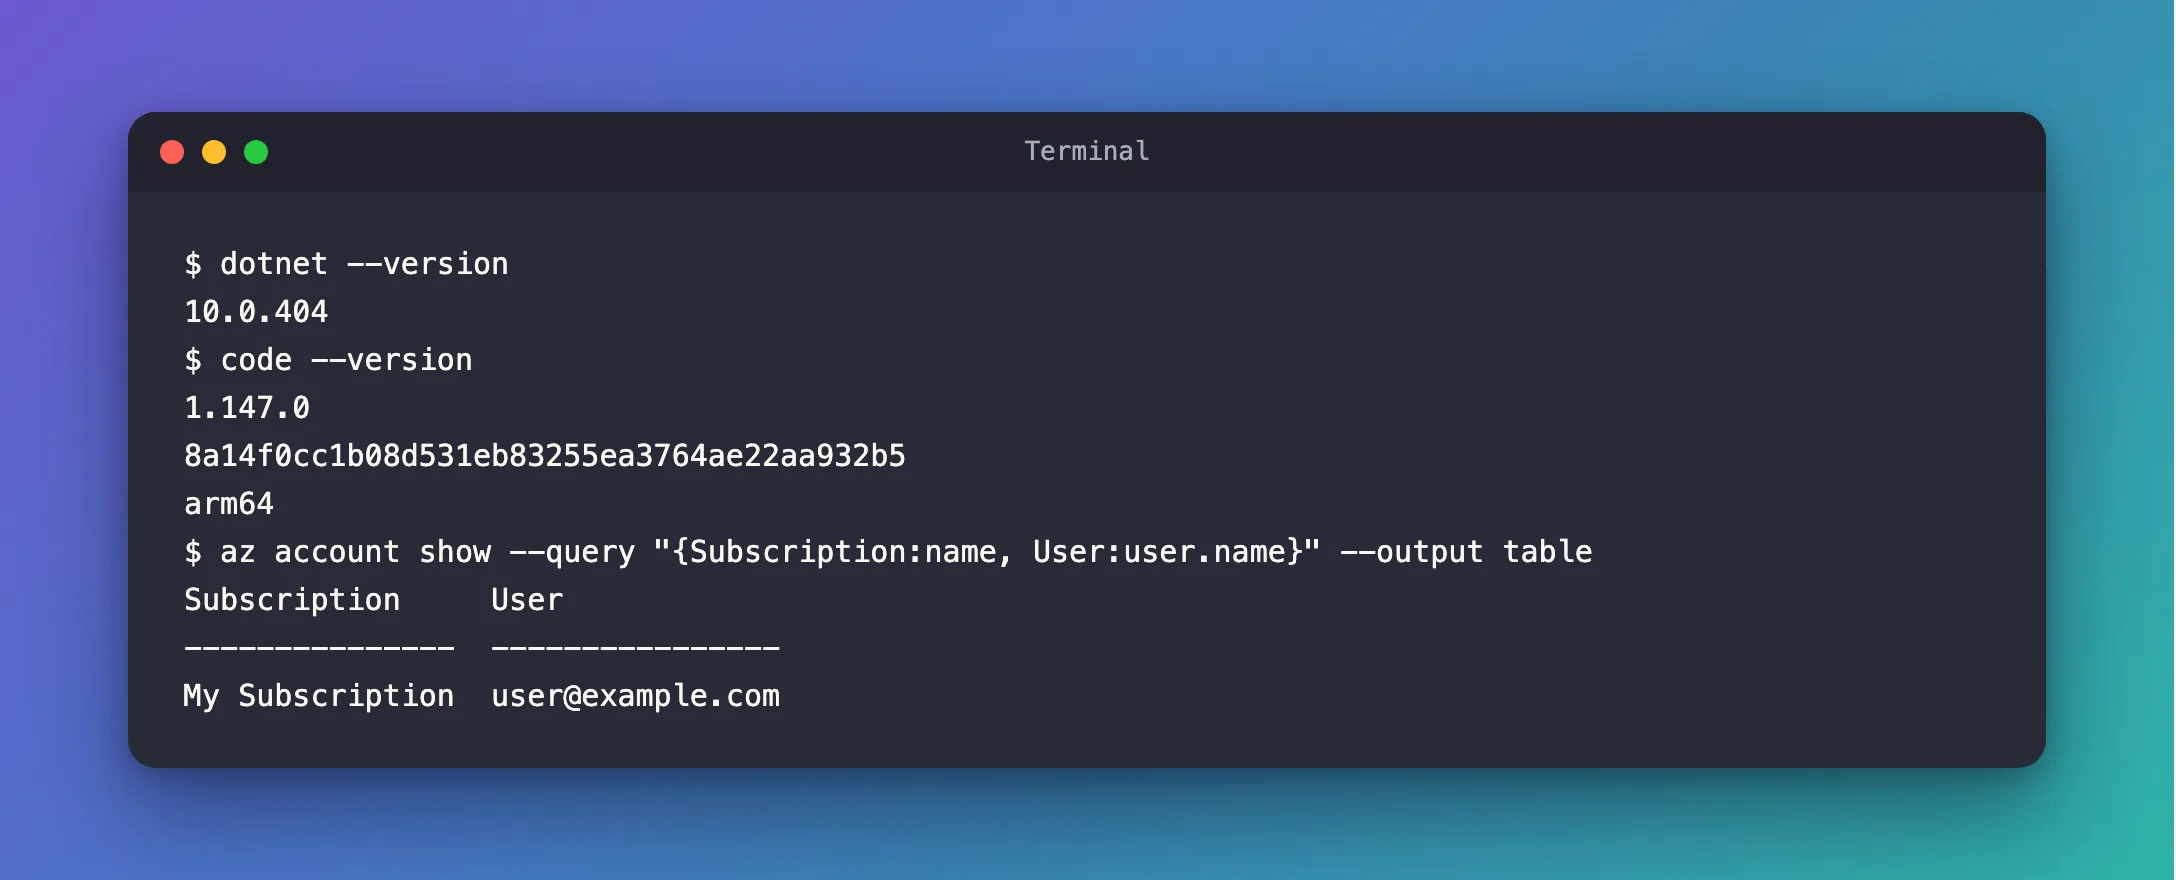
dotnet --version
10.0.404
Any version that starts with 10.0 works. The last number grows with each monthly patch, so yours can be higher. To see every SDK you have, dotnet --list-sdks prints one line each:
dotnet --list-sdks
10.0.404 [/usr/local/share/dotnet/sdk]
If dotnet isn't found, open a new terminal: the installer adds it to the path, and terminals that were open before don't see the change.
Step 2: Choose Your Editor
Every step in this track works in both editors; where they differ, the page shows a tab for each.
- VS Code
- Visual Studio
Install Visual Studio Code, then the C# Dev Kit extension: open the Extensions view (Ctrl+Shift+X, or Cmd+Shift+X on a Mac), search for C# Dev Kit, and select Install. C# Dev Kit installs the C# extension with it. VS Code runs on Windows, macOS and Linux.
Check both from a terminal:
code --version
1.147.0
8a14f0cc1b08d531eb83255ea3764ae22aa932b5
arm64
The first line is the version, the second the build, the third the processor type. Then the two C# extensions:
- bash/zsh
- PowerShell
code --list-extensions | grep ms-dotnettools.cs
code --list-extensions | Select-String ms-dotnettools.cs
ms-dotnettools.csdevkit
ms-dotnettools.csharp
ms-dotnettools.csdevkit is C# Dev Kit and ms-dotnettools.csharp is the C# extension.
Install Visual Studio 2026 on Windows, with the .NET desktop development workload. Microsoft's console app tutorial explains why that's enough: The .NET SDK is automatically installed when you select this workload. For .NET 10, Microsoft's install guide asks for Visual Studio 2026 version 18.0 or higher.
To check your version, open Visual Studio and select Help → About Microsoft Visual Studio.
These Visual Studio steps come from Microsoft's documentation; I built this track on a Mac, with VS Code.
Step 3: Install the Azure CLI and Sign In
The Azure CLI, az, is Microsoft's command-line tool for Azure. This track uses it for one job above all: your C# code asks it for a token for your account, so no keys ever appear in your code. Install it with Microsoft's guide, How to install the Azure CLI, then check it:
az --version
azure-cli                         2.93.0
core                              2.93.0
telemetry                          1.1.0
…
Your CLI is up-to-date.
The middle lines list the CLI's extensions and its Python, which differ from machine to machine. Your CLI is up-to-date. at the end means there's no newer release; otherwise the line tells you how to update.
Sign in:
az login
The command opens your browser, where you sign in with the account that has access to your Foundry project. Back in the terminal, if your account has more than one subscription, the CLI asks which one to use. Choose the one with your Foundry project. Then check who you are and where:
az account show --query "{Subscription:name, User:user.name}" --output table
Subscription     User
---------------  ----------------
My Subscription  user@example.com
--query picks two fields from the account's details, and --output table prints them as a table. You'll see your own subscription and sign-in name.
Step 4: Get a Foundry Project and a Model
Your agents need a Microsoft Foundry project with a model deployment: a model, such as gpt-5.6-luna, that you've deployed in the Foundry resource the project belongs to. If you don't have one, How to Create a Microsoft Foundry Resource and Deploy a Model creates both, step by step in the Foundry portal.
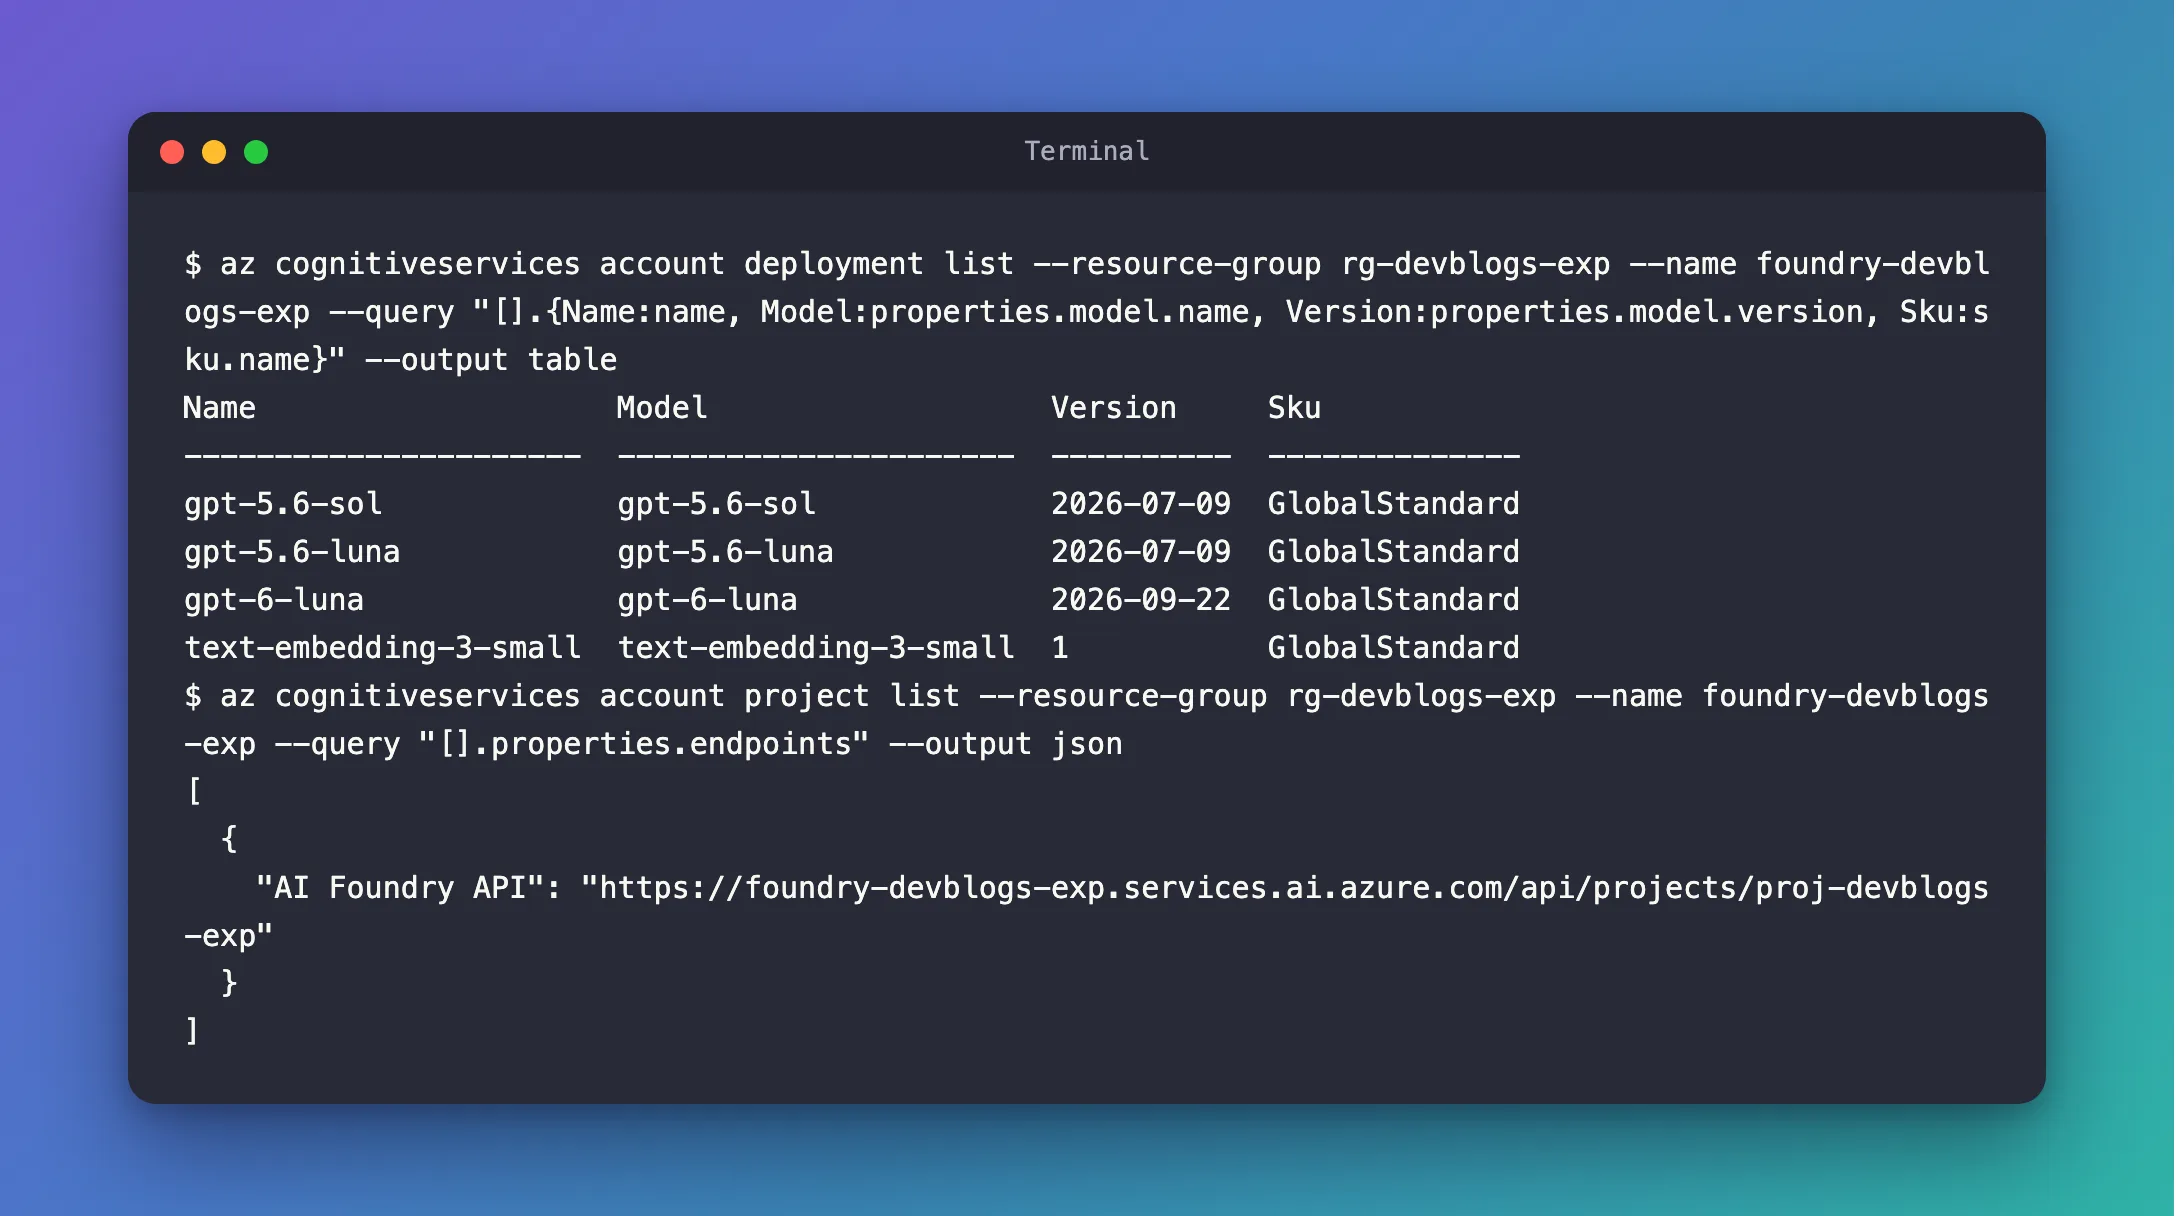
Every agent in this track needs two values from it: the project endpoint and the model deployment name. The Azure CLI shows both. First the deployments; replace rg-devblogs-exp and foundry-devblogs-exp with your resource group and your Foundry resource:
az cognitiveservices account deployment list --resource-group rg-devblogs-exp --name foundry-devblogs-exp --query "[].{Name:name, Model:properties.model.name, Version:properties.model.version, Sku:sku.name}" --output table
Name                    Model                   Version     Sku
----------------------  ----------------------  ----------  --------------
gpt-5.6-sol             gpt-5.6-sol             2026-07-09  GlobalStandard
gpt-5.6-luna            gpt-5.6-luna            2026-07-09  GlobalStandard
gpt-6-luna              gpt-6-luna              2026-09-22  GlobalStandard
text-embedding-3-small  text-embedding-3-small  1           GlobalStandard
The Name column is the deployment name your code uses. This track uses gpt-5.6-luna. A deployment's name can differ from the model's, which is why the command shows both.
Then the project endpoint:
az cognitiveservices account project list --resource-group rg-devblogs-exp --name foundry-devblogs-exp --query "[].properties.endpoints" --output json
[
  {
    "AI Foundry API": "https://foundry-devblogs-exp.services.ai.azure.com/api/projects/proj-devblogs-exp"
  }
]
The address ending in /api/projects/<your project> is the project endpoint. In the Foundry portal, Microsoft's quickstart puts the same two values on the project's Home page and under Build → Models.
Note both values. The tutorials put them straight into the code, so you can see exactly what's sent where.
Step 5: Make Sure You May Call the Model
Microsoft's guide to Foundry's roles names the one a developer needs: Foundry User, the least-privilege access role for developers building and testing agents. It's assigned on the Foundry resource, or anywhere above it, such as the subscription. Microsoft notes that the role was renamed, so you may still see its old name: Foundry User ... previously named Azure AI User.
Check whether you have it, for your Foundry resource:
- bash/zsh
- PowerShell
FOUNDRY_ID=$(az cognitiveservices account show --resource-group rg-devblogs-exp --name foundry-devblogs-exp --query id --output tsv)
MY_ID=$(az ad signed-in-user show --query id --output tsv)
az role assignment list --assignee "$MY_ID" --scope "$FOUNDRY_ID" --include-inherited --query "[?starts_with(roleDefinitionName, 'Foundry')].{Role:roleDefinitionName, Scope:scope}" --output table
$foundryId = az cognitiveservices account show --resource-group rg-devblogs-exp --name foundry-devblogs-exp --query id --output tsv
$myId = az ad signed-in-user show --query id --output tsv
az role assignment list --assignee $myId --scope $foundryId --include-inherited --query "[?starts_with(roleDefinitionName, 'Foundry')].{Role:roleDefinitionName, Scope:scope}" --output table
Role          Scope
------------  ---------------------------------------------------
Foundry User  /subscriptions/00000000-0000-0000-0000-000000000000
- The first line saves the Foundry resource's full ID, the second your own account's object ID.
az role assignment listlists the roles your account has on that resource.--include-inheritedadds the roles from the resource group and the subscription above it, and--querykeeps the Foundry roles only.
Here the role comes from the subscription, and applies to every Foundry resource in it. If the list is empty, ask someone who can assign roles, such as the subscription's owner, to give your account the Foundry User role on the Foundry resource; How to Assign an Azure RBAC Role in the Portal and with the CLI shows both ways. Microsoft's guide warns that Azure role assignments can take up to 5 minutes to propagate, so wait a few minutes before you call the model.
Step 6: Run Your First Program
The last check runs C# itself. In a terminal, in the folder where you keep your projects:
- VS Code
- Visual Studio
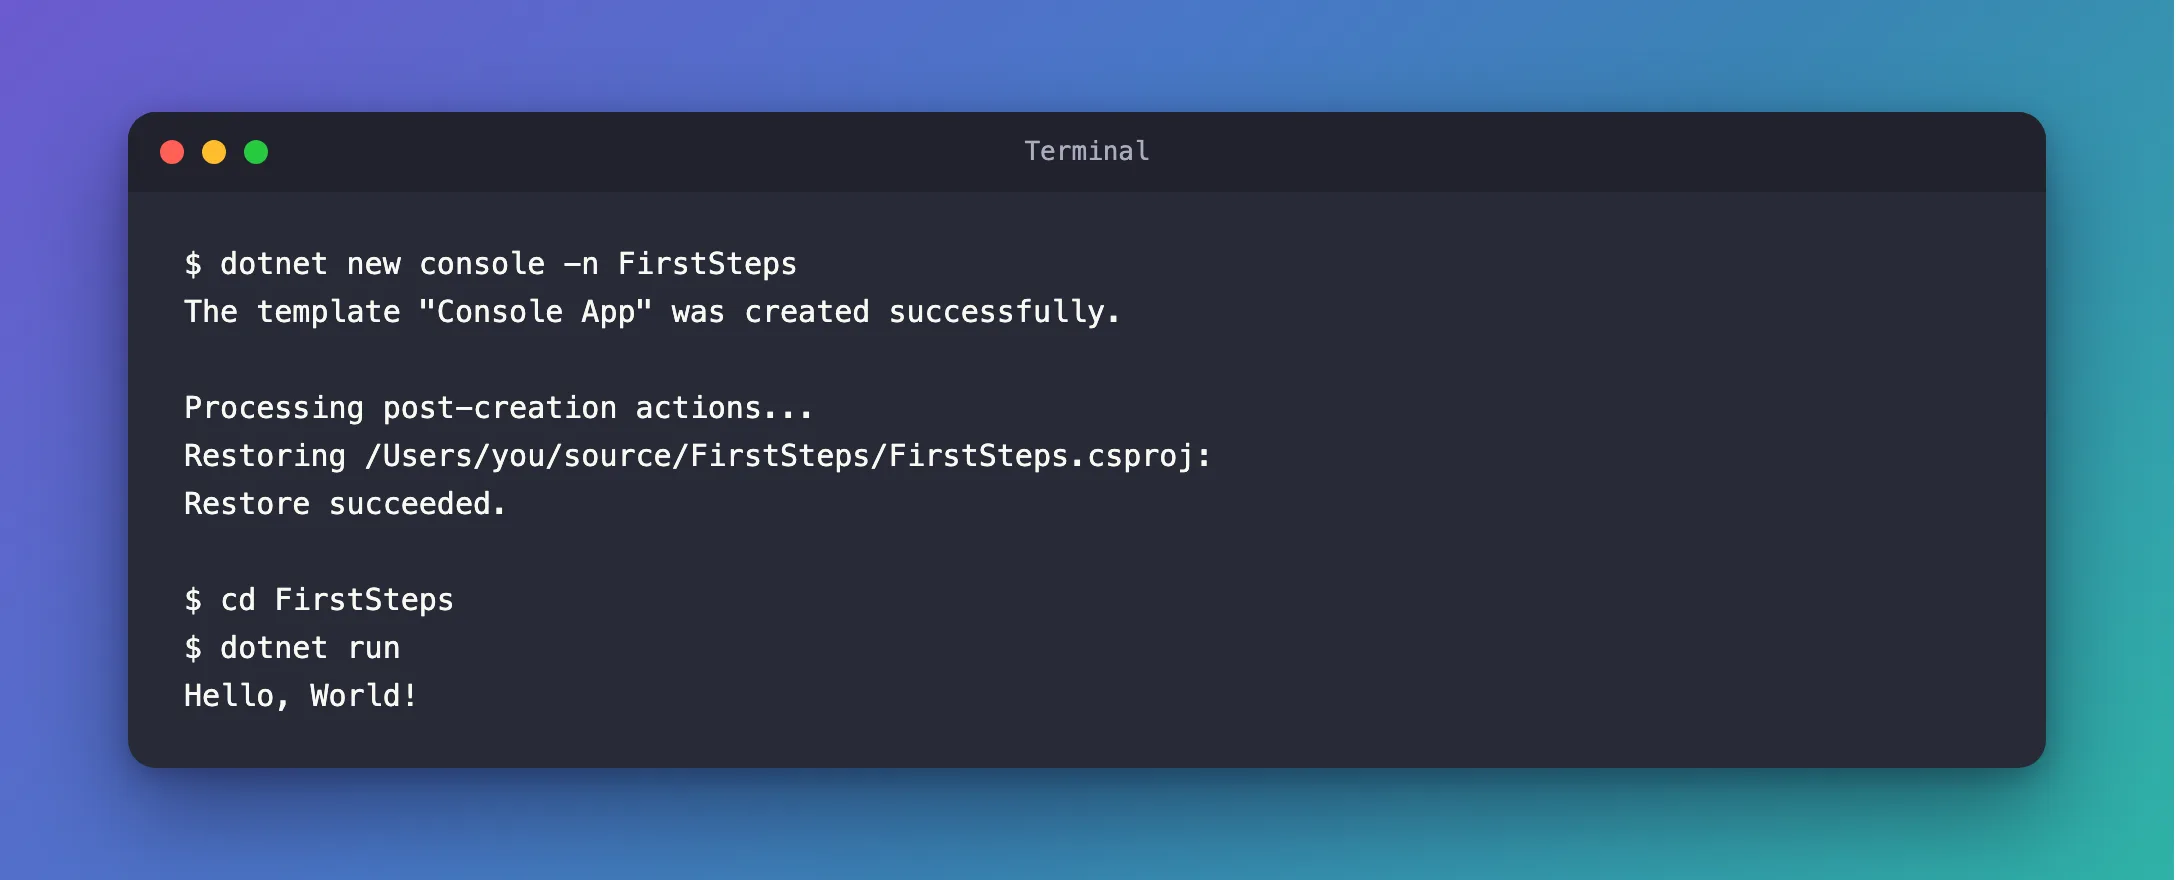
dotnet new console -n FirstSteps
cd FirstSteps
dotnet run
The template "Console App" was created successfully.

Processing post-creation actions...
Restoring /Users/you/source/FirstSteps/FirstSteps.csproj:
Restore succeeded.

Hello, World!
dotnet new console creates a console app from Microsoft's template, -n FirstSteps names it, and dotnet run builds and runs it. Open the FirstSteps folder in VS Code with File → Open Folder… to see its two files: FirstSteps.csproj describes the project, and Program.cs holds its one line of code.
Select File → New → Project…, choose Console App for C#, name it FirstSteps, and select .NET 10.0 as the framework. Press Ctrl+F5 (Debug → Start Without Debugging): a console window shows Hello, World!
Program.cs contains one line, Console.WriteLine("Hello, World!");. There's no class and no Main method around it: .NET 10 console apps use top-level statements, so the first line of Program.cs is where the program starts. Every example in this track is written that way. When you're done looking, delete the FirstSteps folder; the next tutorial creates its own project.
You're Ready
| You have | Value in this track |
|---|---|
| The .NET 10 SDK | 10.0.404 |
| An editor | VS Code 1.147.0 with C# Dev Kit |
| The Azure CLI, signed in | 2.93.0 |
| A Foundry project endpoint | https://foundry-devblogs-exp.services.ai.azure.com/api/projects/proj-devblogs-exp |
| A model deployment | gpt-5.6-luna |
| Permission to call it | Foundry User |
Yours will show your own project and deployment.
Common Mistakes
| Mistake | What happens | Do this instead |
|---|---|---|
| Assuming that owning the subscription lets you call its models | The model refuses your requests, because ownership grants management, not use | Give your account the Foundry User role |
| Using the model's name instead of the deployment's name | The project has no deployment by that name | Use the Name column of the deployment list |
| Using the Foundry resource's address instead of the project endpoint | You lose what Microsoft's quickstart says only the project endpoint unlocks: project-scoped data, Foundry's own tools, and project-level observability and governance | Use the address that ends in /api/projects/<project> |
| Signing in to the Azure CLI with a different account than the one with the role | Your code gets a token for an account that may not call the model | Check az account show before you run |
Troubleshooting
| Symptom | Likely cause | Fix |
|---|---|---|
dotnet: command not found | The terminal was open before the SDK was installed | Open a new terminal |
dotnet --version prints 8.0 or 9.0 | An older SDK runs first, or a global.json file in a parent folder asks for one | Install the .NET 10 SDK; check the folder for global.json |
az role assignment list prints nothing | Your account has no Foundry role on that resource | Ask an owner to assign Foundry User, then wait a few minutes |
az login shows the wrong subscription | Your account has several | Run az account set --subscription "<name or ID>" |
Frequently Asked Questions
Do I need Visual Studio, or is VS Code enough?
Either one. Everything in this track builds and runs from the .NET CLI, which both editors use. VS Code runs on Windows, macOS and Linux; Visual Studio runs on Windows.
Can I use .NET 8 or .NET 9?
Agent Framework supports them, but this track uses .NET 10, the current long-term support release, and its output comes from .NET 10.
Why not use an API key from the Foundry portal?
A key is a password that anyone who finds it can use, and it has to live somewhere in your code or settings. Signing in through the Azure CLI keeps secrets out of the code: the token belongs to your account, expires on its own, and works only as far as your roles allow. Apps running in Azure use a managed identity the same way.
Can I use OpenAI or another model service instead of Foundry?
Yes: Agent Framework talks to Azure OpenAI, OpenAI, Anthropic, Ollama and other services too, as What Is Microsoft Agent Framework? explains. This track uses Microsoft Foundry for its examples.
Conclusion
You have the .NET 10 SDK, an editor with C# support, the Azure CLI signed in, a Foundry project endpoint, a model deployment and the Foundry User role that lets you call it. Your code will sign in as you through the Azure CLI, so no key ever appears in it.
Next: Your First Agent — create an agent around your model in a few lines of C#, run it, and see what comes back.
Additional Resources
- Download .NET 10.0 — the SDK for every system.
- How to install the Azure CLI — Windows, macOS and Linux.
- Sign in interactively with the Azure CLI —
az loginand choosing a subscription. - Role-based access control for Microsoft Foundry — Foundry User and the other Foundry roles.
- Install .NET on Windows — .NET with Visual Studio, and the versions that go together.
